
Examples of what NOT to do
- Little effort
- No editing


Photography Section
- Pick your favorite color
- Set camera to the lowest aperture possible
- Take 6 SEPARATE photos of this color
- Do not make your 6 photos all of the same topic (ex. green using all plants or yellow signs/walls)
- Make sure the color is dominant (takes up 75% of the photos)
- MUST Edit to make colors POP
Photoshop Section
Step 1:
- Go to the File – New
- Width
- 10 inches
- Height
- 13 inches
- 200 Resolution
- Background Color White
- Width
Step 2:
- Go to View – New Guide Layout

Step 3:
- Columns Number 2
- Rows Number 3
- Gutters 0.2 in
- Color should be your favorite color
You will now have a graph with 6 squares and double lines between them

Step 4:
- Select the Rectangle Tool
- Make the
- Fill color is your favorite color (ex blue)
- Stroke White Box with line through it


Step 5:
- Draw a box that fits in the first square of the graph
- Be sure you do not draw your box into the double line. You will need that area to be white later

Step 6:
- Right Click on Rectangle 1 Layer
- Pick Duplicate the Layer

Step 7:
- Click on the move tool
- Click on the first box
- Make sure you are on Rectangle Layer 1 Copy
- Drag the box over to the next Square

Step 8:
- Double click on the Rectangle Copy 1 Layer
- Rename it Rectangle 2
- This will help you stay organized

Step 9:
- Right click on Rectangle 2
- Pick Duplicate the Layer
- Move the box over to the 3rd Square

Step 9:
- Double click the Layer Rectangle 2 Copy
- Remane it Rectangle 3

Step 10:
- Repeat
- Duplicating
- Moving Box to next square
- Renaming Layers
- until all 6 boxes are filled.

Step 11:
- Click on the First Rectangle Layer
- File- Place Embedded
- Pick one of your favorite color photos

Step 12:
- Move your image until it’s over the first square.
- It does not matter if it fits. We will fix this in the next step
- Click Enter

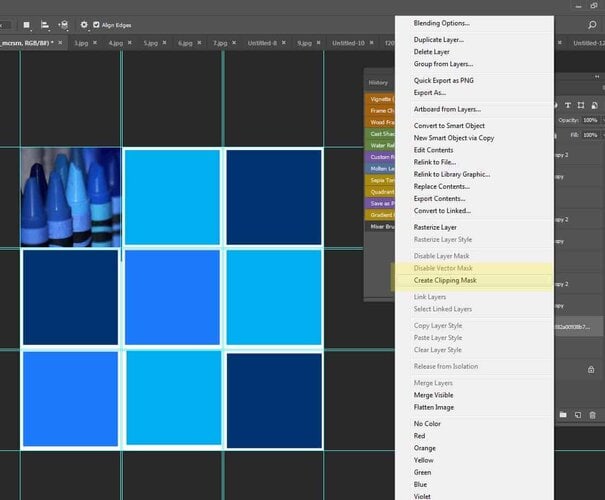
Step 13: This is an important STEP!!!!!!!!!
- Stay on the layer with your color photo
- Right click
- Choose
- Create Clipping Mask
- The photo will now be locked in the first box
- You can move it around to fit
- Control T to make it bigger or smaller
Step 14:
- Click on the second Rectangle layer box
- Repeat steps 7-9 until all boxes are filled
- File- Place Embedded
- Pick one of your color photos
- Move photo over square (does not matter if it fits)
- Right click
- Create Clipping Mask
>>>>>>>>>>>>>>>>>>>>>Stop when all your boxes have photos in them>>>>>>>>>>>>>>>>>>
Step 15:
- Flatten your image.
- You will now make all your colors pop
- Image- Adjustments- Brightness/ Contrast
- Pull the contrast to the right. Do not over do this
- Adjust brightness as needed
Step 16:
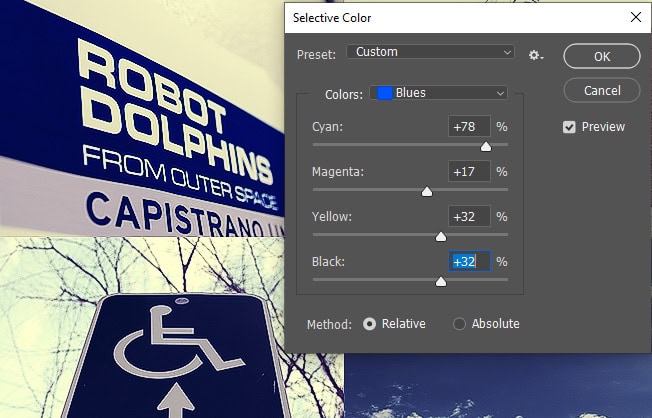
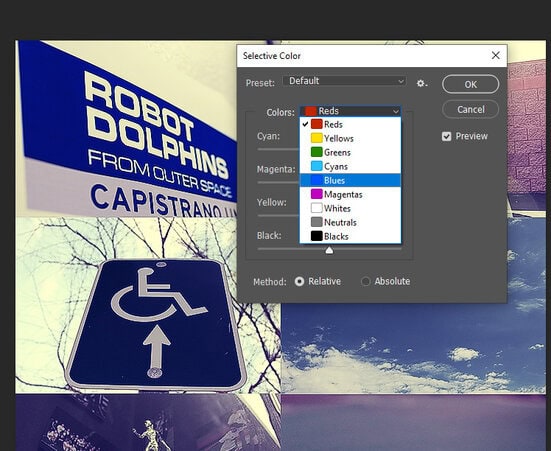
- Image- Adjustments- Selective color
- Click where it says Colors
- Pick the Your Favorite Color of your 6 photos
Step 17:
- Move the sliders around to make your color pop out
- Flatten image