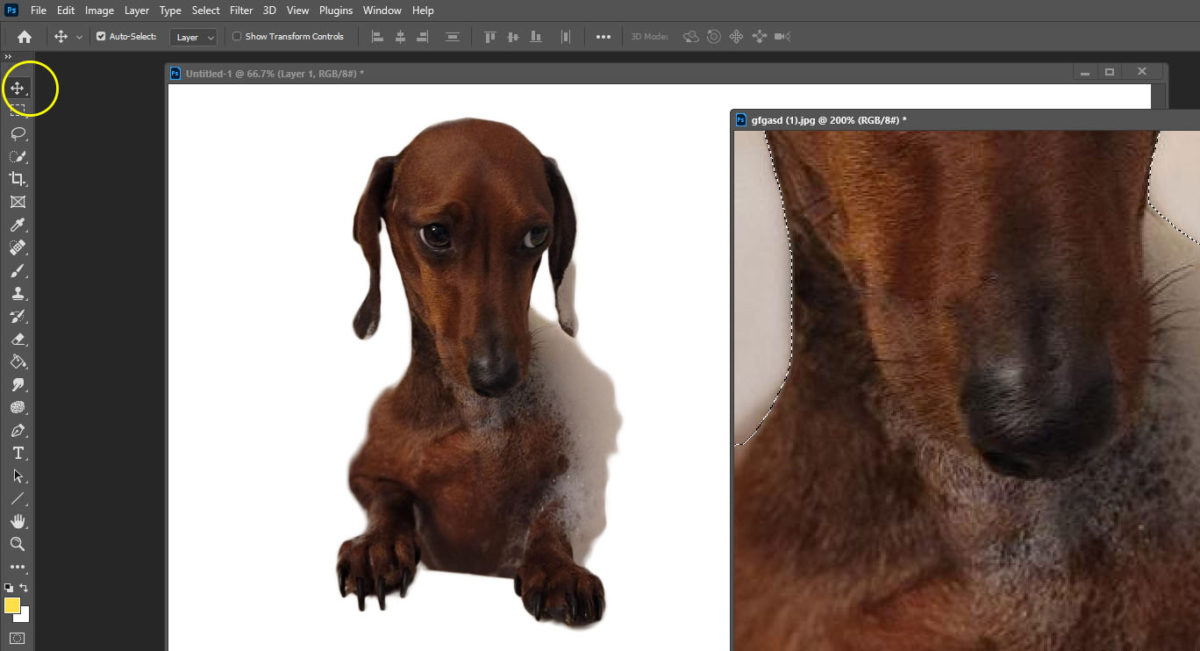
Step One:
- Open Image in Photoshop

Step Two:
- Click on the Quick Selection Tool
- Make sure the brush with the + sign is selected

Step Three:
- Click around the photo until it is completely outlined.
- You will see marching lines around where you have selected
- Zoom in (ctrl +) to see edges more clearly.

Step Four:
- If you select more than you want for the photo you can fix it.
- Next to the +brush is the -brush, select the -Brush
- Click in the area you want to deselect. This will be the area you do not want.
- You can make your paint brush bigger or smaller to get into hard areas (Contrl + and Contrl -)
- If it removes to much, return to the + brush and add it back in

- Dont forget to do the small areas of your photo.
- Example the space between the nails needs to be removed with the -Brush

Step Five:
- This step will be smoothing out the edges of the image
- Click on Select and Mask

- You will notice how jagged the edges are

- Move the RADIUS slightly to the right
- Move the SMOOTH slightly to the right

- DO NOT move the sliders to far to the right!!!!!

Step Six:
- You are now ready to move your image to another image by using the move tool


