
DIGITAL COLLAGE: ALL ABOUT ME
Part 1: Collecting the Images
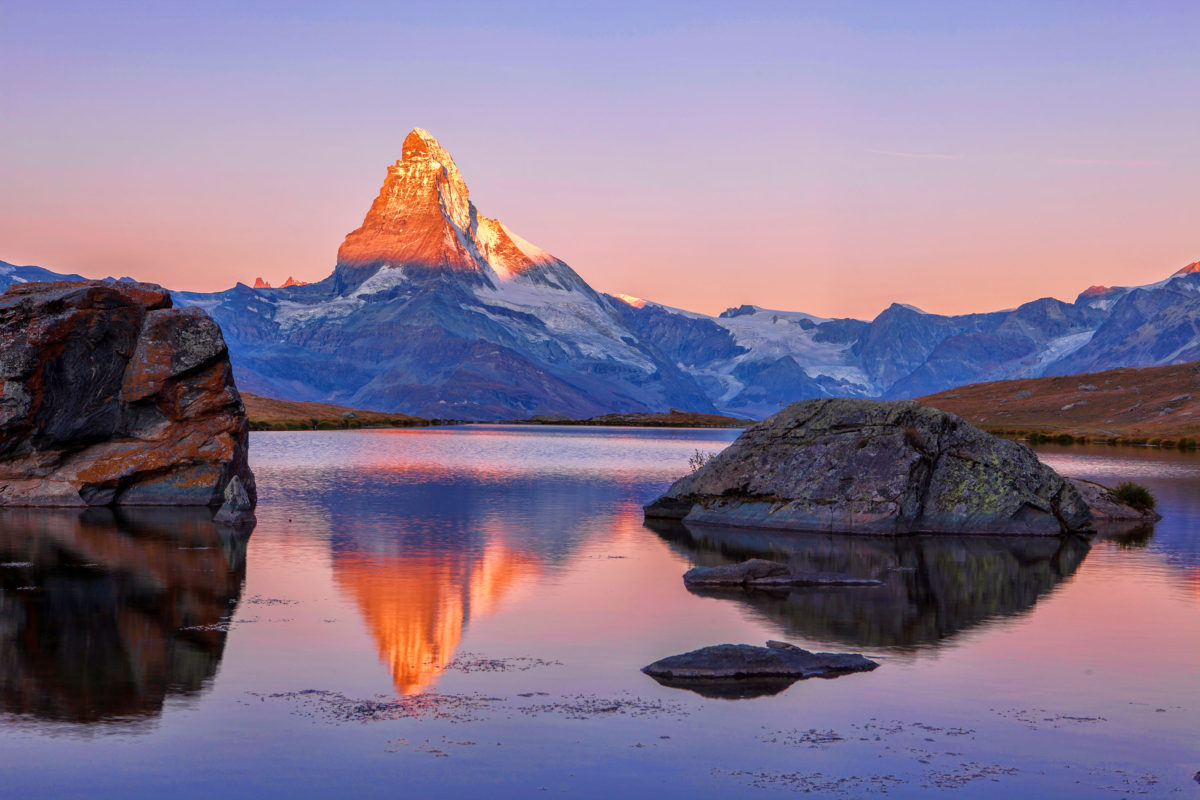
Step 1: Location
- Pick a location that is your favorite/dream place
- It can be somewhere you’ve been or dream of going
- Make sure that it is larger then 1000 pixels
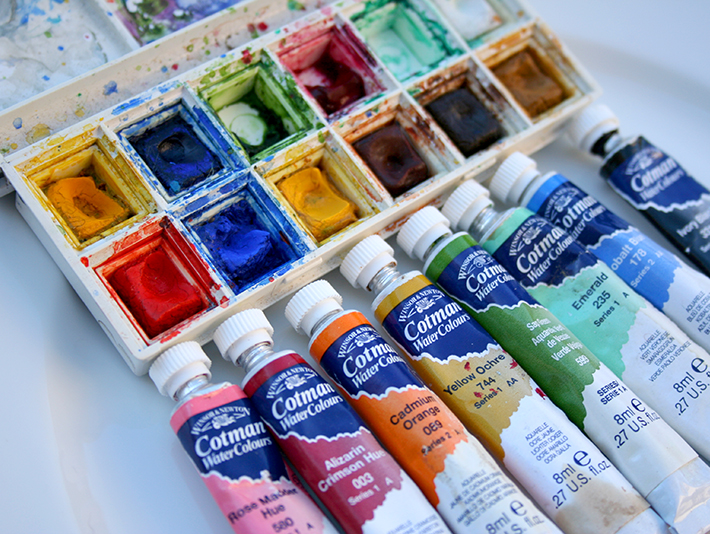
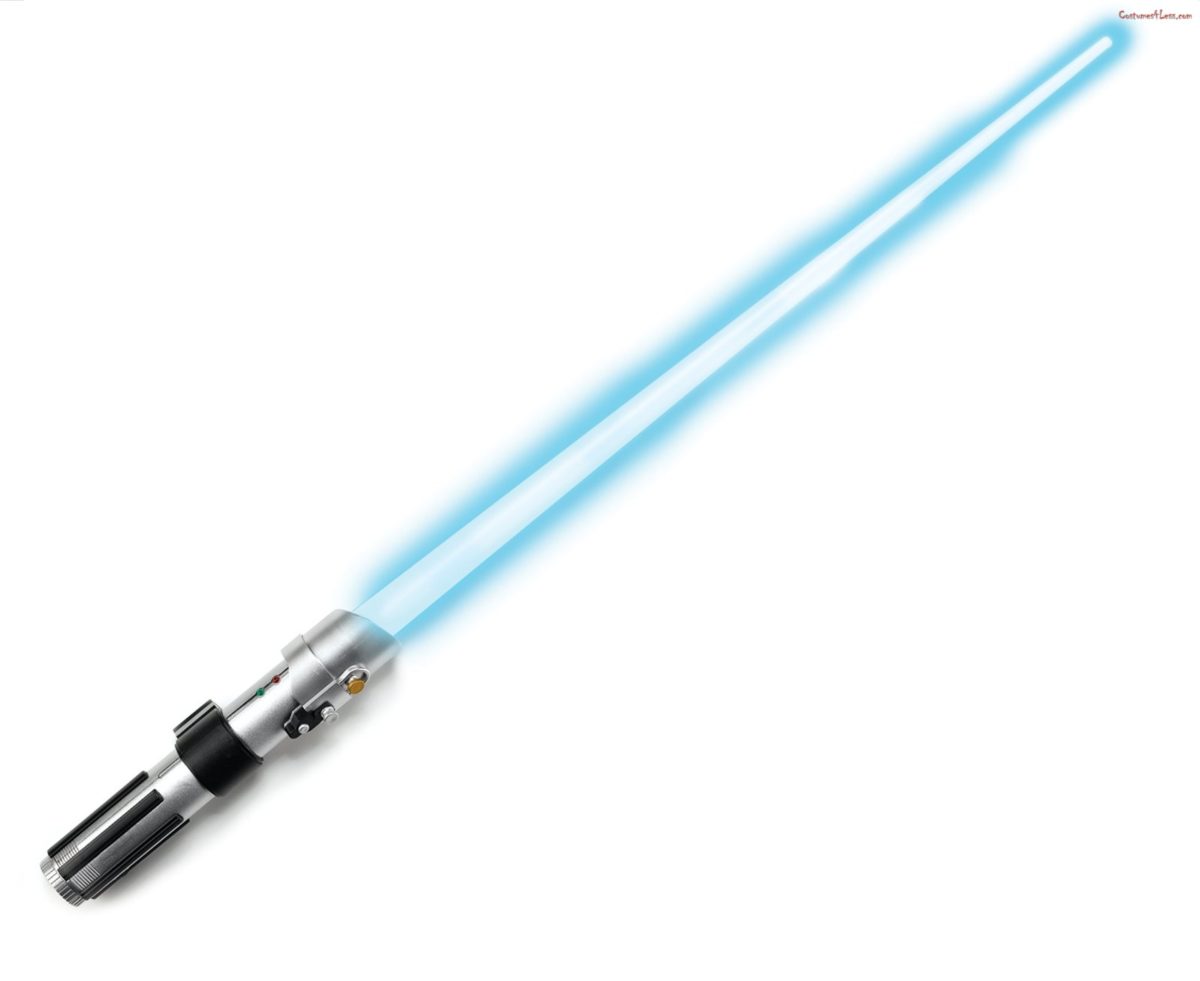
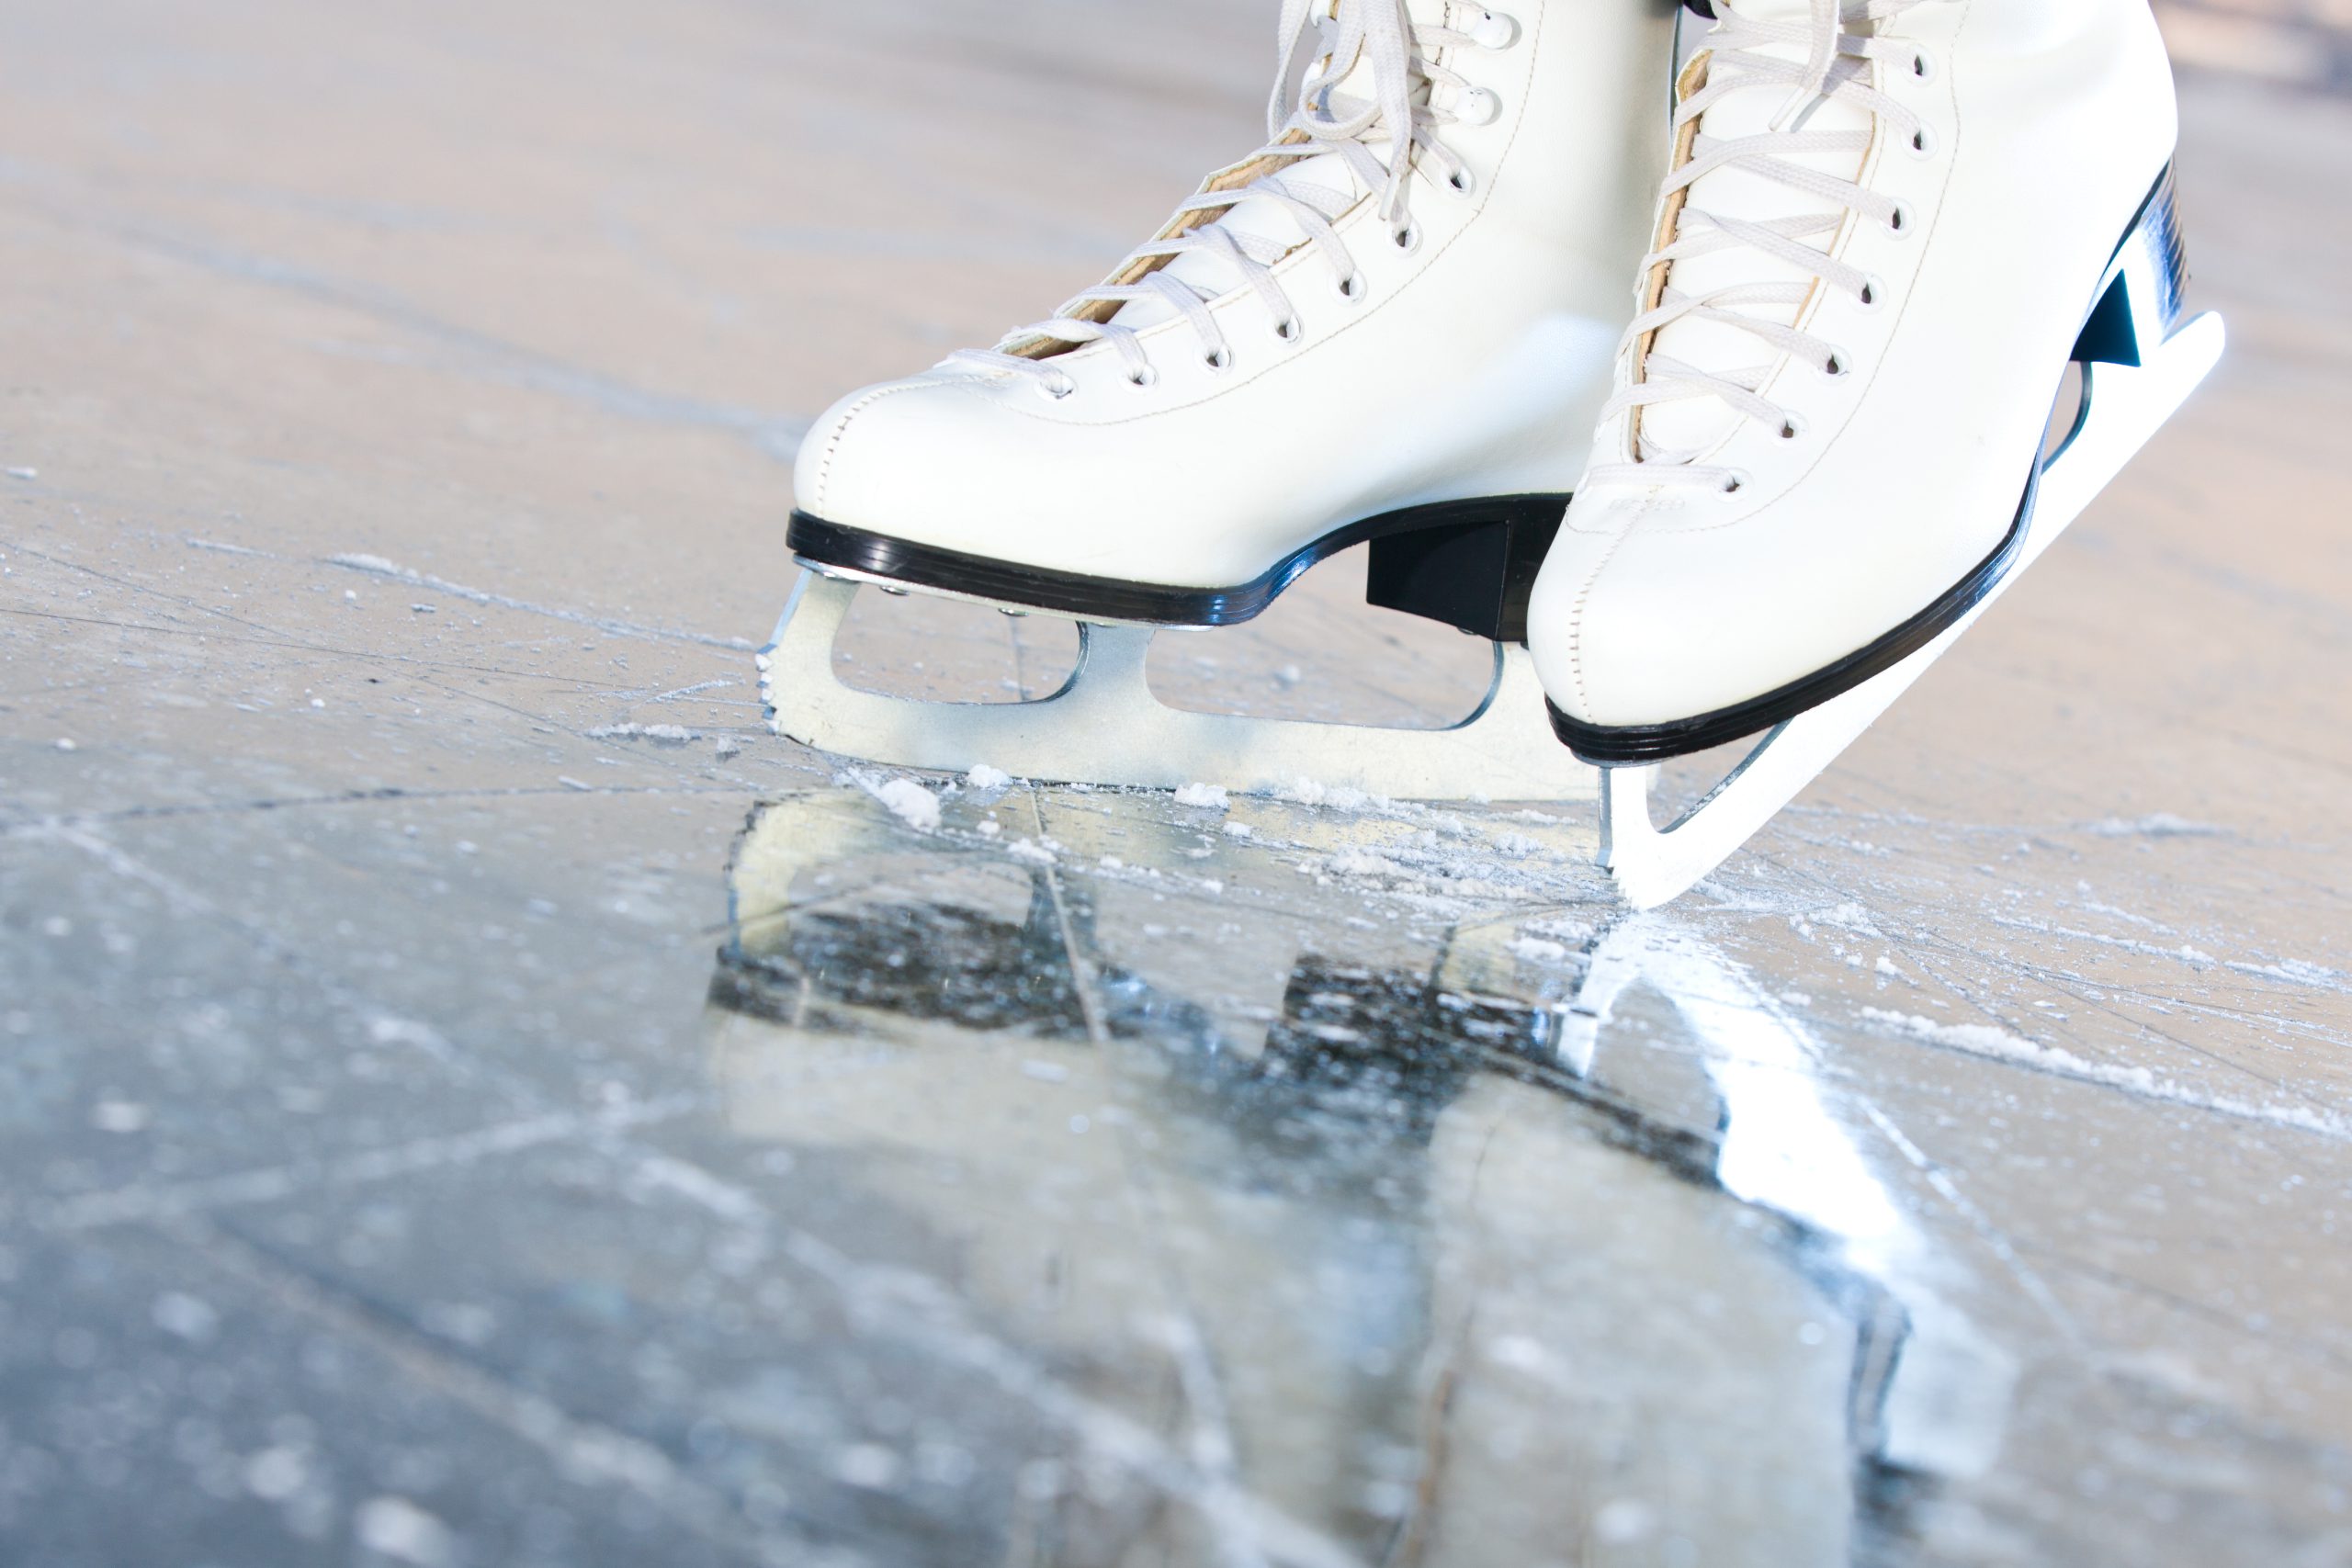
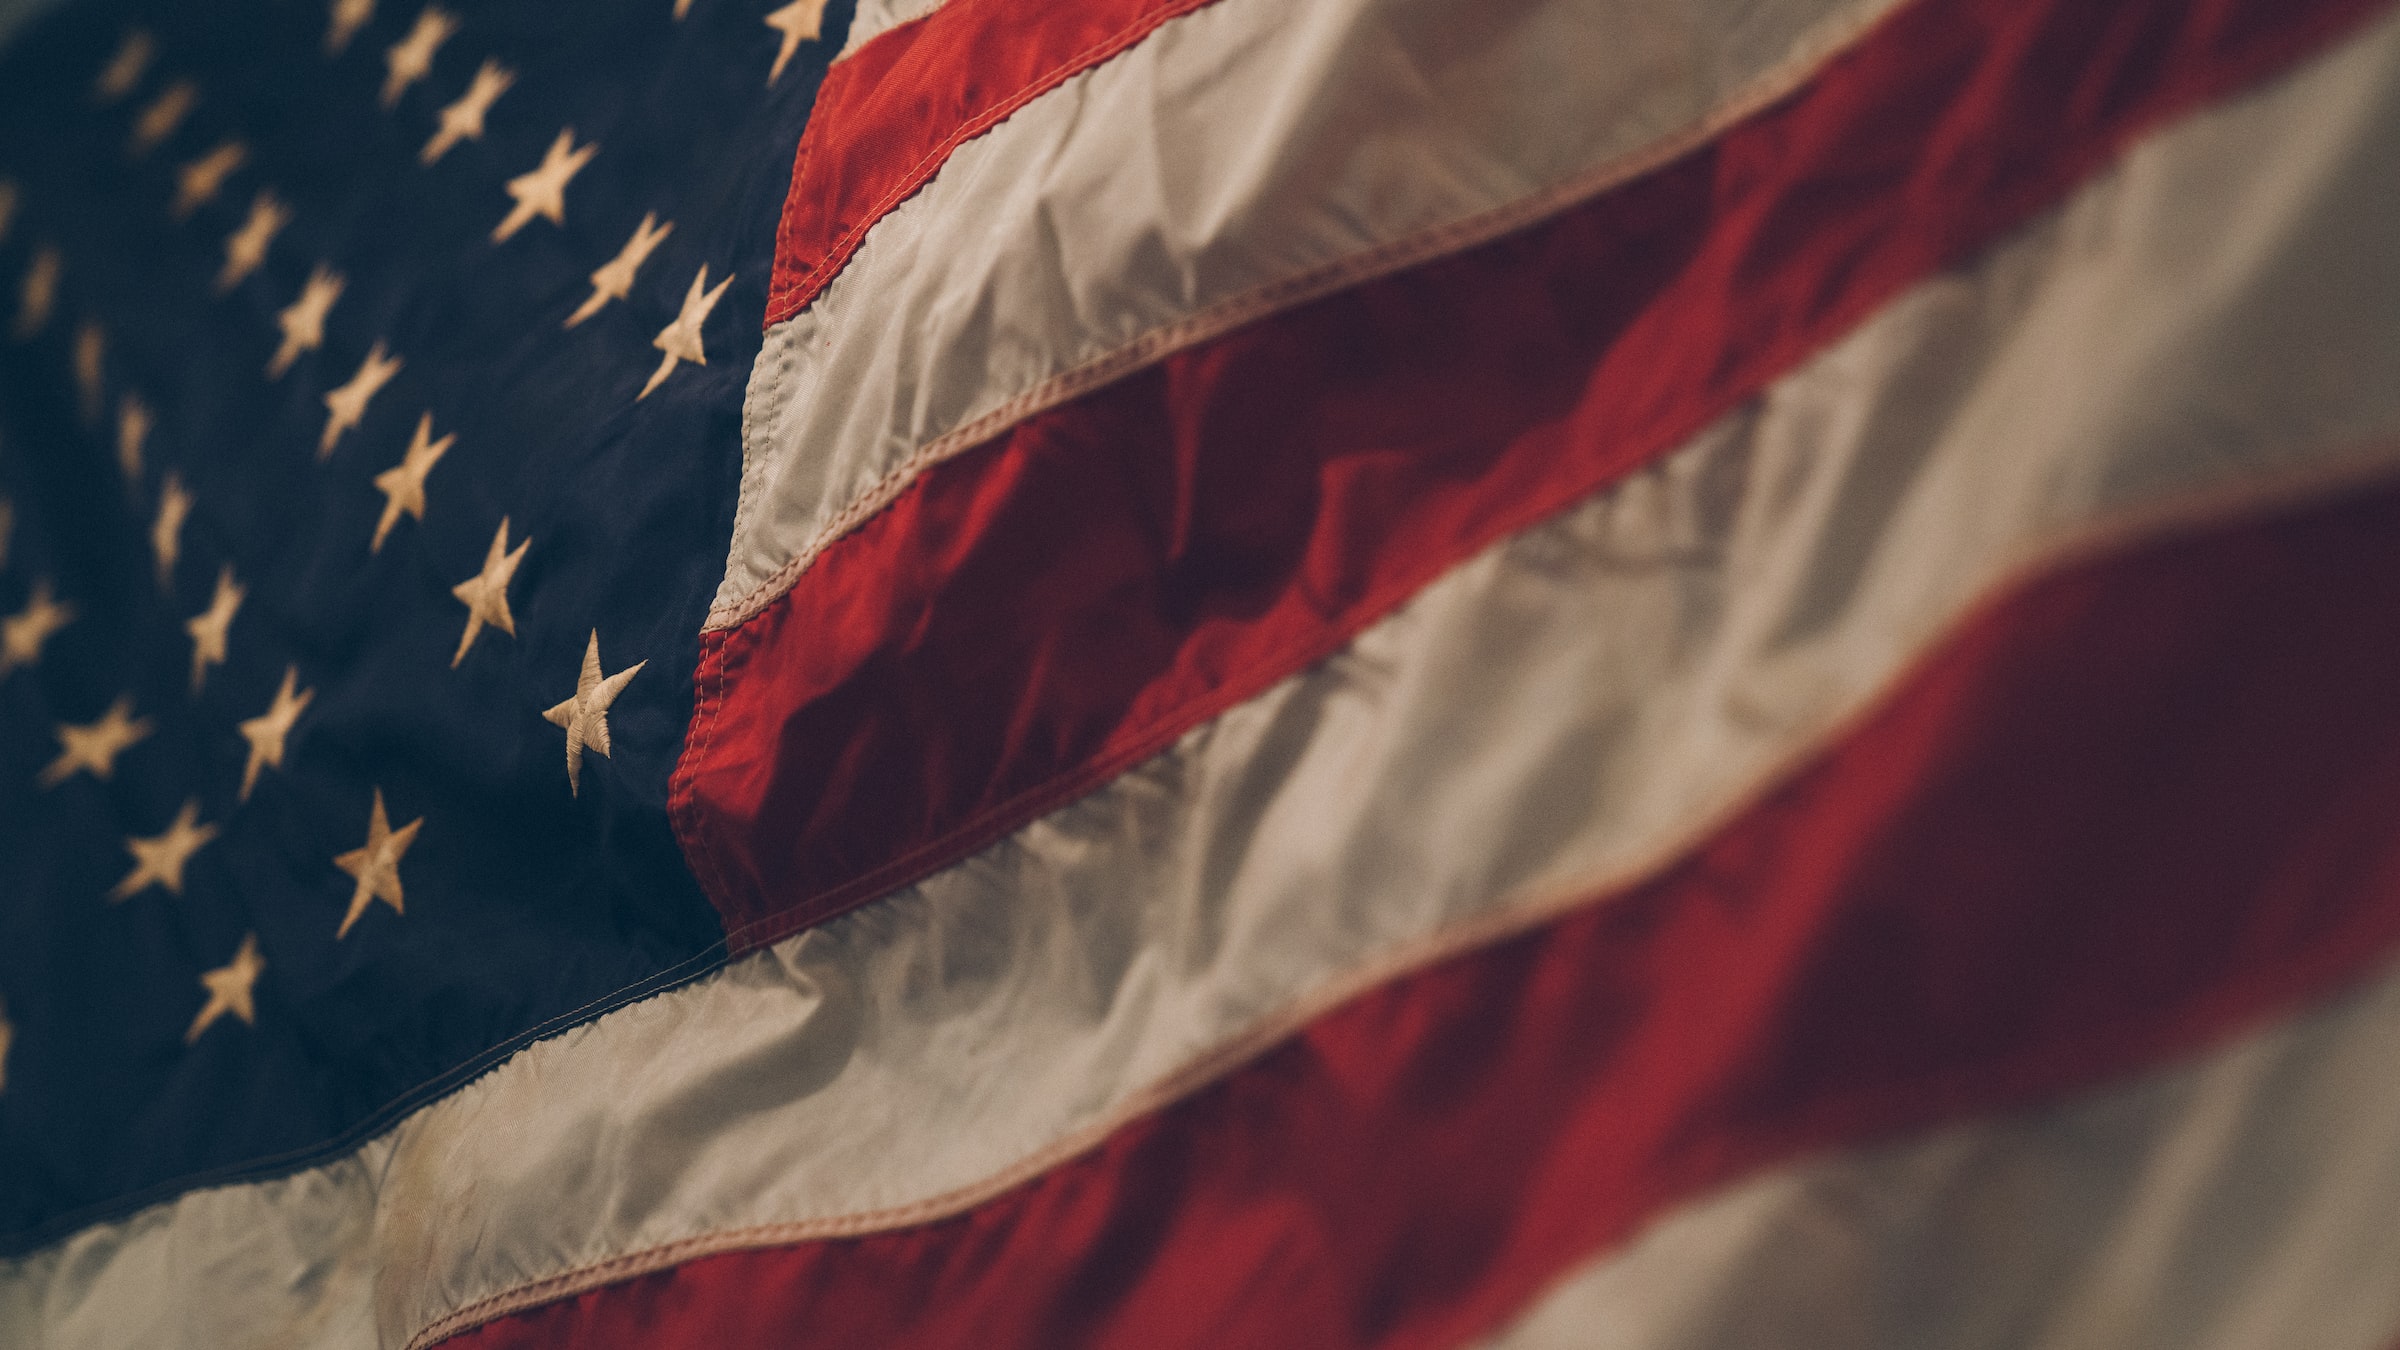
Step 2. Objects
- Gather 3 to 5 images online that represents things about yourself
- If you can find png files you will not have to cut them out later
- Collect images with a consistent Color theme (warm colors, cool colors, contrasting colors, blues, ect.)
- Examples of what to look for
- Hobbies
- Music artist
- Movies
- Religion
- Sports
- Fashion
- Books
- University
- Examples of what to look for
- Collect images with a consistent Color theme (warm colors, cool colors, contrasting colors, blues, ect.)
- If you can find png files you will not have to cut them out later
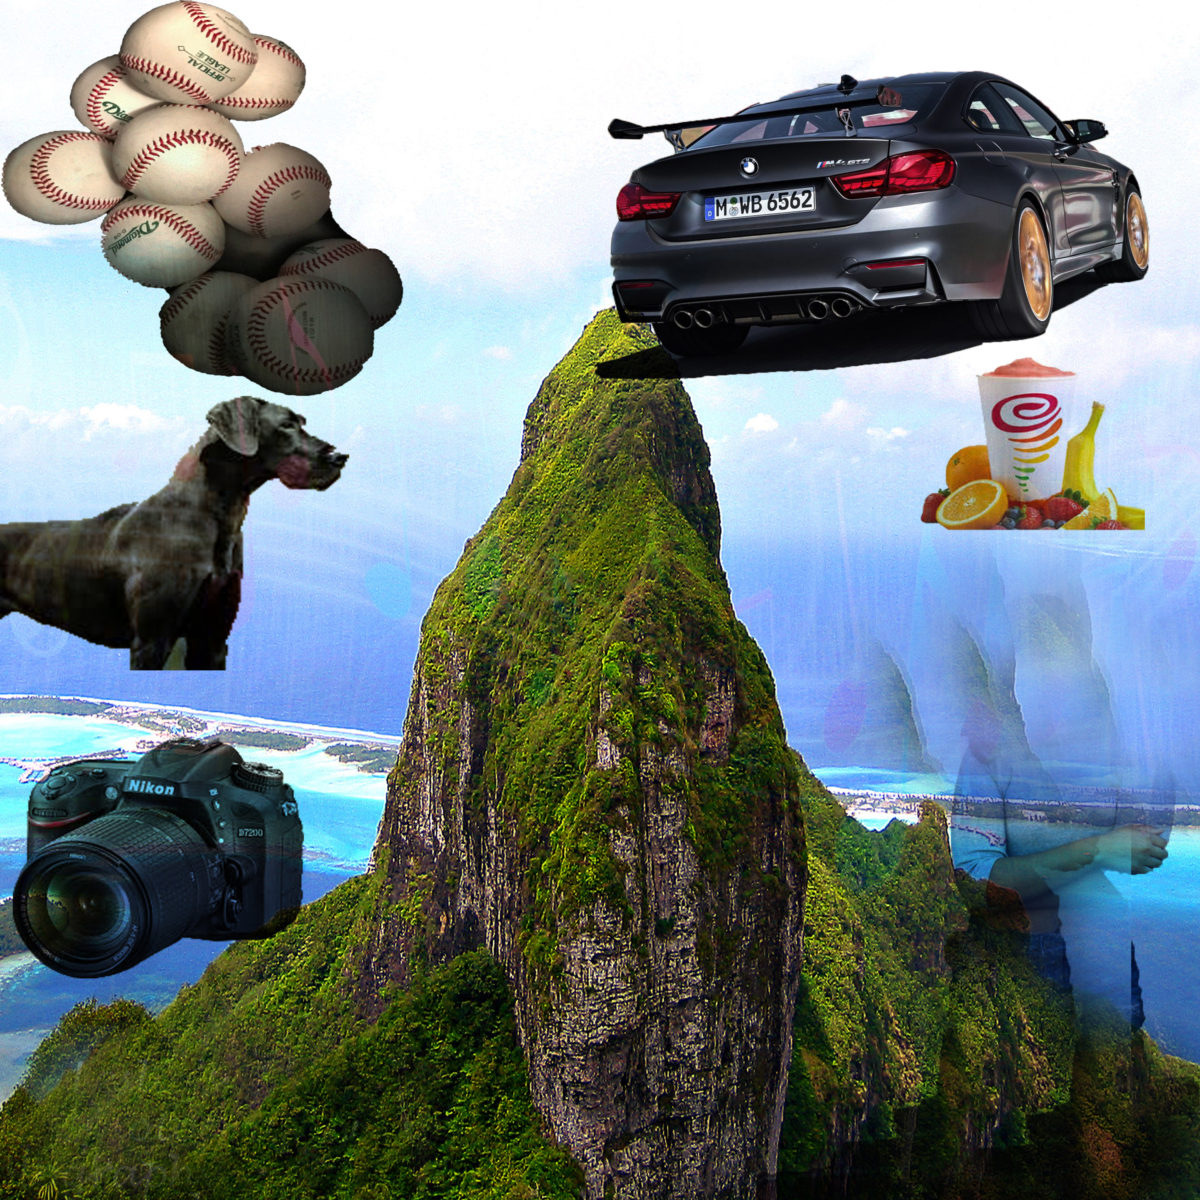
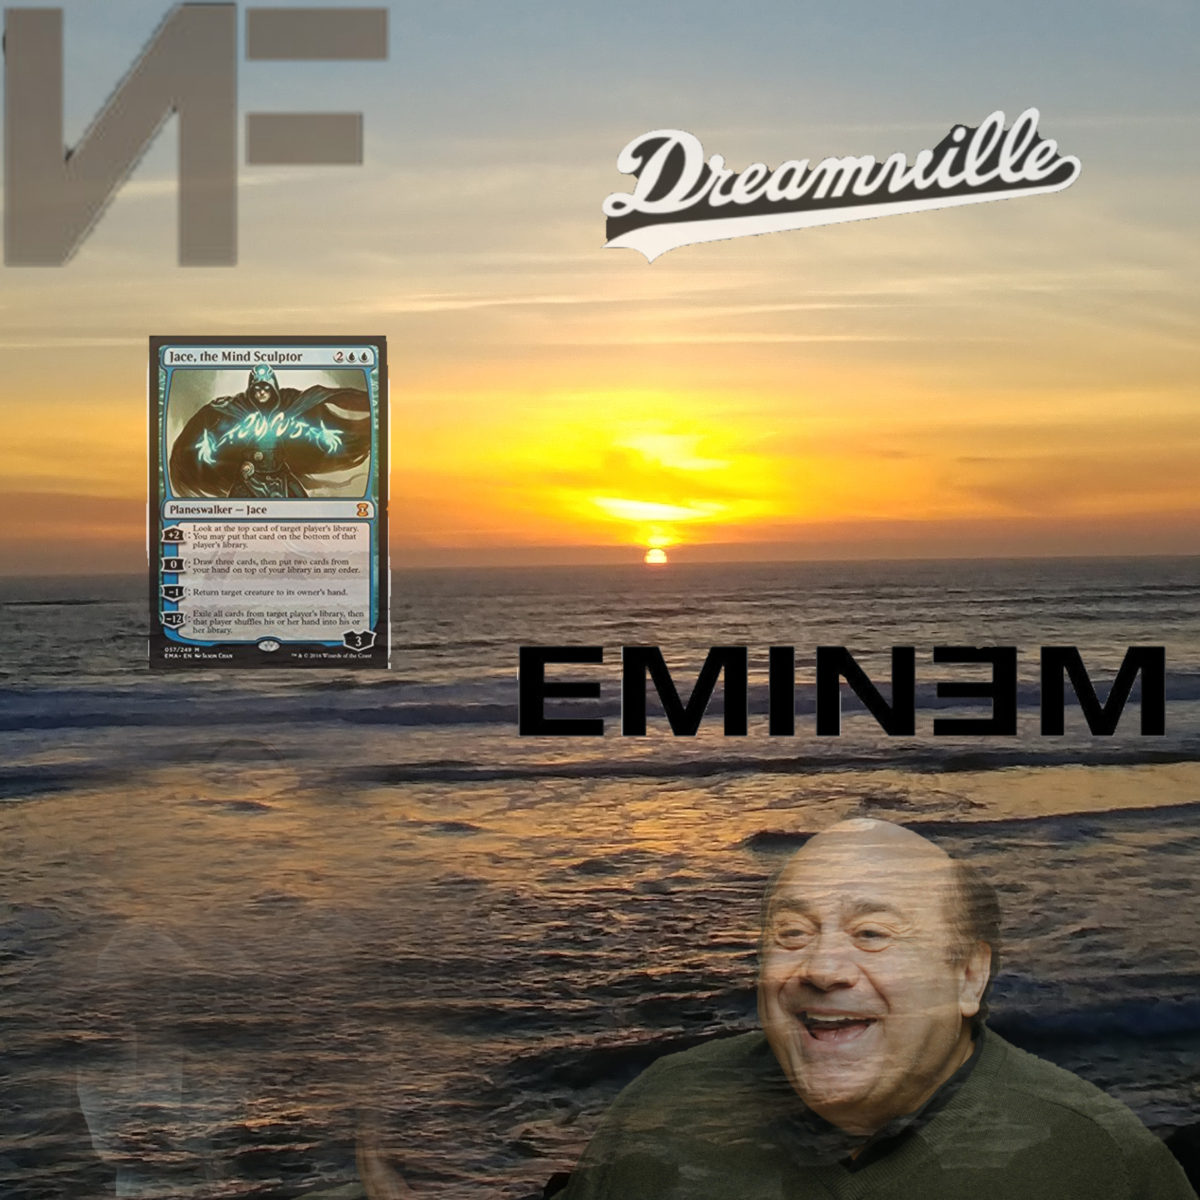
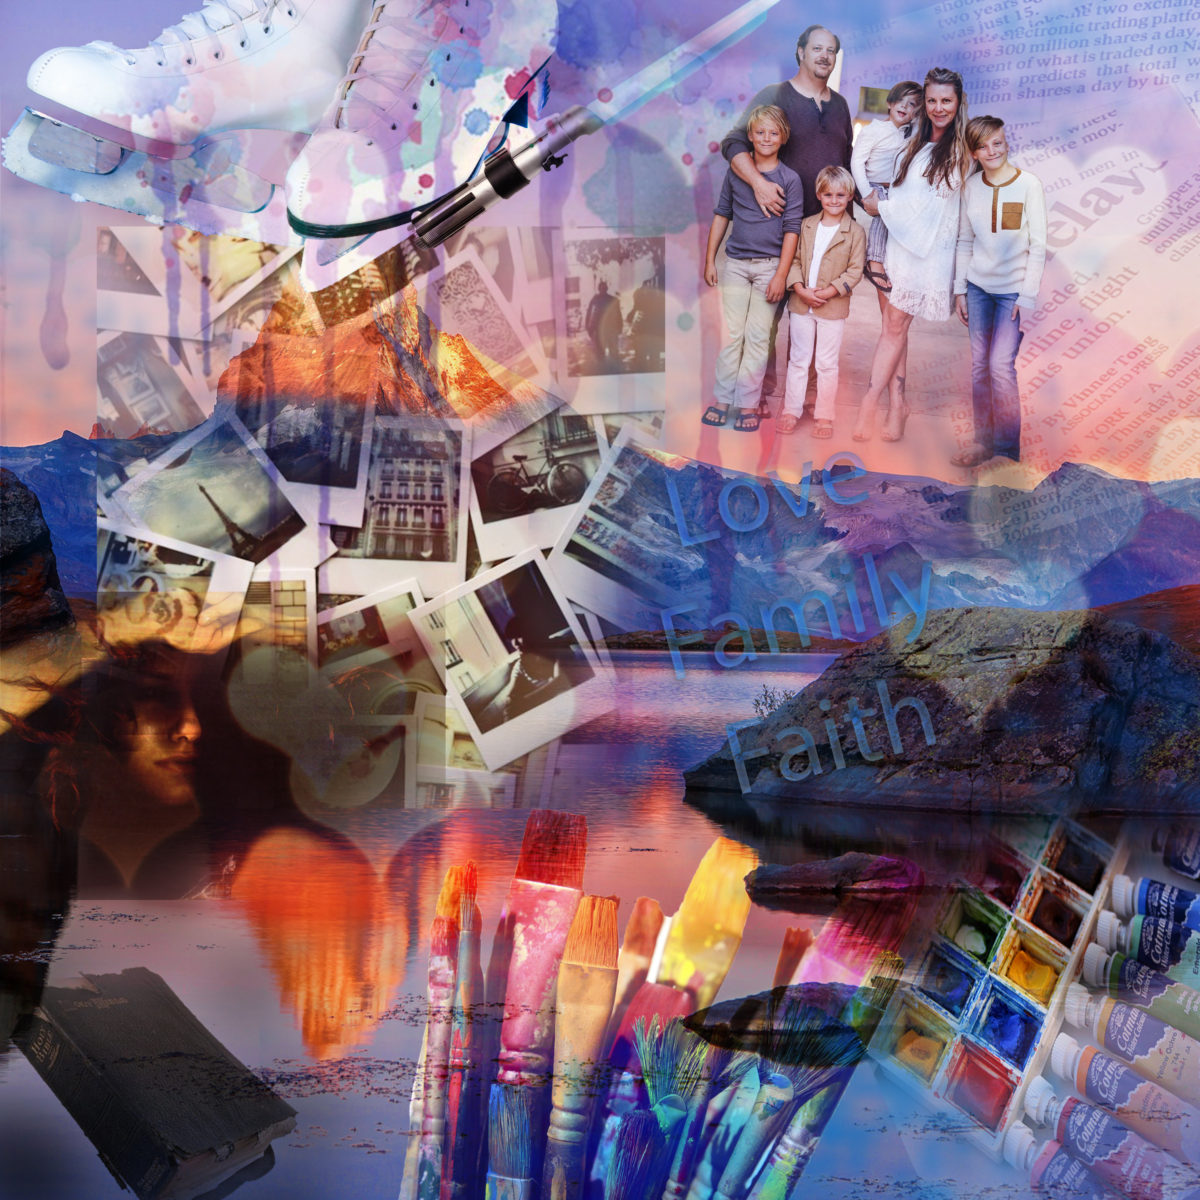
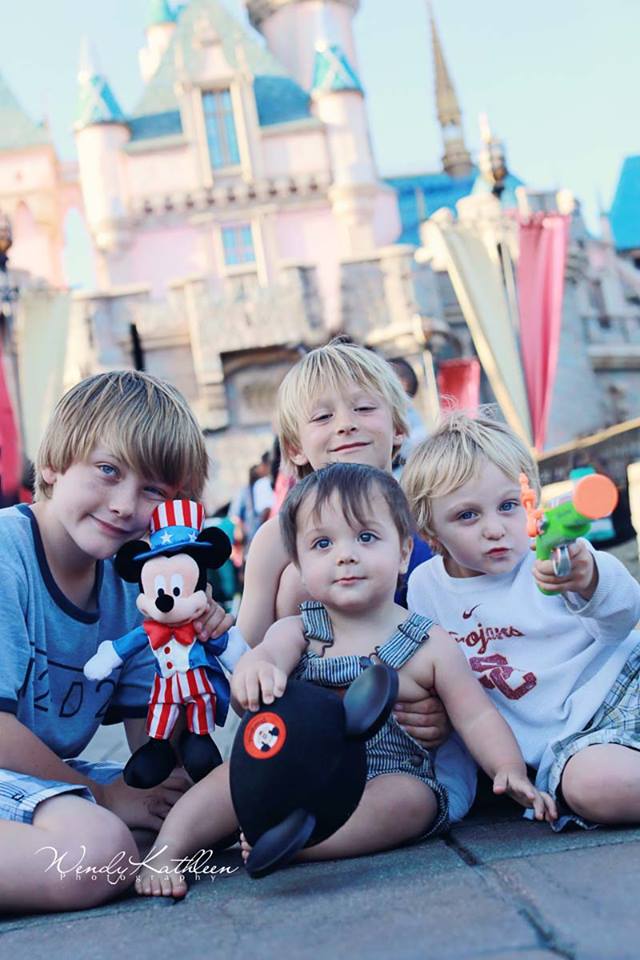
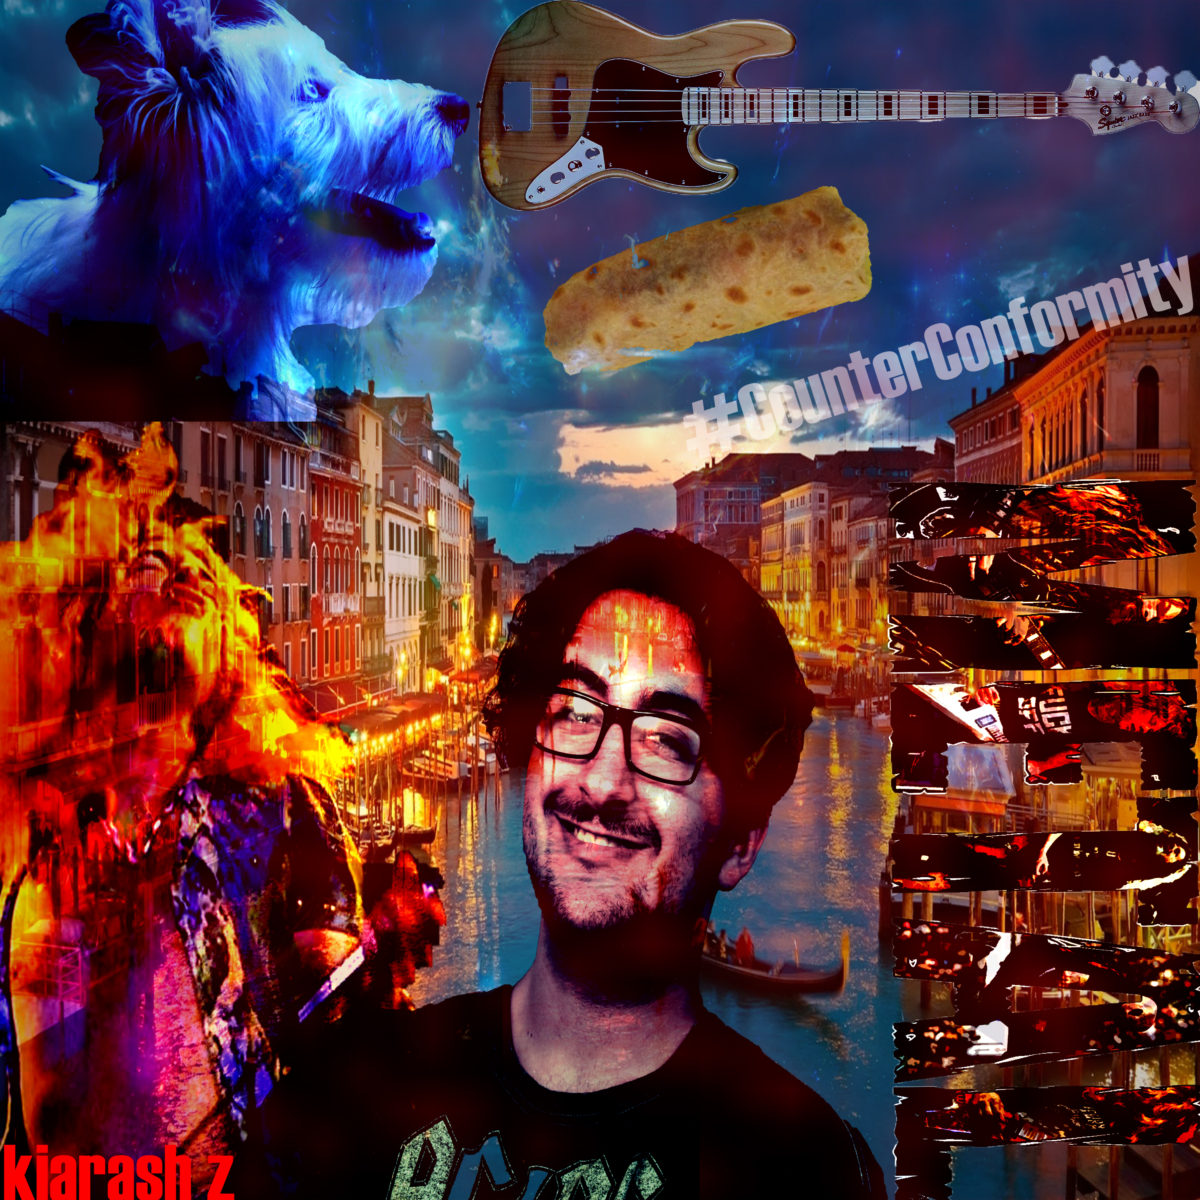
McElfish’s Examples below

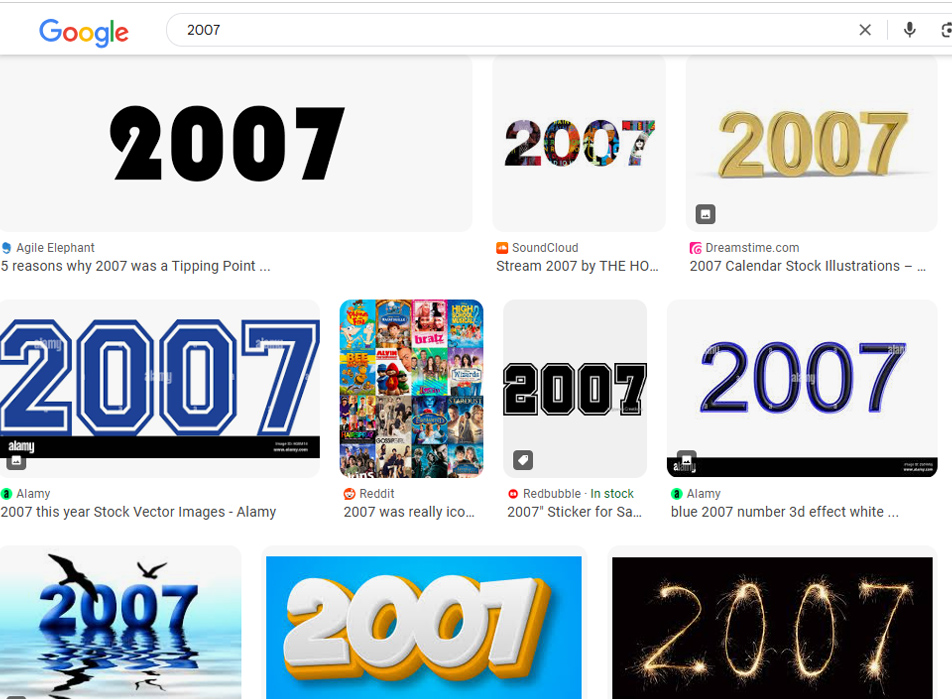
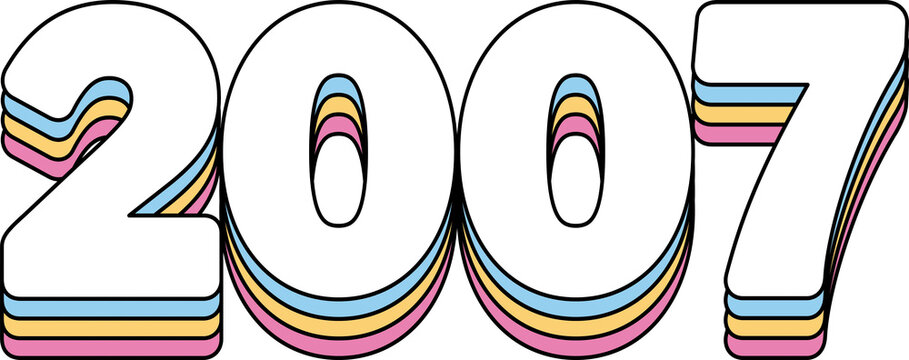
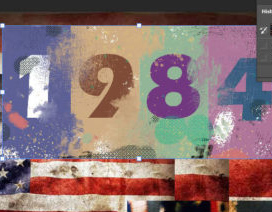
Step 3: Year you were born
- Google Images
- Year you were born
- Look for a png file
- If a jpeg file you will need to cut it out
- Look for a png file
- Year you were born
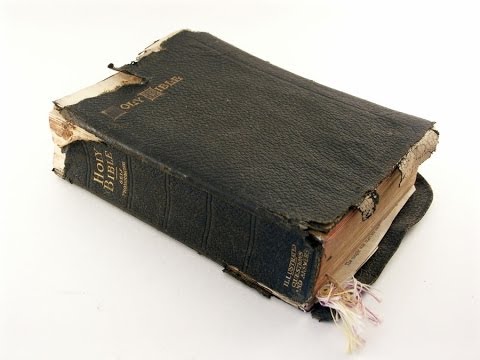
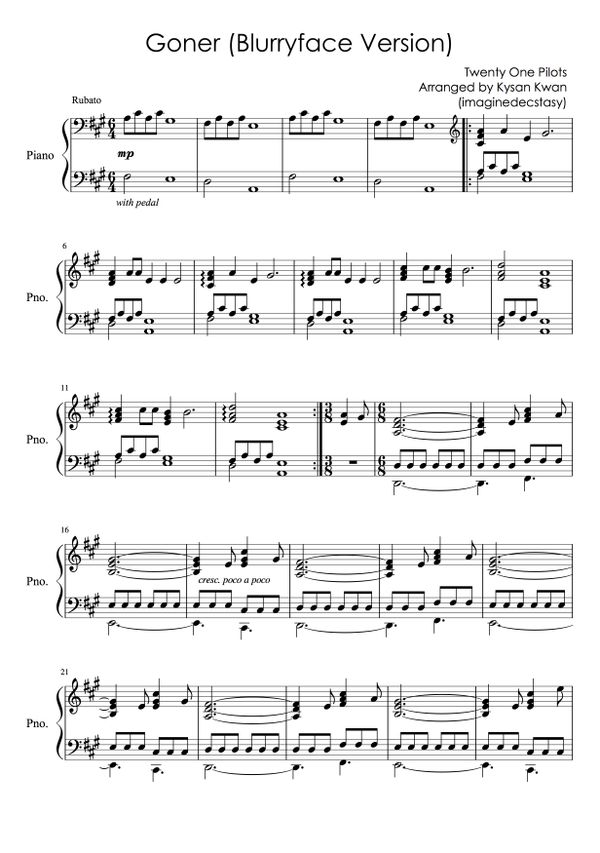
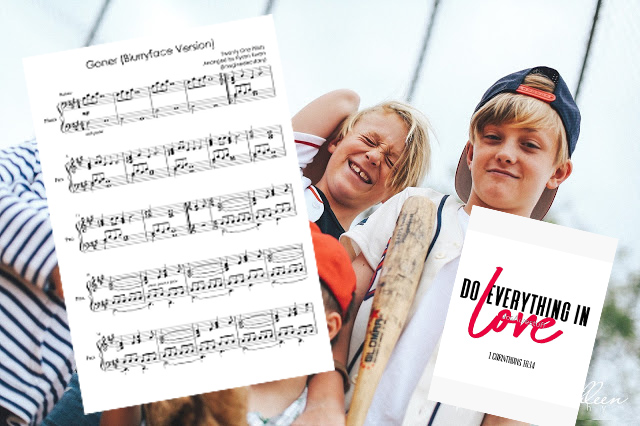
Step 4a: Music and Words
- Google and save
- Sheet music to your favorite song
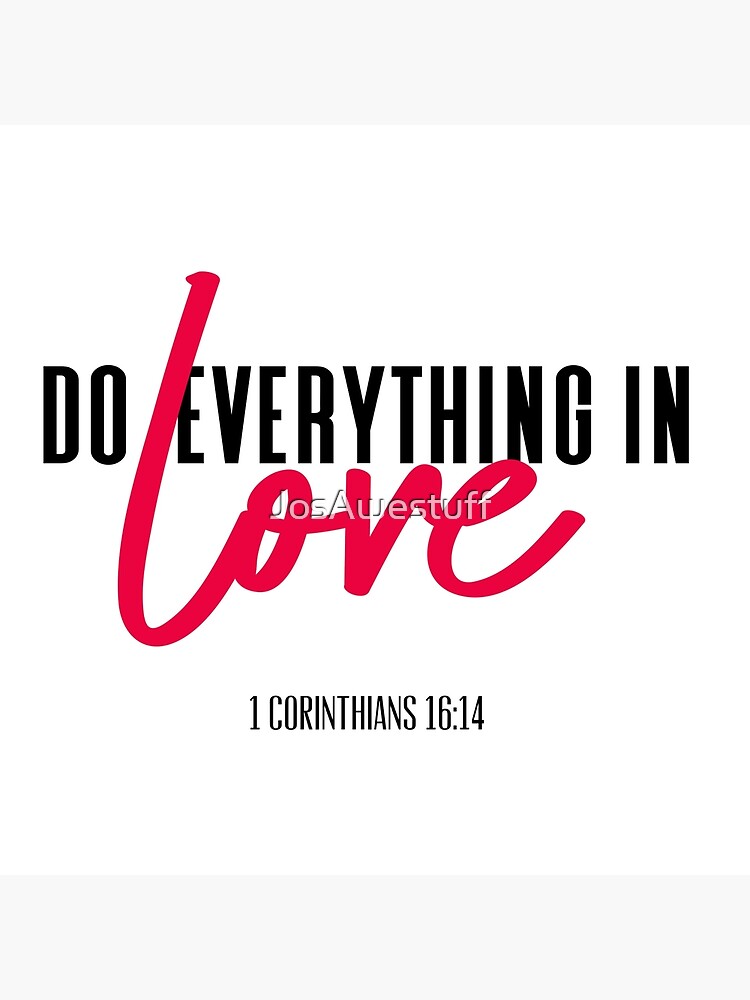
Step 4b:
- Lyrics to your favorite poem, religious verse, quote
- This may even be something you wrote yourself!
![]()
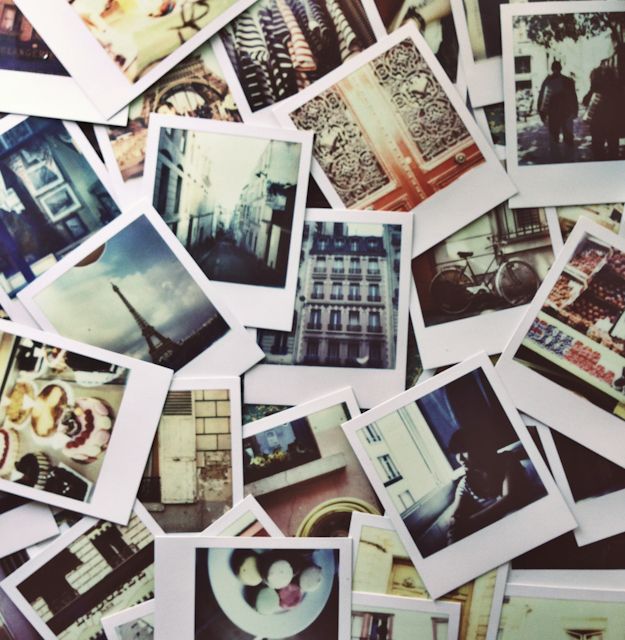
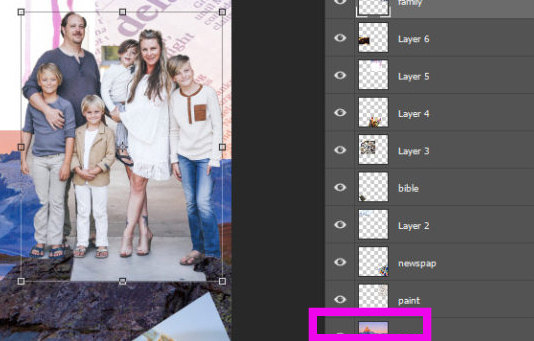
5. Personal Photos
- 3 personal photos
- At least one photo has to have yourself in it
- This may be by yourself, with your family or friends


Part 2: Laying out the photos in photoshop
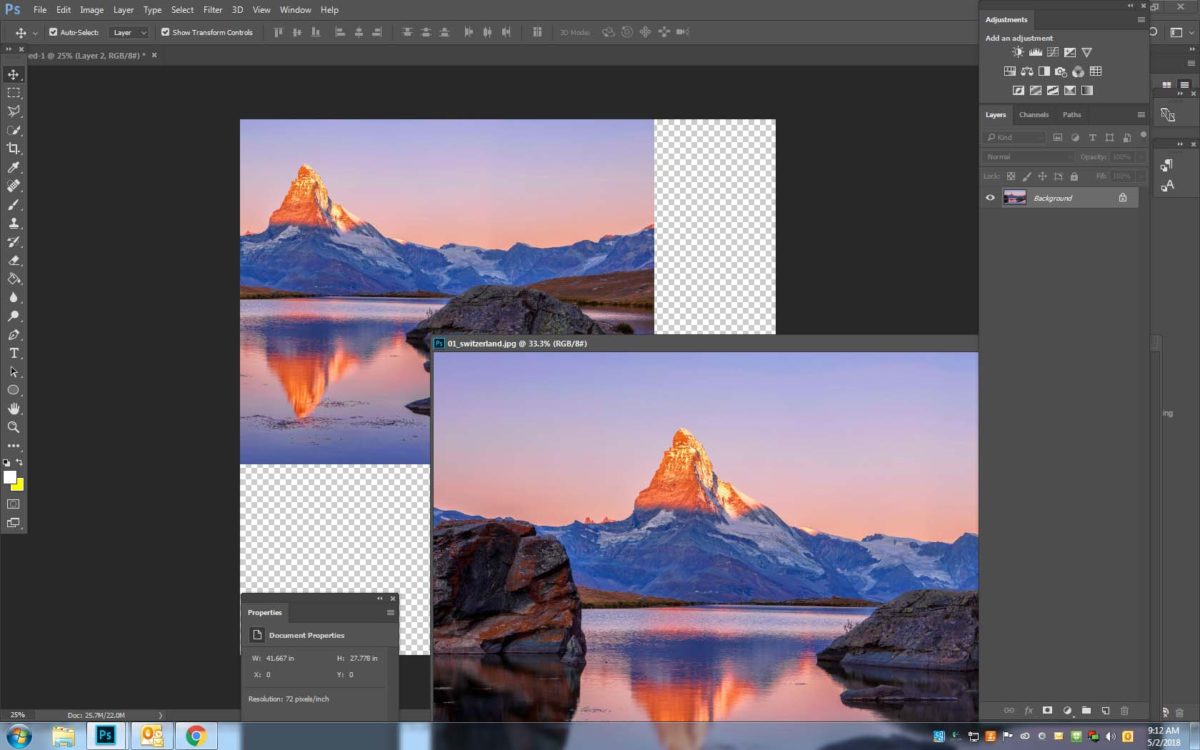
Step 1: Create a new canvas
- File – New- 10 inches x 10 inches- Resolution 300
- Open your location image and move it onto the new layer
- If it doesn’t fit click Control T and make bigger
- Right click on the background layer and flatten image
- If it doesn’t fit click Control T and make bigger
- Open your location image and move it onto the new layer
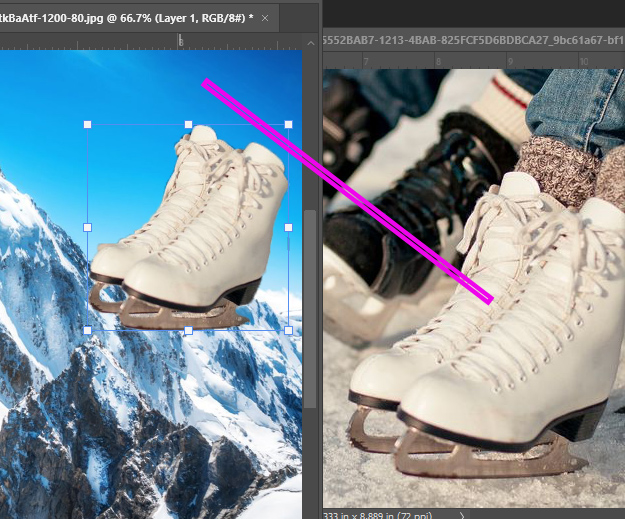
Step 2: Objects Added
- Open one of your objects
- Choose quick select tool cut out object
- If it is a png file you may drag it over without cutting it out
- Choose quick select tool cut out object

Step 3:
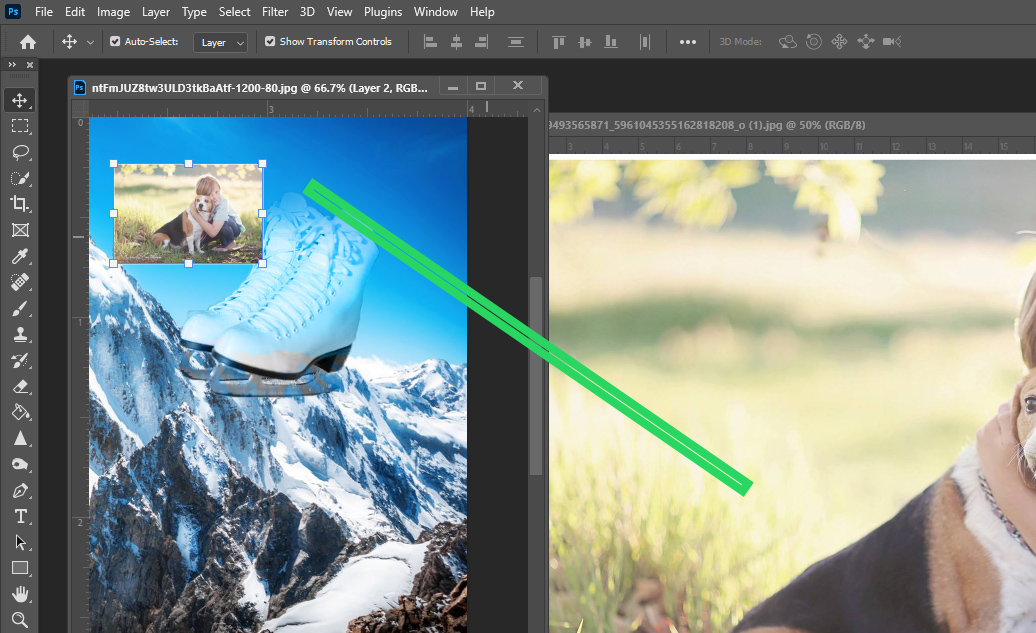
- Move the cutout image onto the main canvas
- Ctrl + T to make it bigger or smaller
Step 4a:
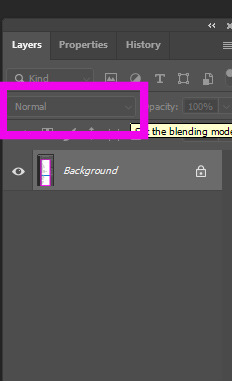
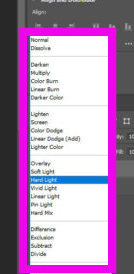
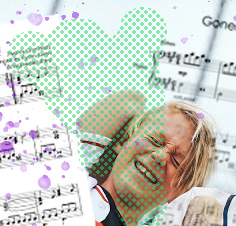
- Go to the top Left of the Layers Pallet
- Click where it says Normal
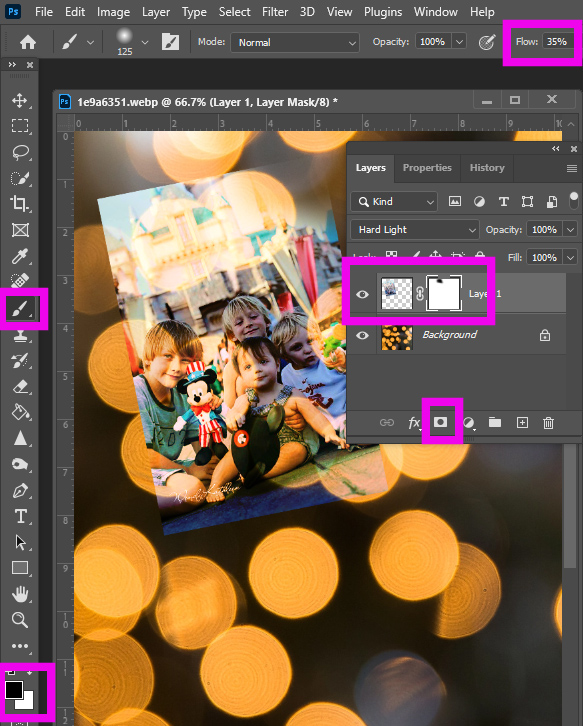
- Change the overlays
- Pick an overlay that looks best
- Change the overlays
- Click where it says Normal
Step 4b : Optional Step
- If you would like to remove part of the objects follow the steps below
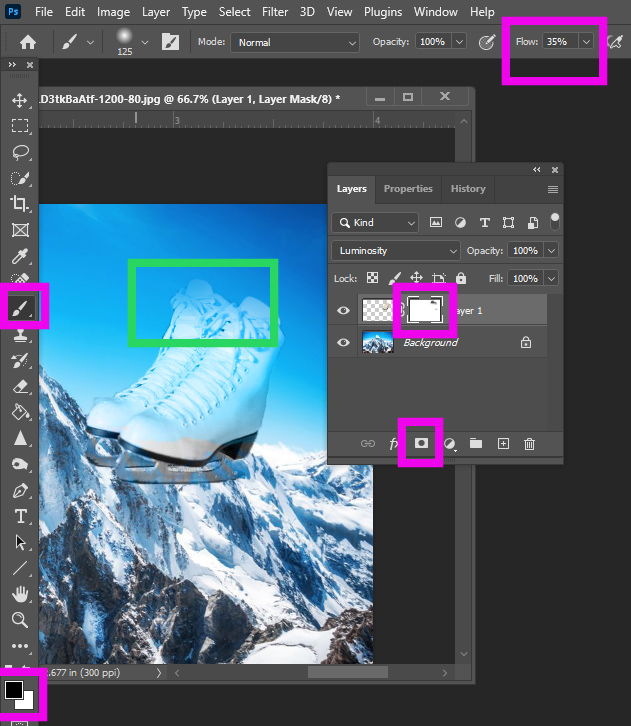
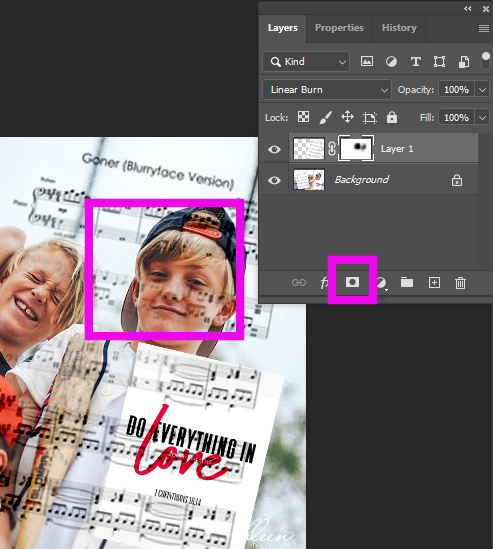
- Add a mask to object layer (box at bottom of layers)
- Choose a black paint brush
- Change Flow to 35%
- Paint off the parts you want
- Change Flow to 35%
- Choose a black paint brush
- Add a mask to object layer (box at bottom of layers)
Step 5:
- Continue steps 2-4 until you have used all your objects
- When finished
- Right click on background layer
- Merge Visable
- Right click on background layer
Step 6:
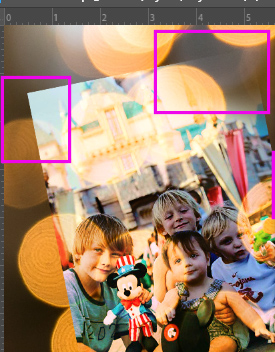
- Move over your Personal photo
- Make it bigger or smaller as needed
- Go to the top Left of the Layers Pallet
- Click where it says Normal
- Change the overlays until you find one that you like
- Click where it says Normal
- Go to the top Left of the Layers Pallet
Step 7:
- Add a mask to person 1 layer (box at bottom of layers)
- Choose a black paint brush
- Change Flow to 35%
- Choose a black paint brush
Step 8:
- Paint off the hard edges of the photo
- You want the photo to blend into the background
Step 9:
- Repeate Steps 6-8 for your other two photos
- When finished with personal photos
- Right click on background layer
- Merge Visable
- Right click on background layer
- When finished with personal photos
Step 10:
- Open the birth year image you saved
- Move it onto the canvas
- Ctrl + T to make it bigger or smaller
- Place the numbers anywhere on the canvas
- Ctrl + T to make it bigger or smaller
- Move it onto the canvas
- Go to the top of the Layers Pallet
- Click where it says Normal
- Change the overlays until you find one that you like
- Click where it says Normal
Step 11:
- Add the sheet music
- Add the quote/lyrics/religious verse
- Ctrl + T to make it bigger or smaller
- Place the images anywhere on the canvas
- Go to the top of the Layers Pallet
- Click where it says Normal change to an overlay you like
- Go to the top of the Layers Pallet
- Place the images anywhere on the canvas
- Ctrl + T to make it bigger or smaller
Step 12:
- Add a mask to both the sheet music and poem/text (box at bottom of layers)
- Choose a black paint brush
- Change Flow to 35%
- Paint off areas that you do not want
- Example: on person’s face
- Paint off areas that you do not want
- Change Flow to 35%
- Choose a black paint brush
- Merge Visable when done
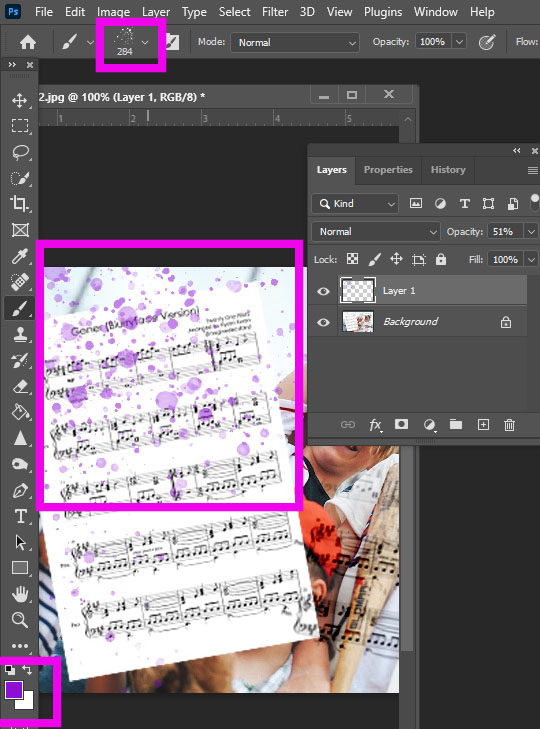
Step 13:
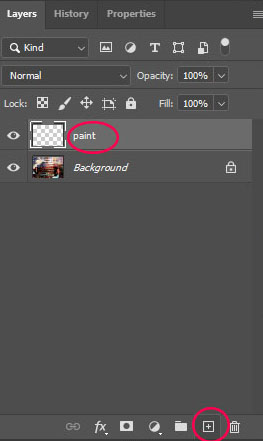
- Click the + sign at the bottom of the layers pallet
- Name your new layer Paint
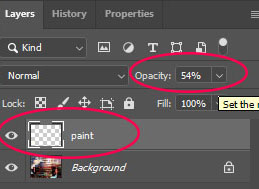
- Change Opacity on layers
- 54%
- Change Opacity on layers
- Name your new layer Paint
Step 14:
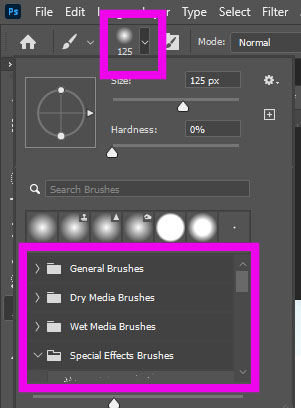
- Choose the Brush Tool
- At the top of Photoshop under the word layers
- Click down arrow
- A list of different brushes will show up
- Click on the Special Effects folder to open the brushes
- A list of different brushes will show up
- Click down arrow
- At the top of Photoshop under the word layers
Step 15:
- Choose one of the Special Effect paint brush
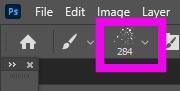
Step 16:
- Choose any color

Step 17:
- Paint over small areas of your project
Step 18:
- Try a couple other brushes to give your project variety
- You may change the colors as you go or keep the same
Step 19:
- Flatten Image when you are done
- Do Not add logo
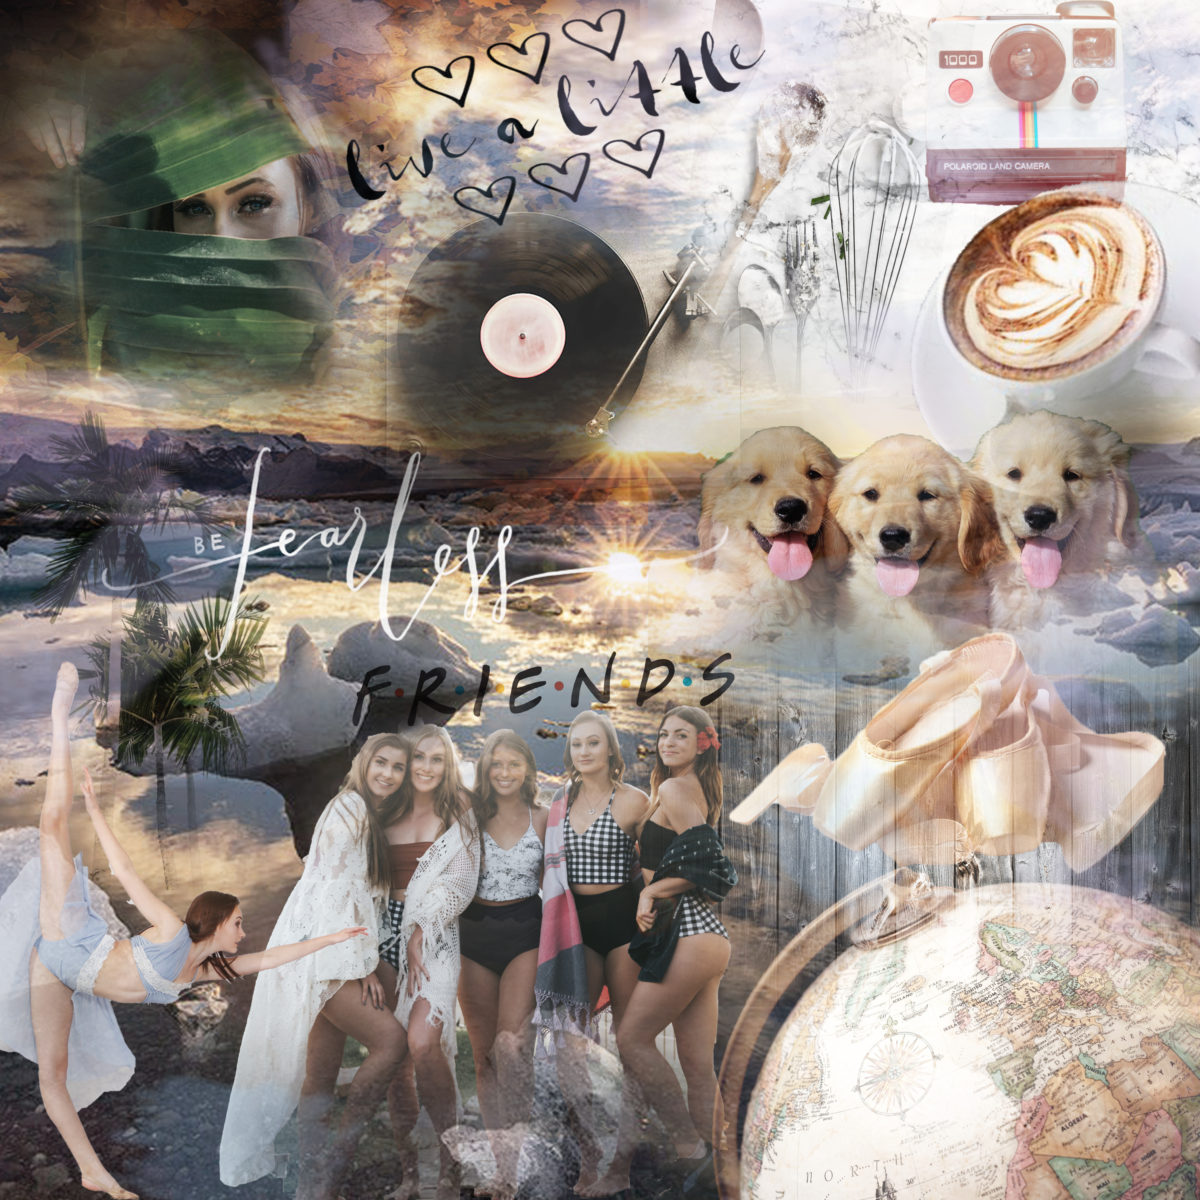
Examples of 100% Projects:


Examples of F Projects