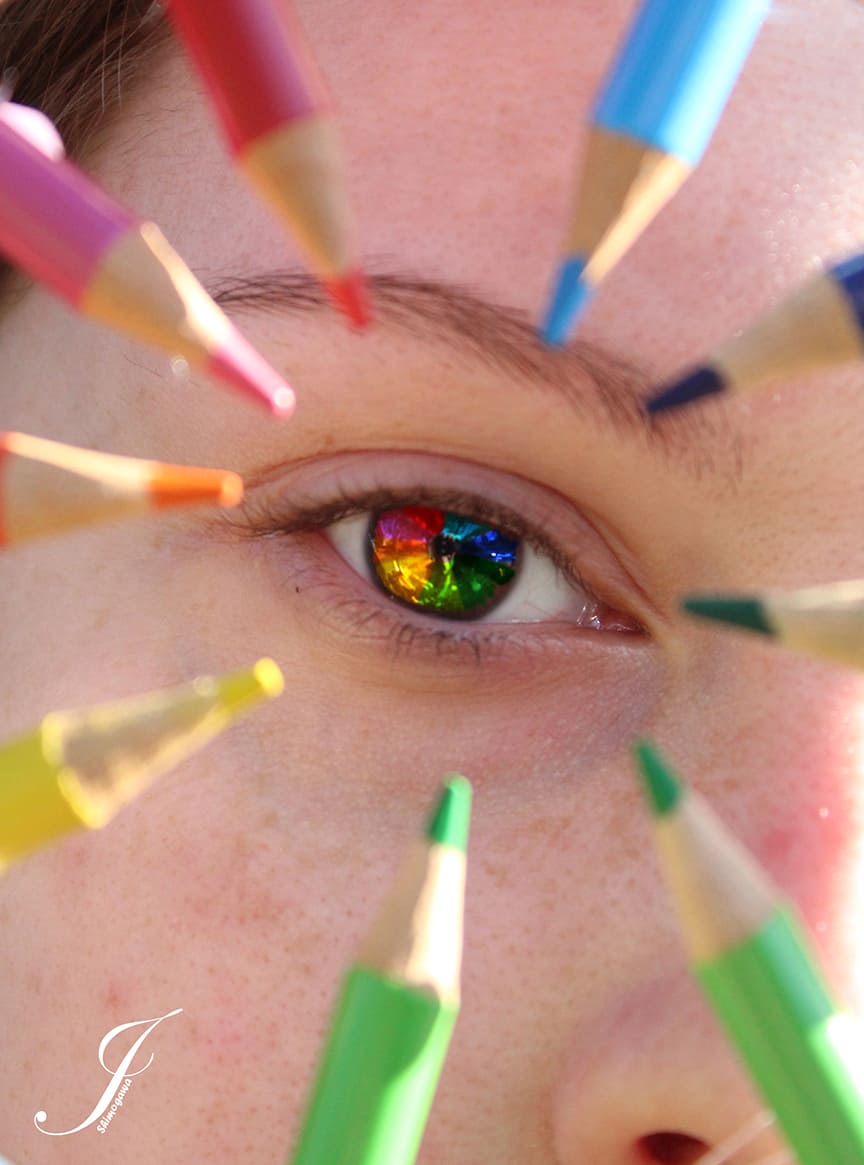
Photography
You will be taking this photo OUTSIDE but NOT in the direct sun
Set your camera to Manual
Iso 400, Aperture 12, meter for shutter speed
Focus on the center of the eye. The eye MUST be in sharp focus!!
Photoshop
Brighten Eye
Step 1: On the layers pallet click on the circle and select Levels

Step 2: Change Normal to Screen. Your whole photo will turn lighter

Step 3: Click on the white box on the Levels layer. Hold the Control and i key at the same time. This will turn the box black and the color will return to normal on the photo.

Step 4: Click on the brush tool and make sure white is selected. Paint over the iris of the eye.

Step 5: If the eyes look to bright, pull down the opacity


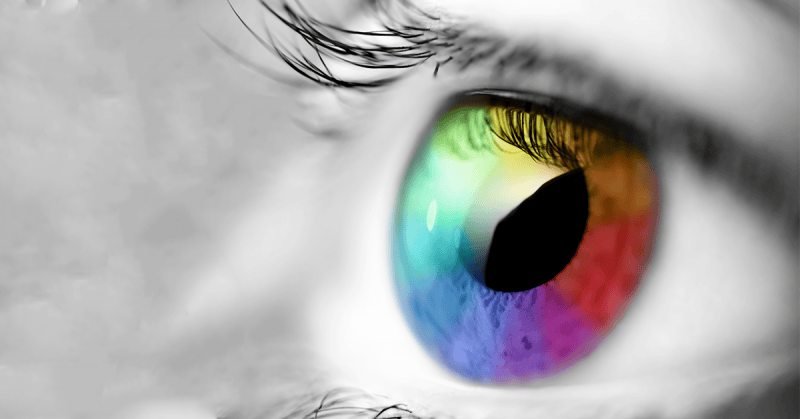
Color Painting

Step 1: –
- Start by using the adjustment Brightness/Contrast to make sure that the face area isn’t dark or light.
- -Crop out any extra stuff around the eye/pencil area.
- You don’t want to see a second eye or the metal rings.
- -If you see dried glue, clone stamp it out

Step 2: -Create a NEW Layer by clicking on the folded paper at the bottom of the layers pallet

Step 3: -Select the paint brush tool -Select a bright Red color from the color pallet at the bottom of the tool bar. -Paint on a small section of the iris of the eye. DO NOT paint on the pupil or white part of the eye. -Do not be Sloppy with painting in the iris area -Change the brush color to a bright Orange. Repeat steps above. -Continue until you have used all 6 colors in the color wheel.

Step 4: -On the Layers Pallet, change Normal to Overlay –
If your eye is to dark it will not show up. Use your adjustments to lighten they eye and retry doing overlay –
If there are any areas of the iris that you missed you can use the paint brush again and fill it in.

Step 5
Crop the photo so that only of of the eyes is showing.
![]()
![]()