Aperture Practice
Change next year for 2024
Assignment:
- Take 2 photo
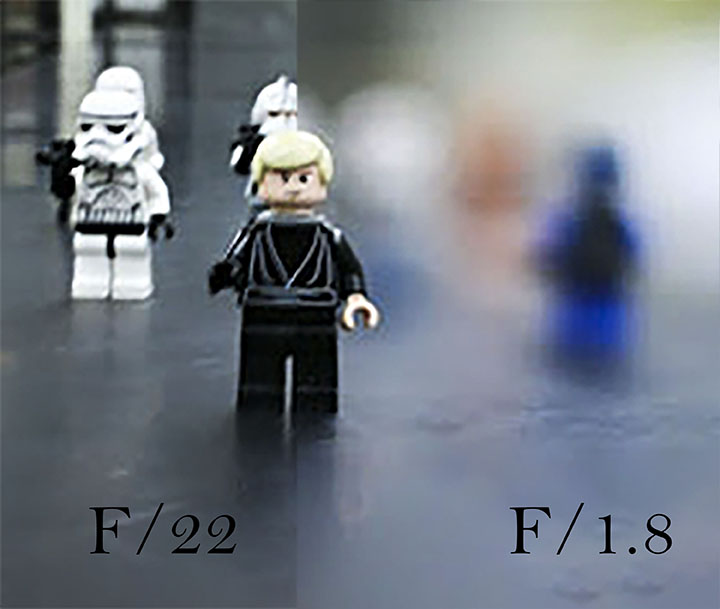
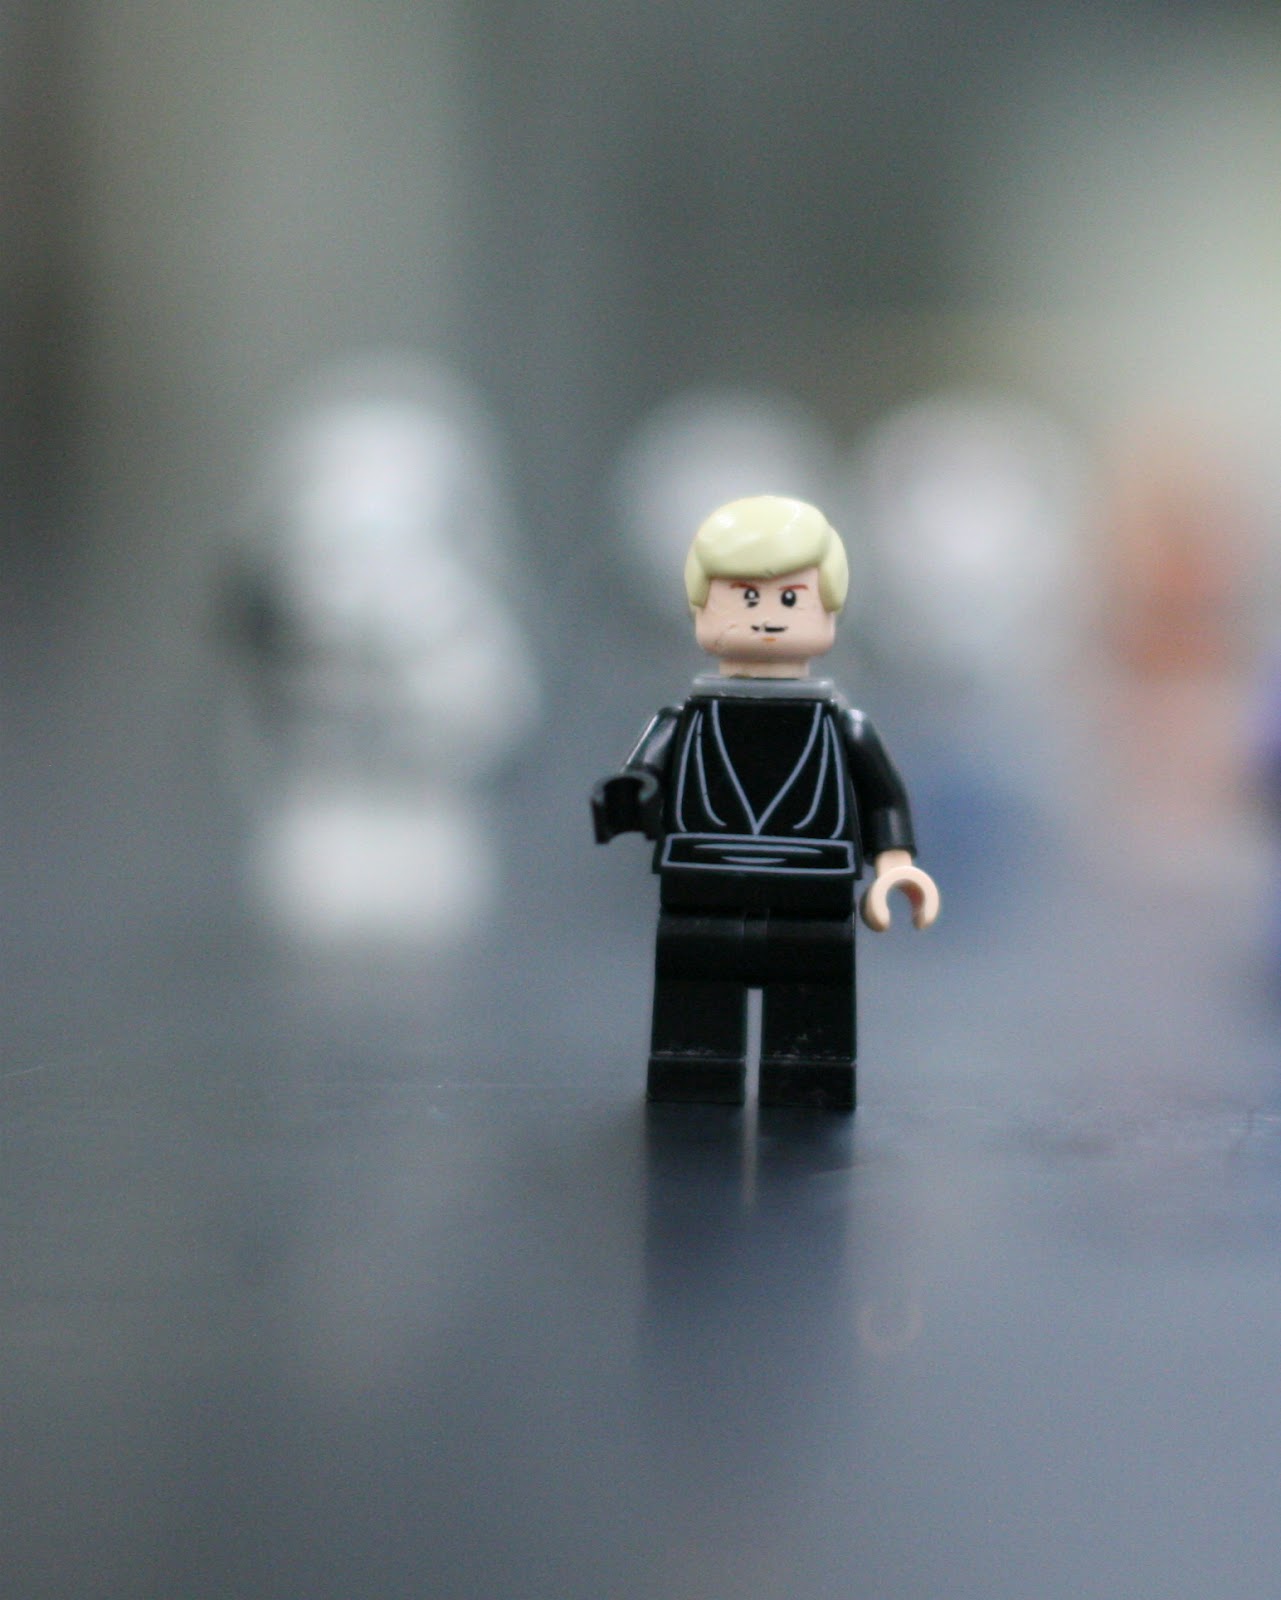
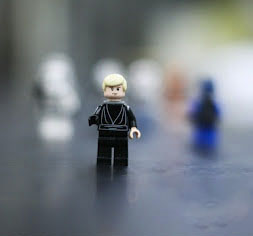
- One at the lowest aperture f/Stop (f/1.8 or f/5.6 depending on your camera lens)
- One at a high aperture f/Stop (f/18)
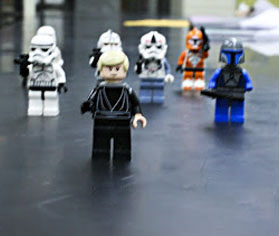
How to set up your items
Step 1:
Set up your items so they are not directly behind each other
- Scatter Your Items so they are spread out

NOOOOO
Do not line them up right in front of the other. 
Step 2:
Make sure camera is level with your objects.

- Do NOT shoot your items from above.

Camera Set Up
- Set your camera to the AV setting on the dial
- Set your aperture to the lowest it will go f/1.8 – f/5.6
- Each camera lens will be different
- Move in as close as you can
- Take a photo
- Do not move your items
- Do NOT move the camera
- Set your aperture at f/22
- Take a photo

Photoshop:
Step 1
- Open both the low and high aperture photo in photoshop
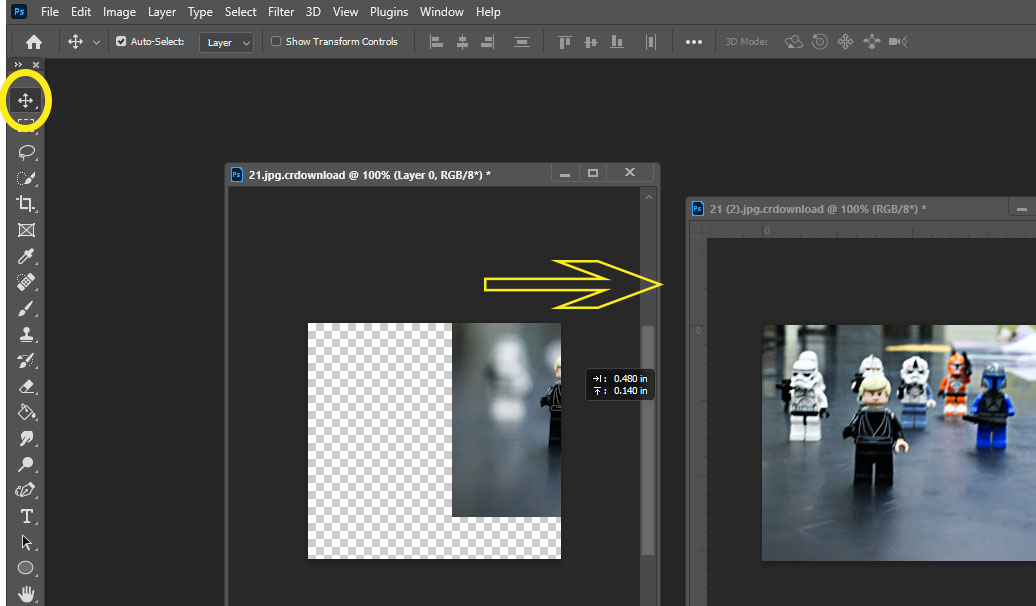
Step 2
- Click on the Move Tool
- Drag the LOW Apereture photo on top of the HIGH Apereture photo
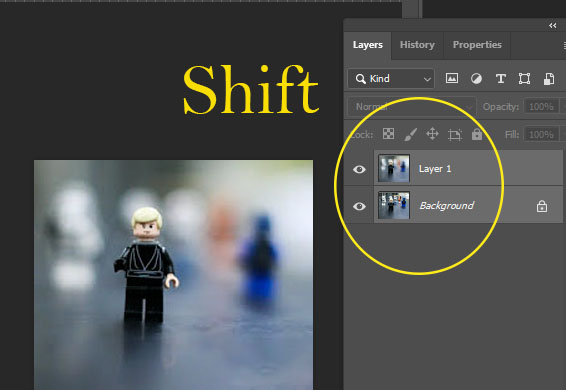
Step 3
- To highlight both layers
- Hold the Shift key and click on Layer 1
- Both layers will now be selected
- Hold the Shift key and click on Layer 1
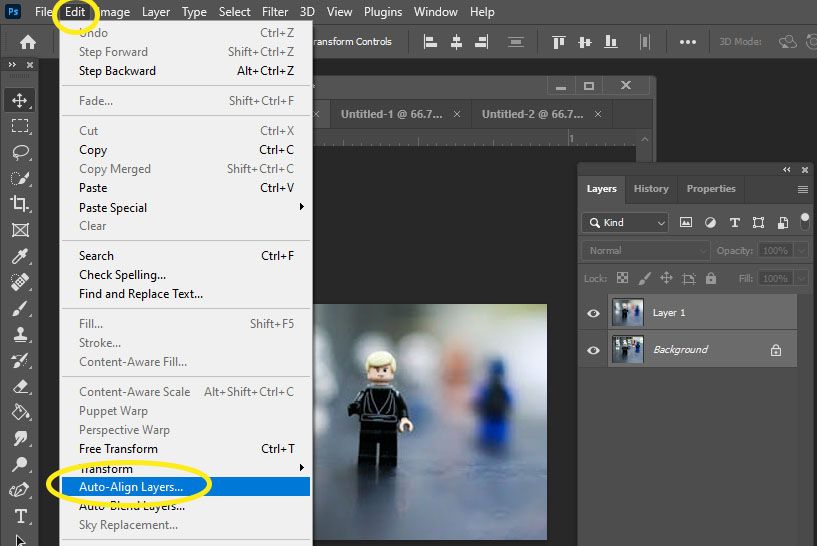
Step 4
- Edit
- Auto-Align Layers
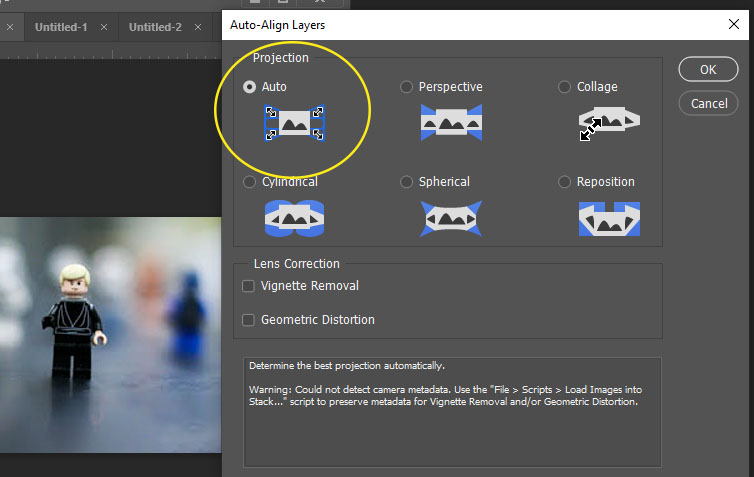
Step 5
- Select Auto
- Click OK
- The two images will now be aligned directly ontop of each other
- Click OK
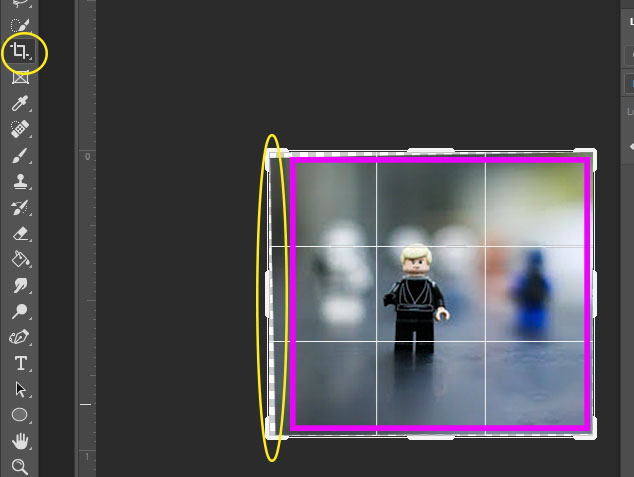
Step 6
- If you have any extra area around the image, we will crop it off
- Select Crop tool
- Draw over the are you want to keep
- Click Enter
- The extra areas will now be cropped out
- Click Enter
- Draw over the are you want to keep
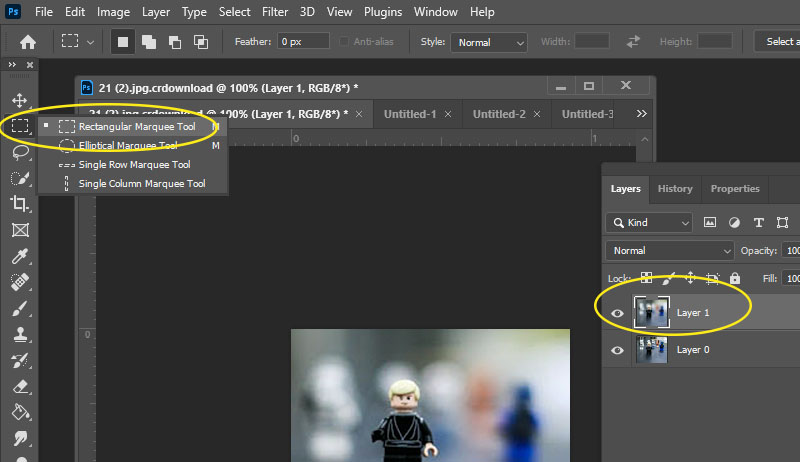
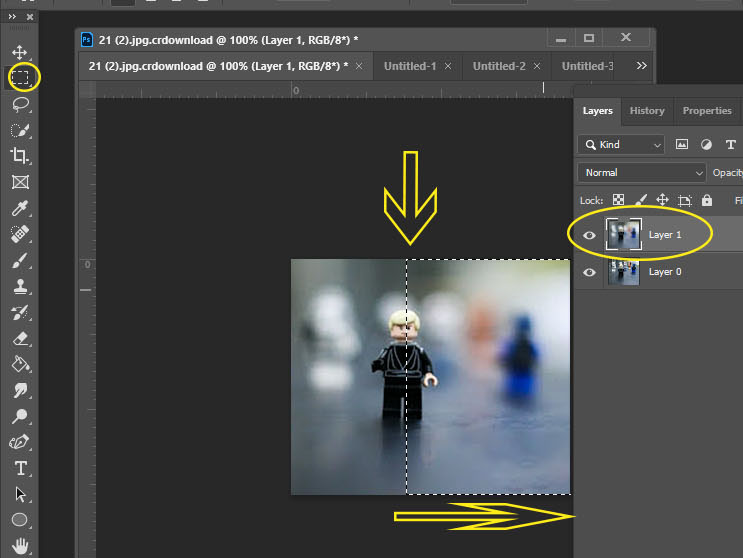
Step 7
- Select Layer 1
- Select the Rectangular Marquee Tool
Step 8
- Find the middle of the photo
- Draw the Rectangular Marquee Tool over half the photo
- You will now select half of the photo
- Draw the Rectangular Marquee Tool over half the photo
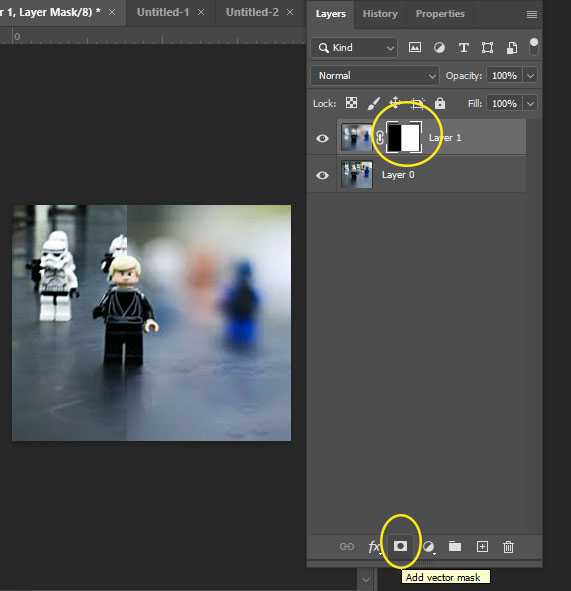
Step 9
- At the bottom of the Layers Pallet
- Click the box with a circle inside it