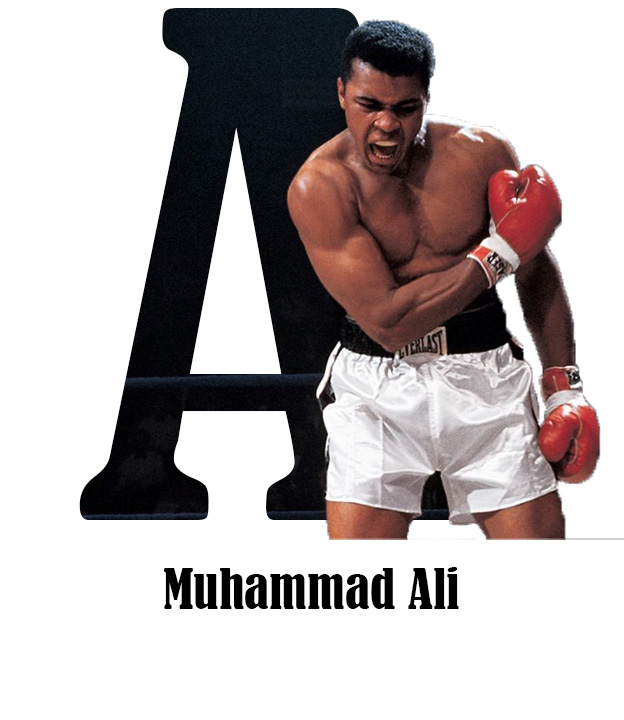
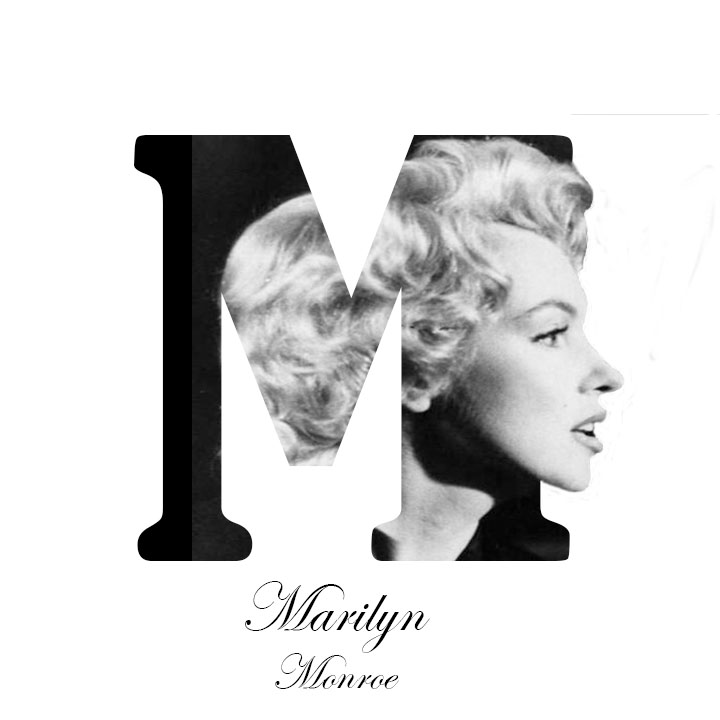
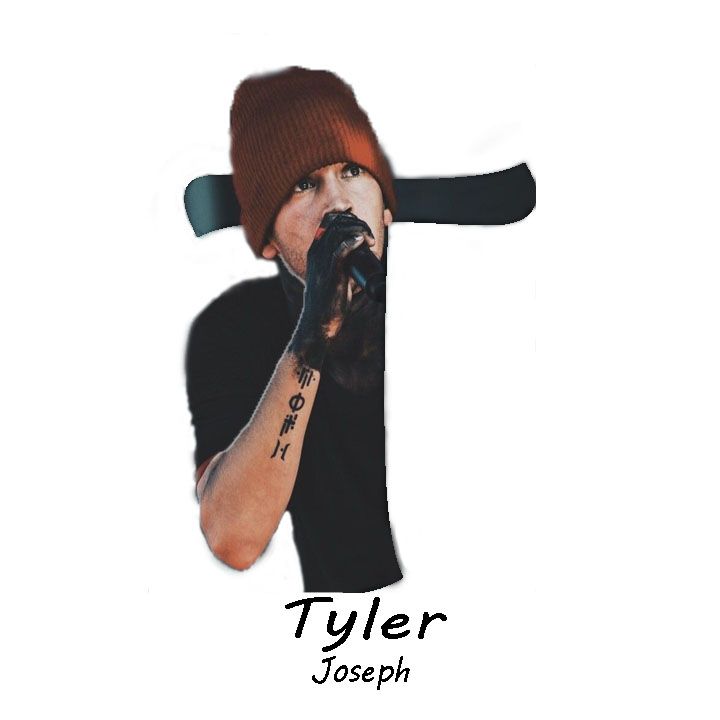

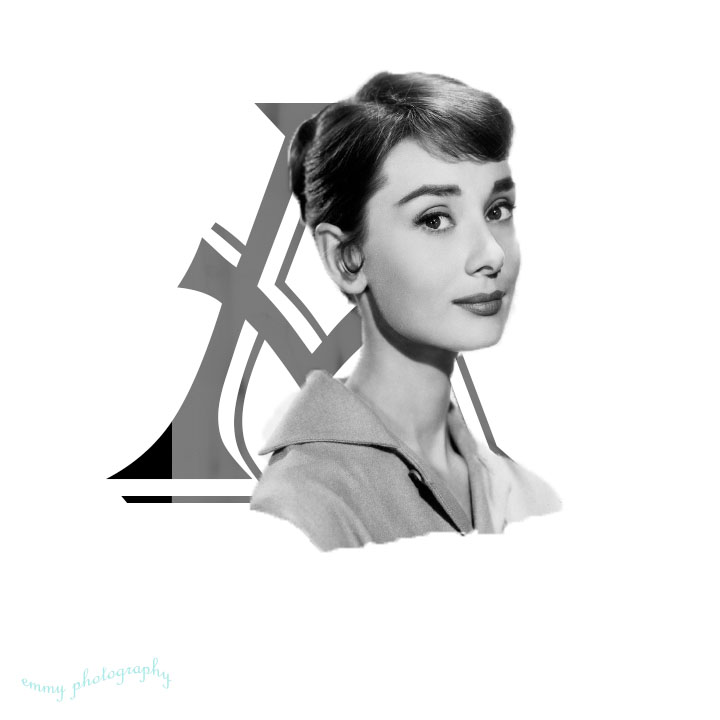
Photograph
- Pick a High Resolution Side Profile Photo
- Google
- (Person’s name) Side Profile photo
- The photo must be from the Side and not straight ahead.
- This may be full body or just their head
- The photo must be from the Side and not straight ahead.
- High resolution photos work best
- (Person’s name) Side Profile photo
- Google
- Warning!
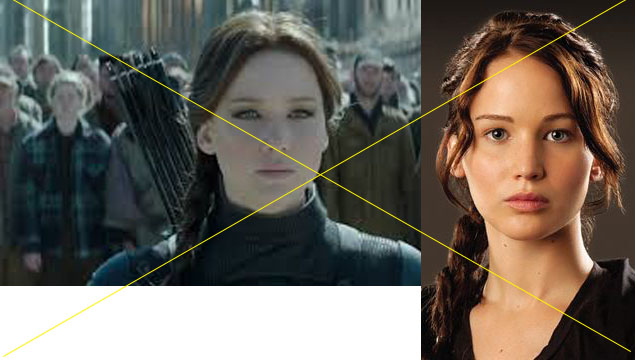
- Not every photo you choose will work for this project. You may need to pick a couple different ones.
NO
YES


Photoshop
Step 1:
- File-New
- 10 Inches width
- 10 Inches height
- Resolution 72
- Background Color is WHITE
Step 2:
- Select the Text Box
- Draw a box covers 3/4 of the page
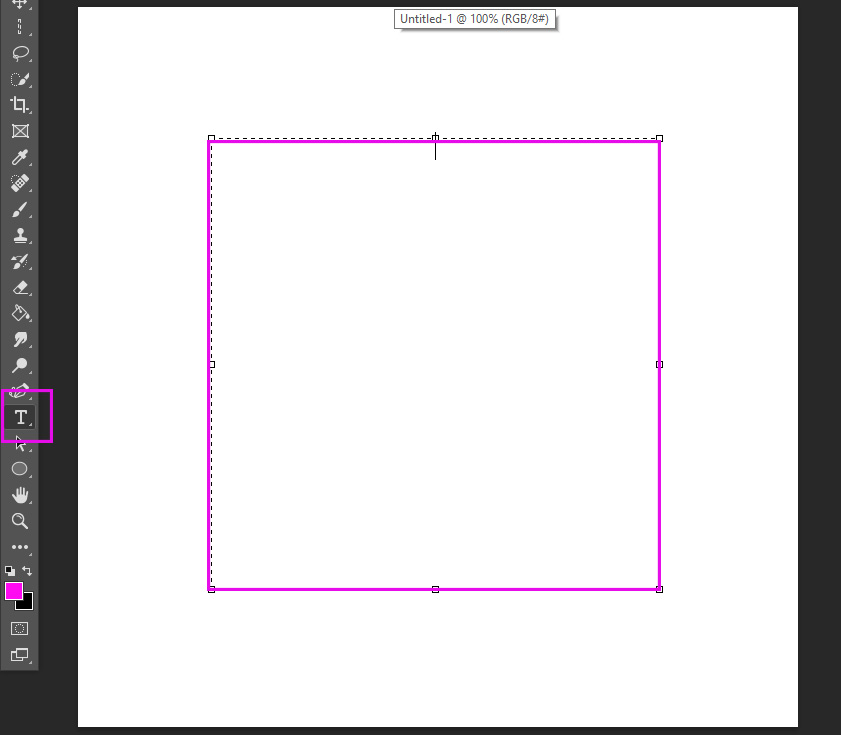
Step 3:
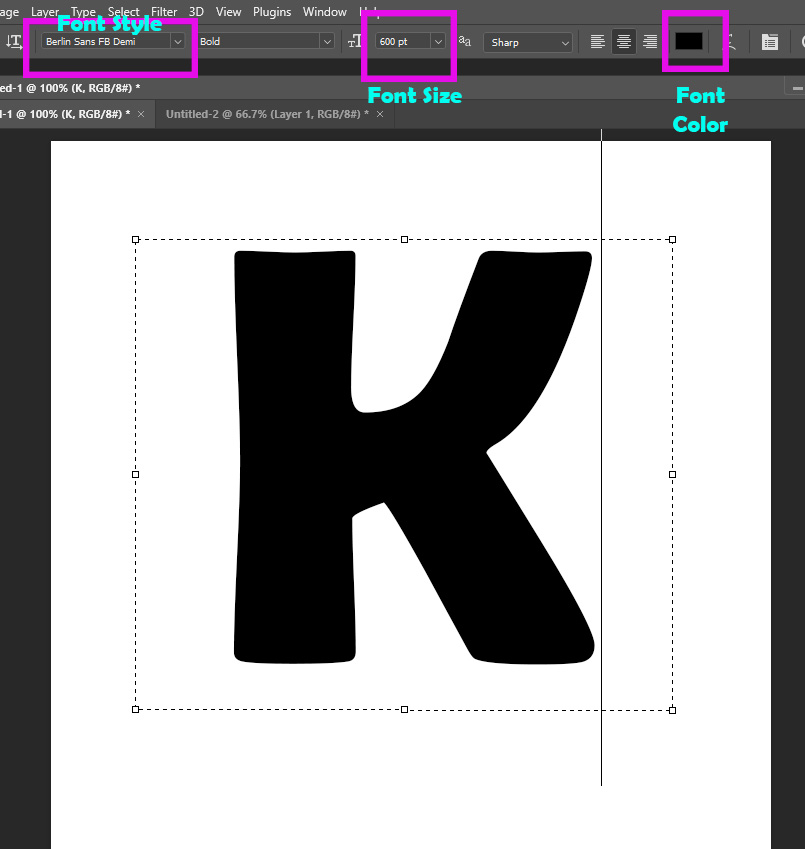
- Type the Initial of the Person you picked
- This can be from their First name or Last name or their character
- Font Size
- Between 500-700
- If the font is to big or two small change the size
- Between 500-700
- Font Style
- Pick any Style
- Font Color
- Black looks best but you may pick any color
Step 4:
- Open the image of the person
- With the Quick Selection tool
- Select around the person
- With the Quick Selection tool

Step 5:
- When you are done selecting the person
- Click Select and Mask
- Near the bottom of the new box that opens
- Smooth 15
- Contrast 10%
- Click OK

Step 5:
- Move the person onto the letter
- Reduce the opacity on Layer 1 so that you can see the letter through it
- Click
- Control T to make the person bigger or smaller
- Move the person so that part of their face is coming out of the letter
- You may also have parts of their body coming out of the letters
- Increase the Opacity back to 100% before going to Step 6

Step 6:
- Layer 1
- Right click
- Create Clipping Mask
- The photo will now be in the letter
- Create Clipping Mask
- Right click

Step 7:
- Right click on Layer 1 again
- Duplicate Layer

Step 8:
- Right click on the Layer 1 Copy
- Release Clipping Mask

Step 9:
- Reduce the opacity on Layer 1 Copy so that you can see the letter again
- Add a Mask (bottom of layers pallet)

Step 10:
- Select a Paint Brush
- Make sure its Black
- Paint out parts of the person that is between parts of the letter
- If you make a mistake, flip brush to white and paint it back in
- You want to see what the letter is so don’t take out to much or to little
- If you make a mistake, flip brush to white and paint it back in

Step 11:
- Increase the Opacity to 100%
Flatten the Image
NO logo

Step 12: Adding the name of the Person
- Click on the Text Box tool and draw a box below the letter/image
- Type the first name of the person
- Make sure the font size isn’t to big or small
- Type the first name of the person
- Click on the Textbox tool again
- Draw a second box underneath the person’s first name
- Type the person’s middle or last name
- Change the font size so that it is smaller then their first name
- Type the person’s middle or last name
- Draw a second box underneath the person’s first name


