
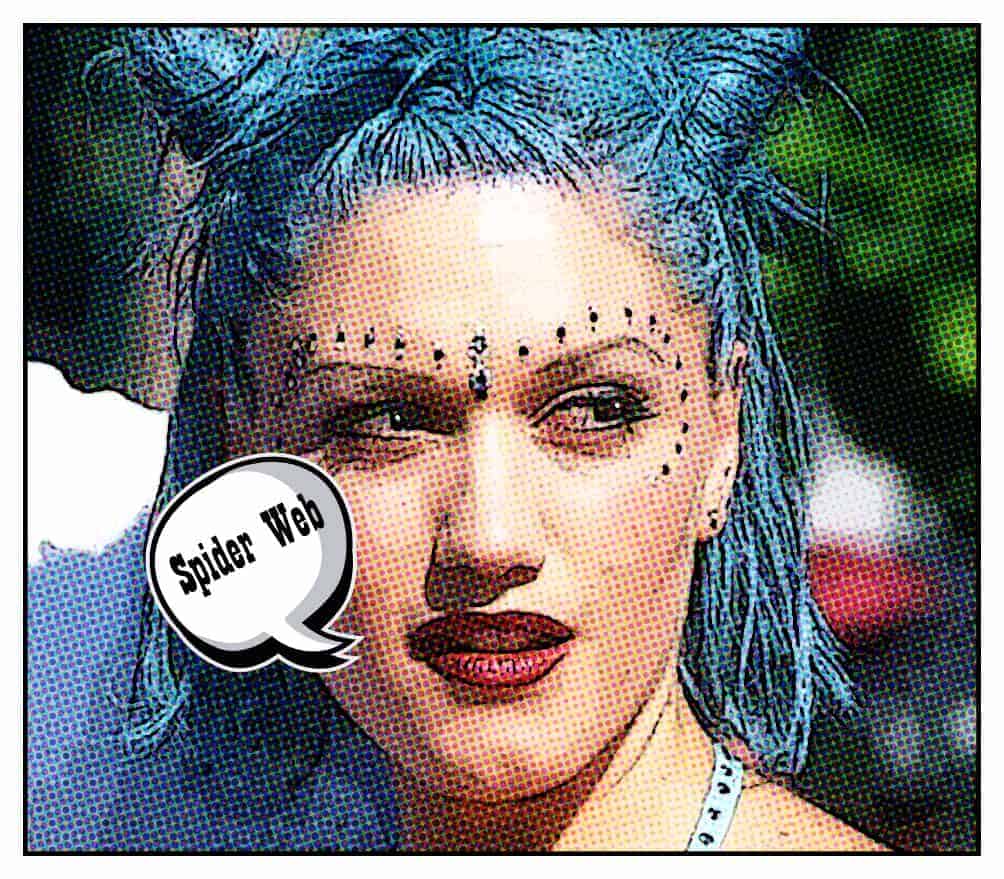
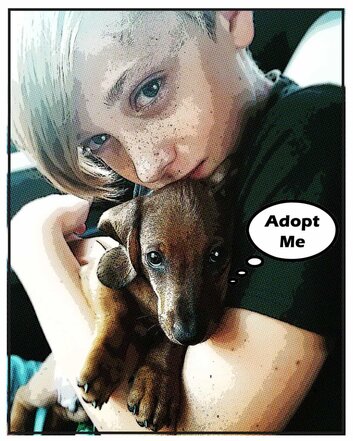
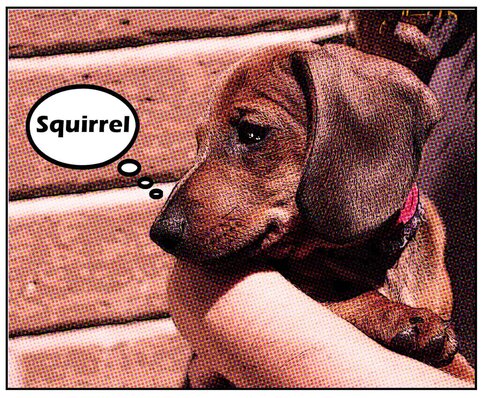
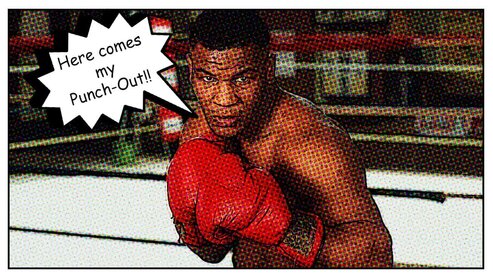
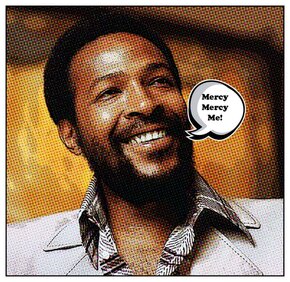
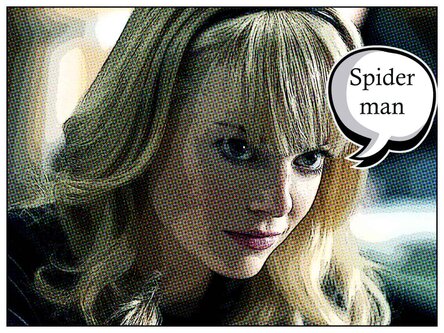
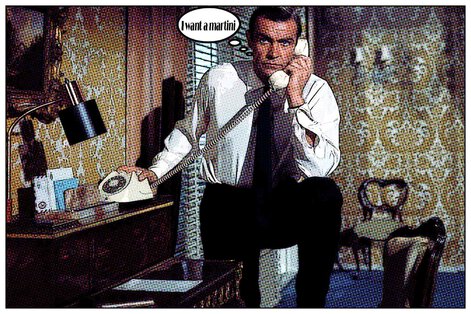
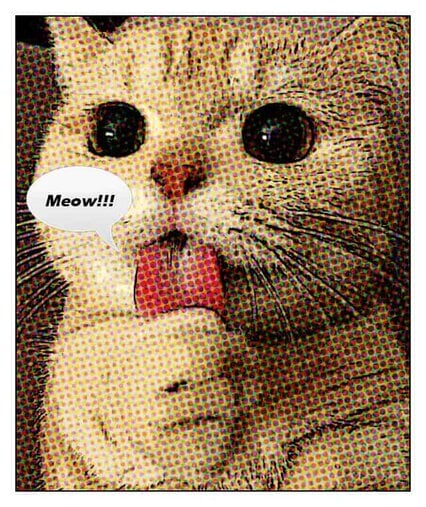
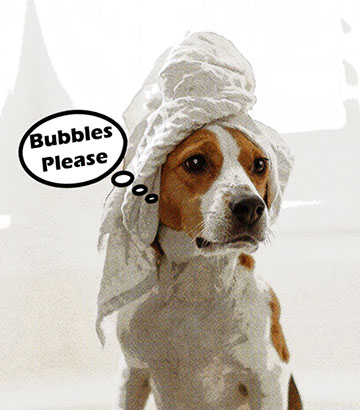
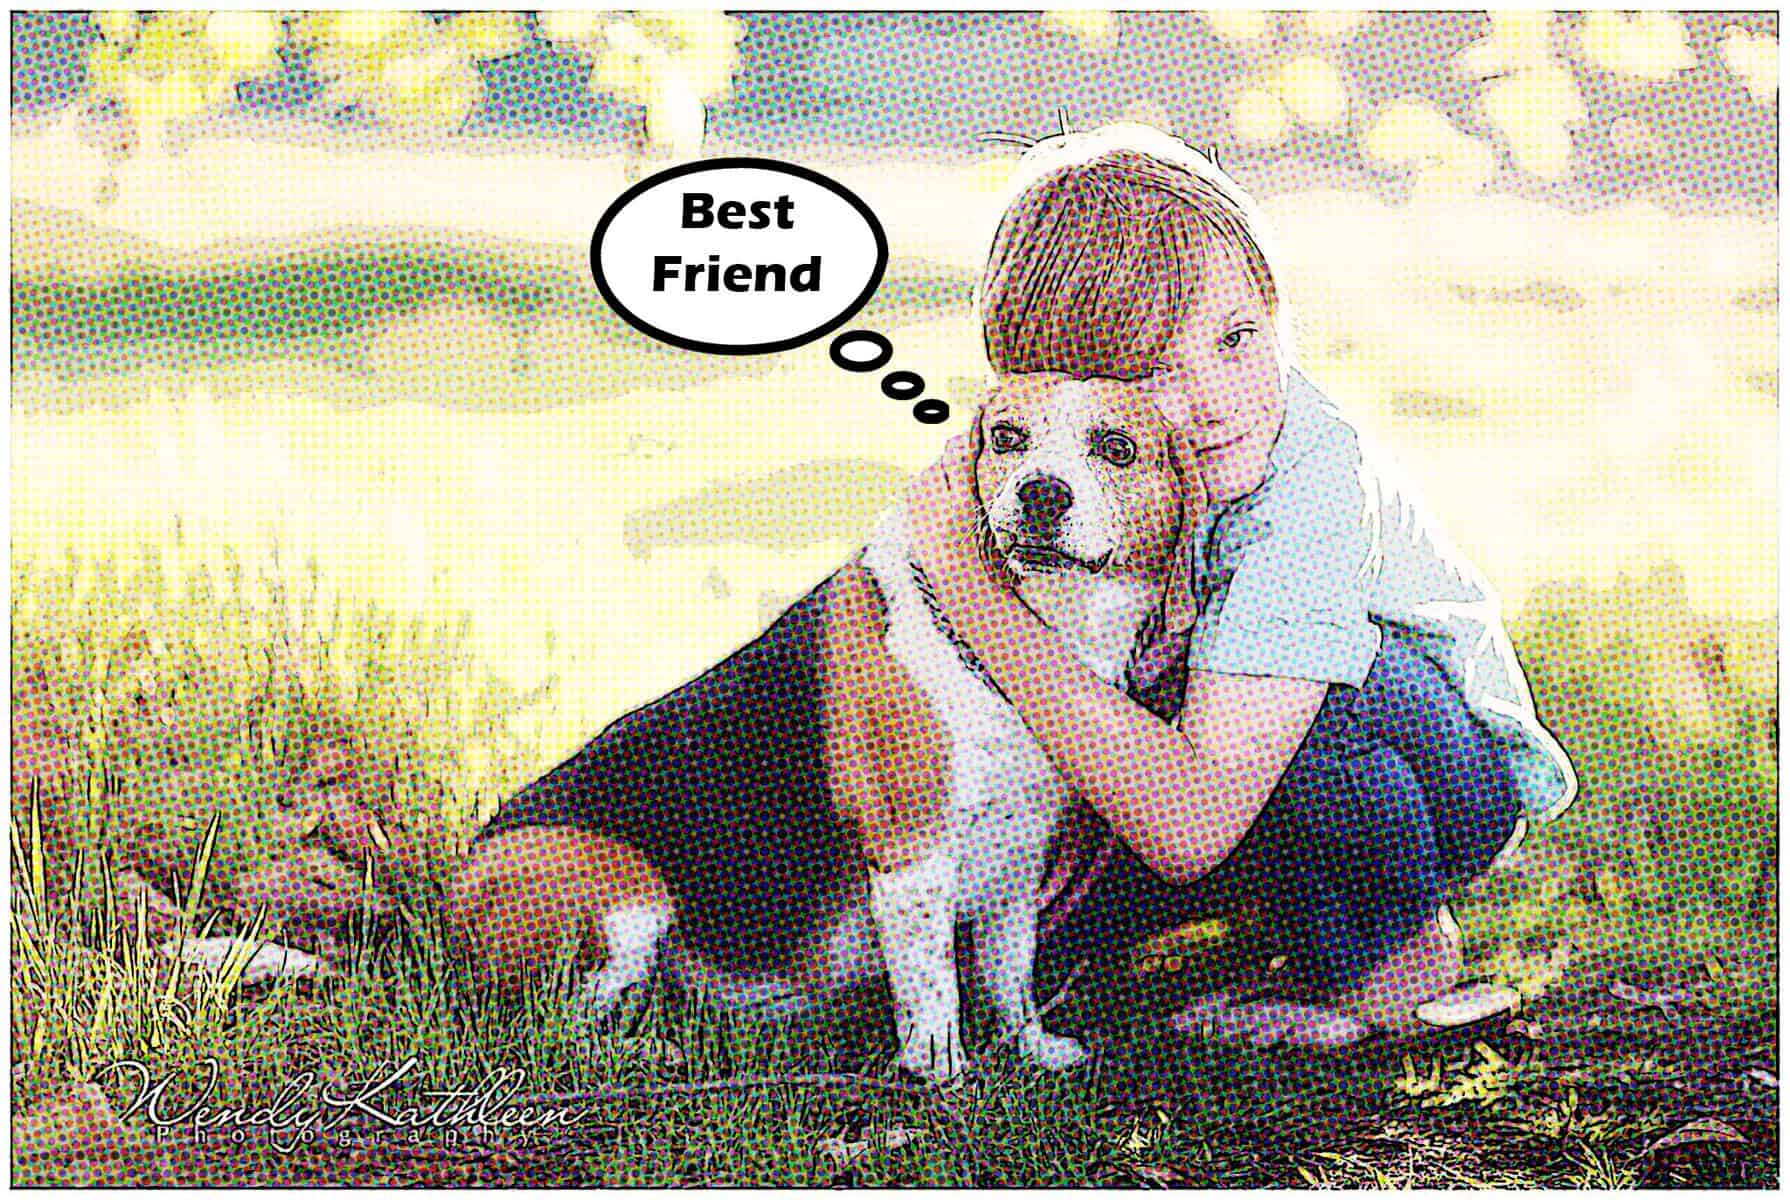
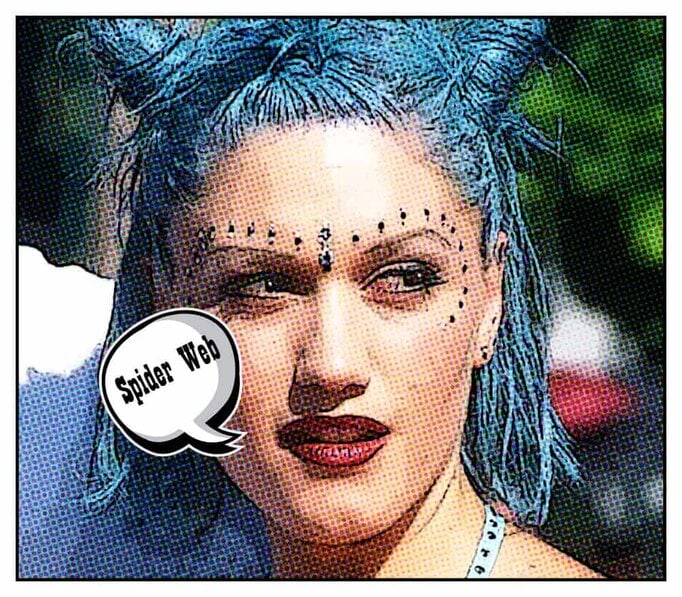
What is POP Art
Step 1:
- Pick an image from your own work or online
- The image should not have a lot of distractions in the background
- Must be high resolution (1000 pixels or higher)

Step 2:
- Go to Background on Layers
- Click Control J twice
- You will now have 3 layers
- Click Control J twice
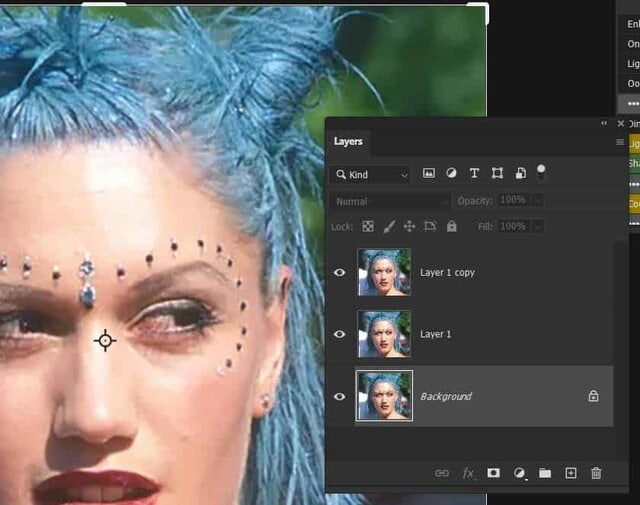
Step 3a:
- Double Click on Layer 1
- Rename Poster Edges

Step 3b:
- Double Click on Layer Copy 1
- Rename Color Halfton

Step 4:
- Click the Eye OFF on Color Halfton layer

Step 5:
- Click on Poster Edges on Layers
- Go to Filter
- Filter Gallery
- Go to Filter

Step 6:
- Click and Open Artistic folder
- Select Poster Edges
- Edge Thickness: 2
- Edge Intensity: 1
- Posterization: 2
- OK.
- Select Poster Edges

Step 7:
- Make sure you are still on Poster Edges layer
- Click Control + to zoom in on the eye

Step 8:
- Right click on the Rectangular tool
- Select the Elliptical Tool

Step 9:
- Make sure the following setting are selected
- Fill: White
- Stroke: white box with line through it
- Fill: White

Step 10:
- Catch Light is a small white section that shows in the eye when light hits it
- Draw a small circle anywhere in the eye
- DO NOT make it to big!
- Draw a small circle anywhere in the eye

Step 11:
- Click on the layer Elipse 1
- Click Control J
- This will duplicate the catch light layer
- Click Control J

Step 12:
- Click layer Ellipse 1 Copy
- Select the Move Tool
- Click on the small white circle you made
- Select the Move Tool

Step 13:
- Move the circle to the other eye

Step 14:
- Click the Eye on layer Color Halfton

Step 15:
- Go to
- Filter
- Pixelate
- Color Halftone
- Pixelate
- Filter

Step 16:
- Return to Layers
- Change Normal
- Soft Light
- Change Normal

Step 17:
- Click the Eye OFF on the Background Layer

Step 18:
- Right click on Posters Edges
- Choose Merge Visble

Step 19:
- Double Click on Posters Edge layer
- The Layer Style Box will open
- Click Stroke
- The Layer Style Box will open

Step 20:
- Click on Color
- Change to White

Step 21:
- Size: 23 pixels
- Position: Inside
- Blend Mode: Normal
- Opacity: 100%.
- DO NOT click OK
- Opacity: 100%.
- Blend Mode: Normal
- Position: Inside

Step 22:
- Click on
- Inner Glow
- Color: Black
- Inner Glow

Step 23:
- Blend Mode: Normal

Step 24:
- Opacity: 100%
- Choke: 100%,
- Size : 25 pixels
- OK
- Size : 25 pixels
- Choke: 100%,

Step 25:
- Save one of the Thought Bubbles to the computer


Step 26:
- File
- Place Embedded
- Choice the Thought Bubble you just saved
- Place Embedded

Step 27:
- The Thought Bubble will show up in the middle of the project
- To make the bubble Smaller or Bigger
- Click on one of the corners and change the size
- To make the bubble Smaller or Bigger


Step 28:
- Select the Text Box Tool
- Draw a Text Box over the Thought Bubble

Step 29:
- Type in a Word or Short Phrase to go with your image………get creative……must be appropriate

Step 29:
- Pick a Color
- Pick a Font that looks cartoonish
- Pick a Font Size that fills up most of the bubble
- Pick a Font that looks cartoonish

Step 29:
- If your text need to be tilted
- Click the Text Layer
- Click Control T
- Rotate the Text until it fits in the box
- Click Control T
- Click the Text Layer

Step 30:
- Right Click anywhere on Layers
- Flatten Image
- Save on Computer
- Flatten Image

