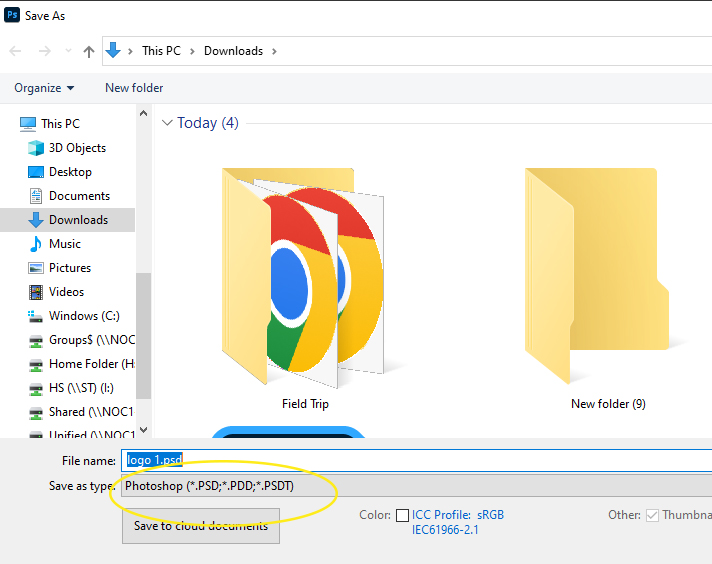
Step 1: You will be creating a second logo where you add shapes/symbols
- Repeat Steps 3-6 from Logo 1
- You can keep the same name but you will need to change something on it (ex. font/color/size)
Step 2: Adding a Shape
- Find the shape tool (above the white hand)
- Right click on the shape tool to revel all the shapes

Step 3:
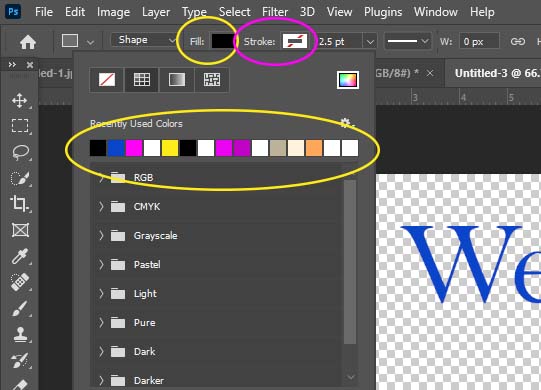
- Click on Fill and pick the color you would like for the shape
- Click on Stroke and make sure it is white with a red line through it
Step 4:
- Start Drawing with your shape anywhere by the text
- You will now have 2 layers on the layers pallet now
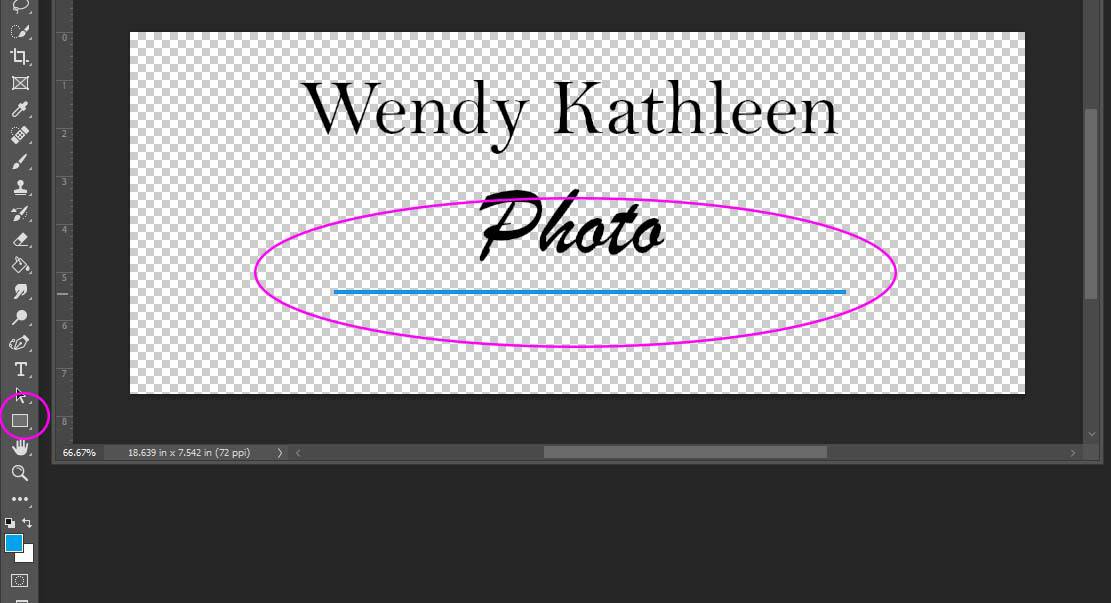
Step 5: Moving shape
- To move the shape around use the Move tool
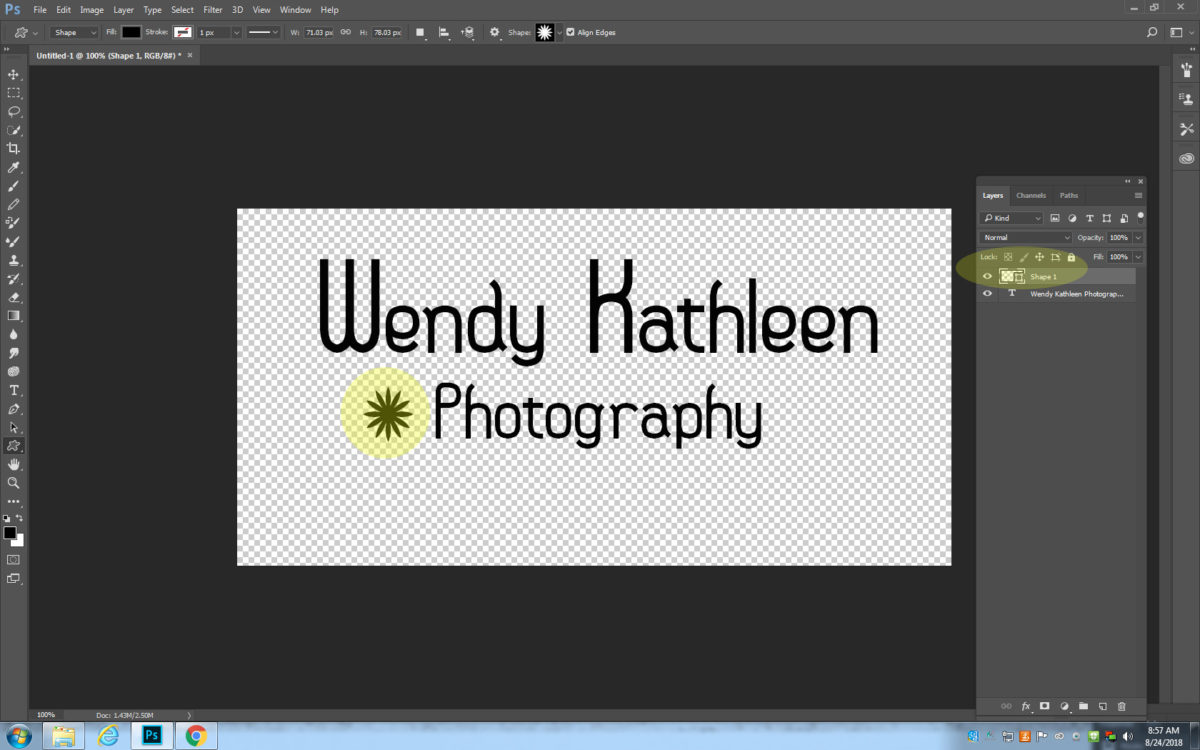
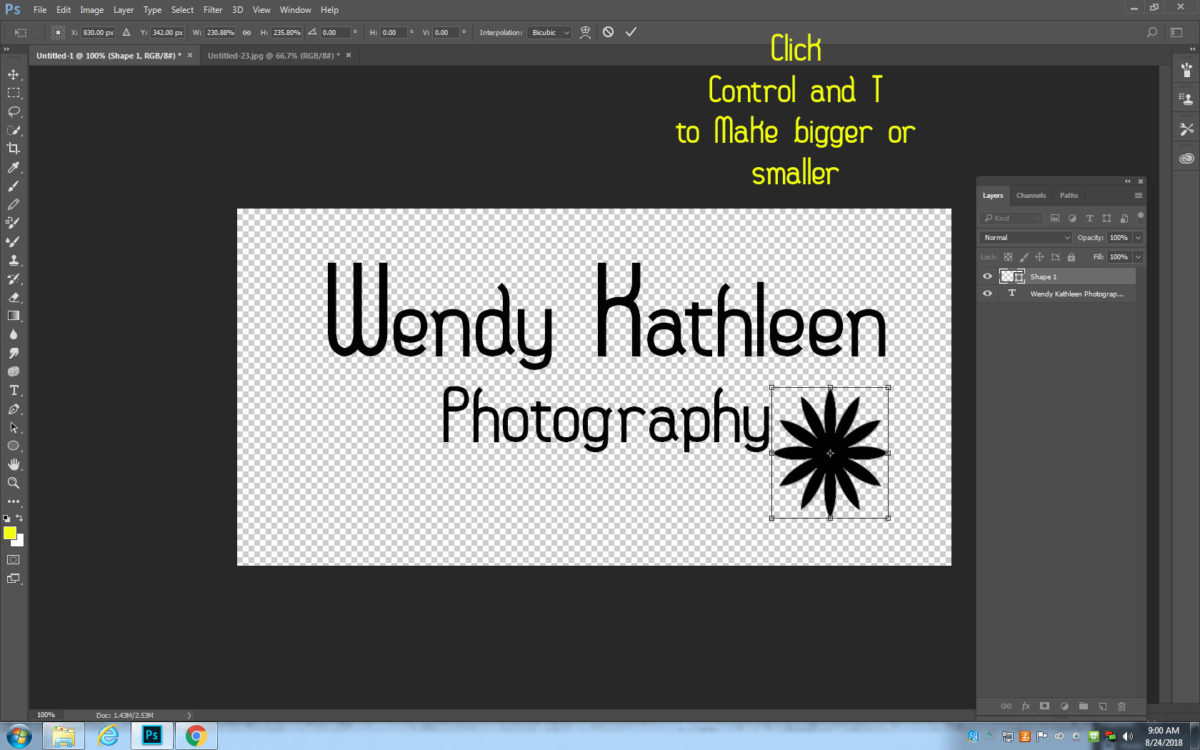
Step 6: Bigger or smaller shape
- To make the shape bigger or smaller click
- CONTROL and T
- A box will show up around it
- Click on one of the corners and drag it bigger or smaller
- To make the shape bigger or smaller click
Step 7: Changing the Shape Color
- Go to the Gradient Tool
- Right Click the gradient tool
- Pick the Paint Bucket Tool
- Right Click the gradient tool
Step 8: Picking the color
- At the bottom of the Tool Bar
- click on the colored box.
- Pick the color you would like

Step 9:
- Move the paint bucket tool directly ontop of the shape you are changing the color of
- When it asks if you want to resaturize your layer click ok
- The shape will now change color

Step 10:
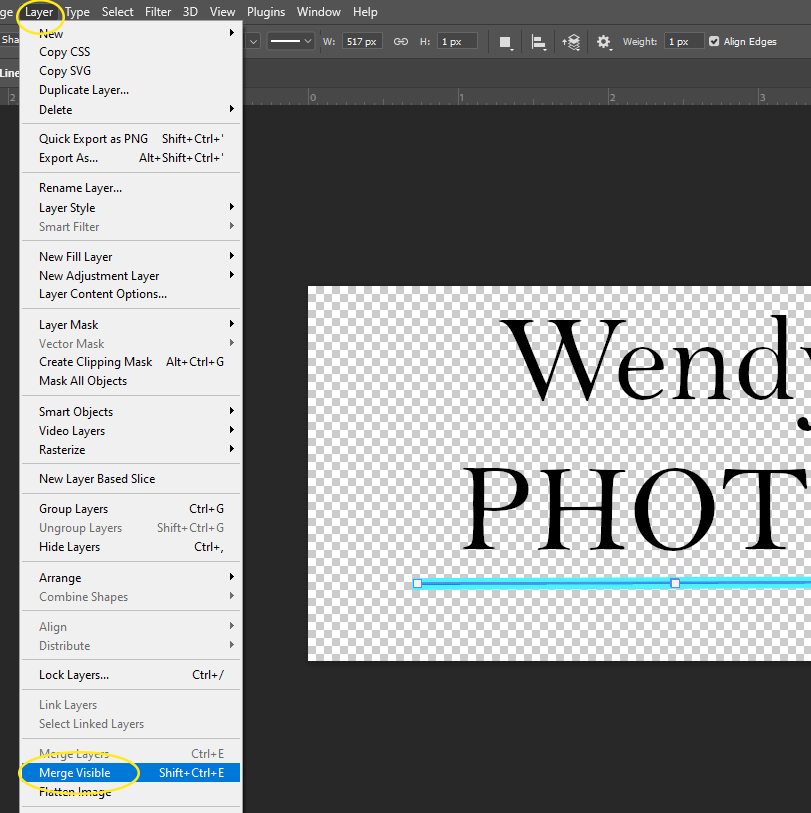
- When you are completely done with your logo
- Go to
- Layers
- Merge Visible
- Go to
- You are ready to save your logo now
- Go to
- File
- Save As PSD file
- Name Your file Logo 2
- Go to
- Upload this file to your Google Drive Photo Class
