Step 1:
- Select the Adjustment Gradient Map.
- Make sure Reverse is checked
- This will turn your photograph black and white.
- Make sure Reverse is checked

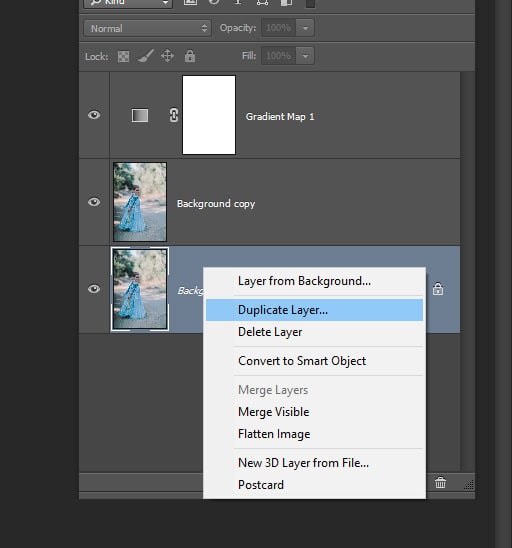
Step 2:
- Right click on the Background Layer
- Pick Duplicate Layer
Step 3:
- Go to:
- Filter-
- Stylize
- Diffuse
- Stylize
- Filter-

Step 4:
- Select Lighten Only
- Click ok.

Step 5:
- Change Normal to Screen

Step 6:
- Return to your Background Layer
- Right click and Duplicate Layer again.

Step 7:
- Click on the Background Copy 2
- Hold and drag it to the top of the layers pallet (above the Gradient Map Layer)

Step 8:
- Click on Normal
- Change to Soft Light

Step 9:
- Click the White box on the Gradient Map Layer.
- Select a black brush
- Paint over the subject to bring back the color
- Select a black brush
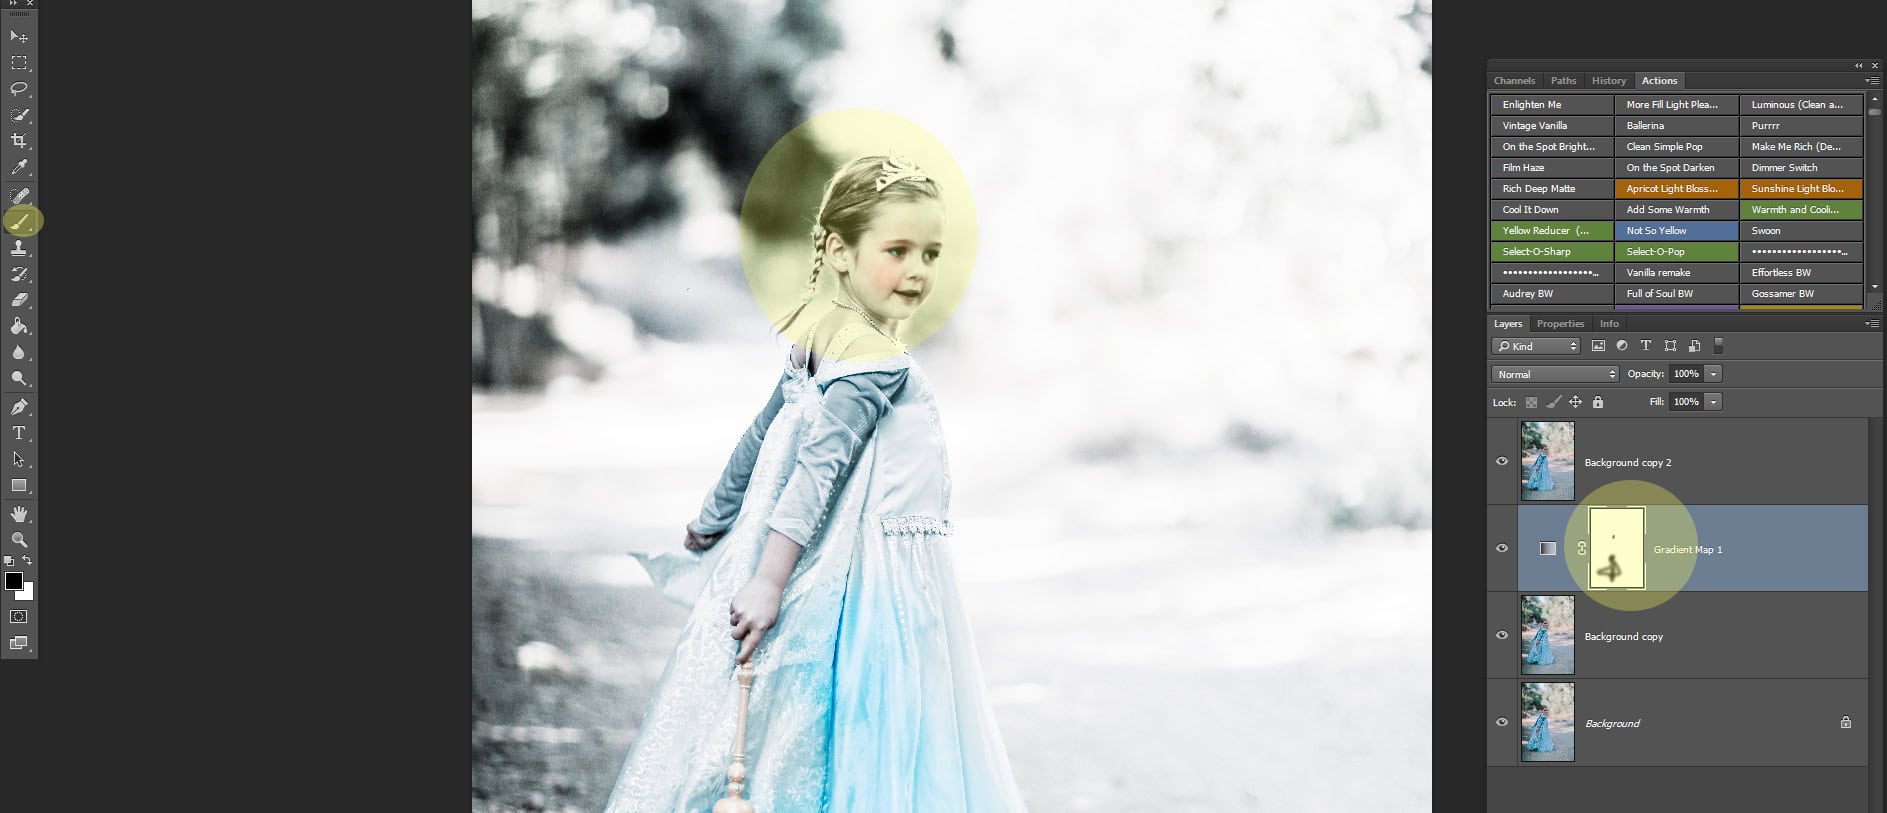
Step 10:
- Hold the Control key
- Click on the White Layer Mask Box at the same time.
- The person has now been selected.
- Click on the White Layer Mask Box at the same time.

Step 11:
- Click on the Background Copy Layer
- Click on the Layer Mask icon at the bottom of the layers pallet

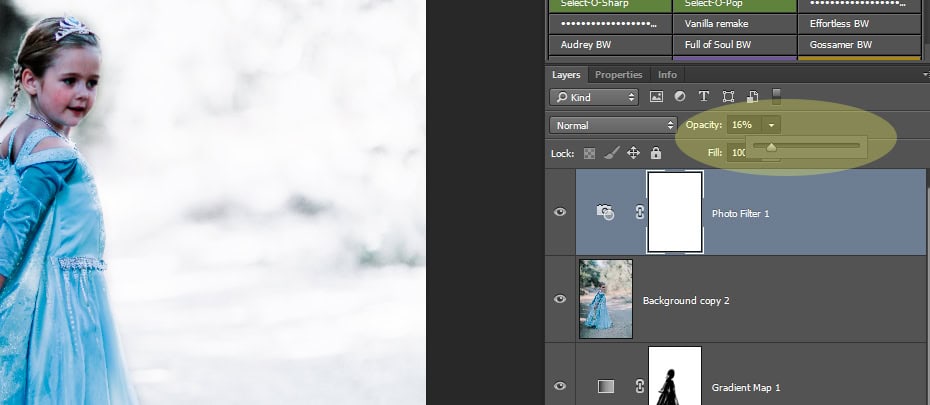
Step 12:
- Lower the opacity until it looks realistic
Step 13:
- Flatten the image

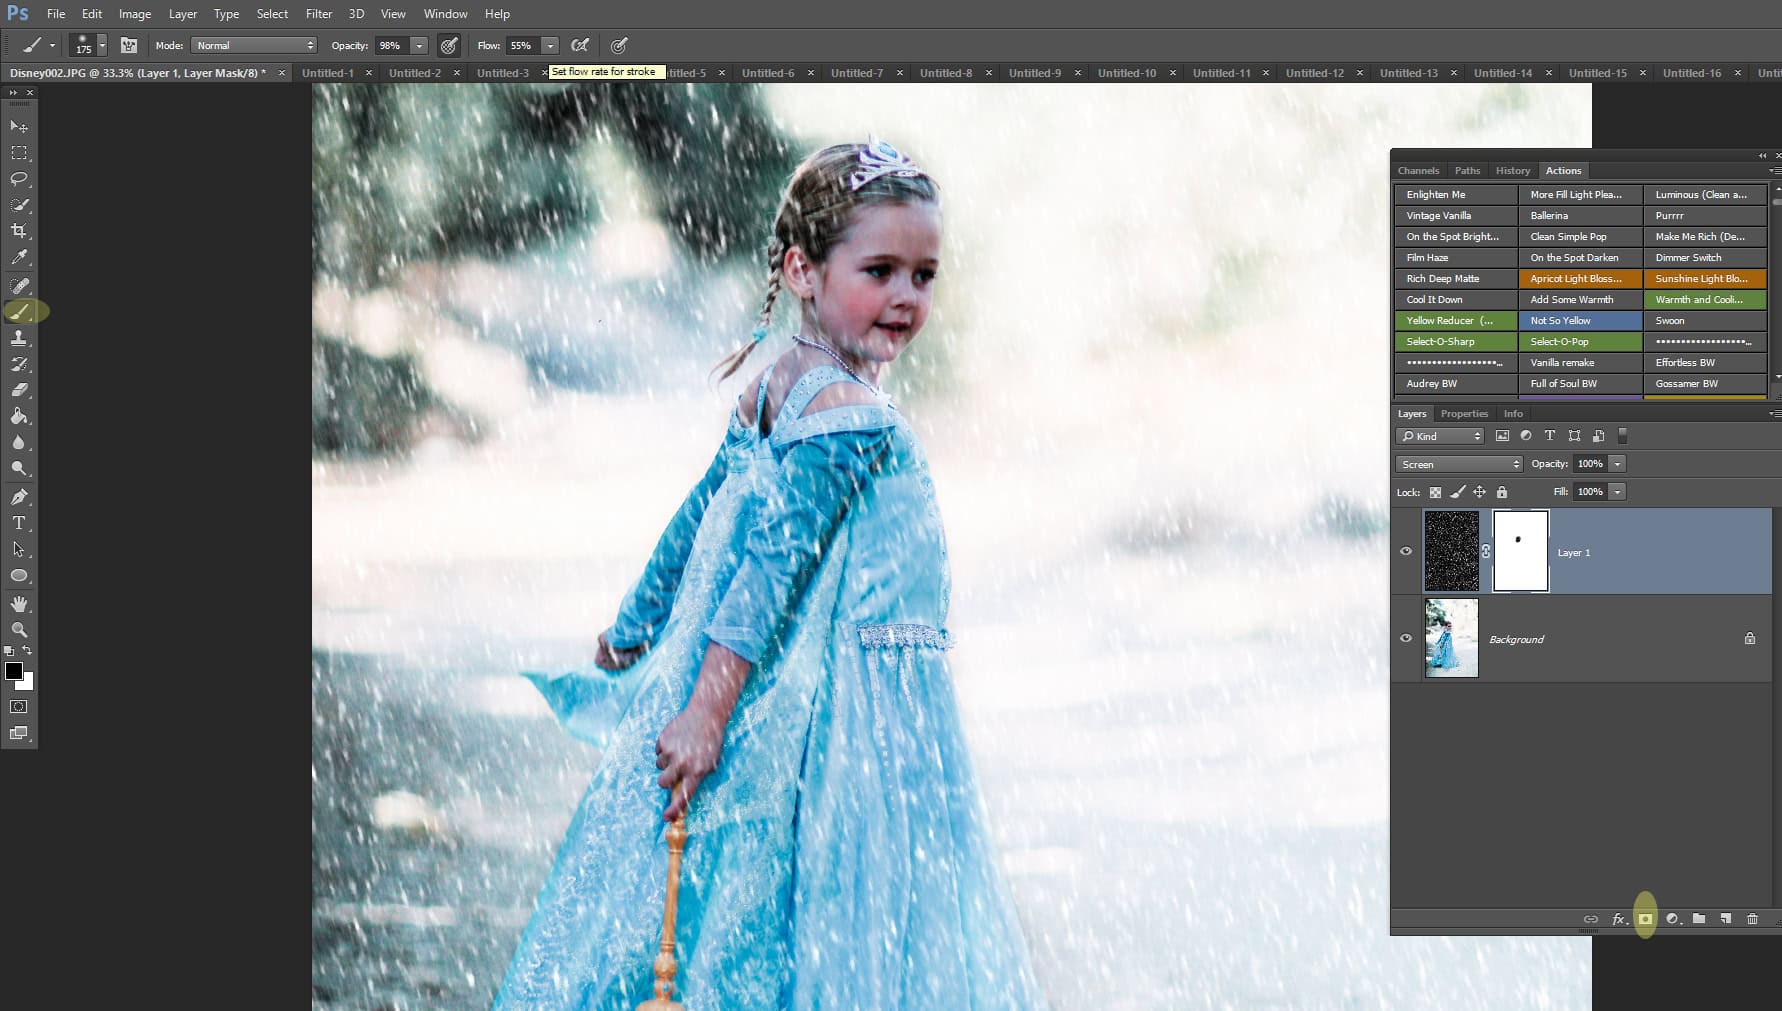
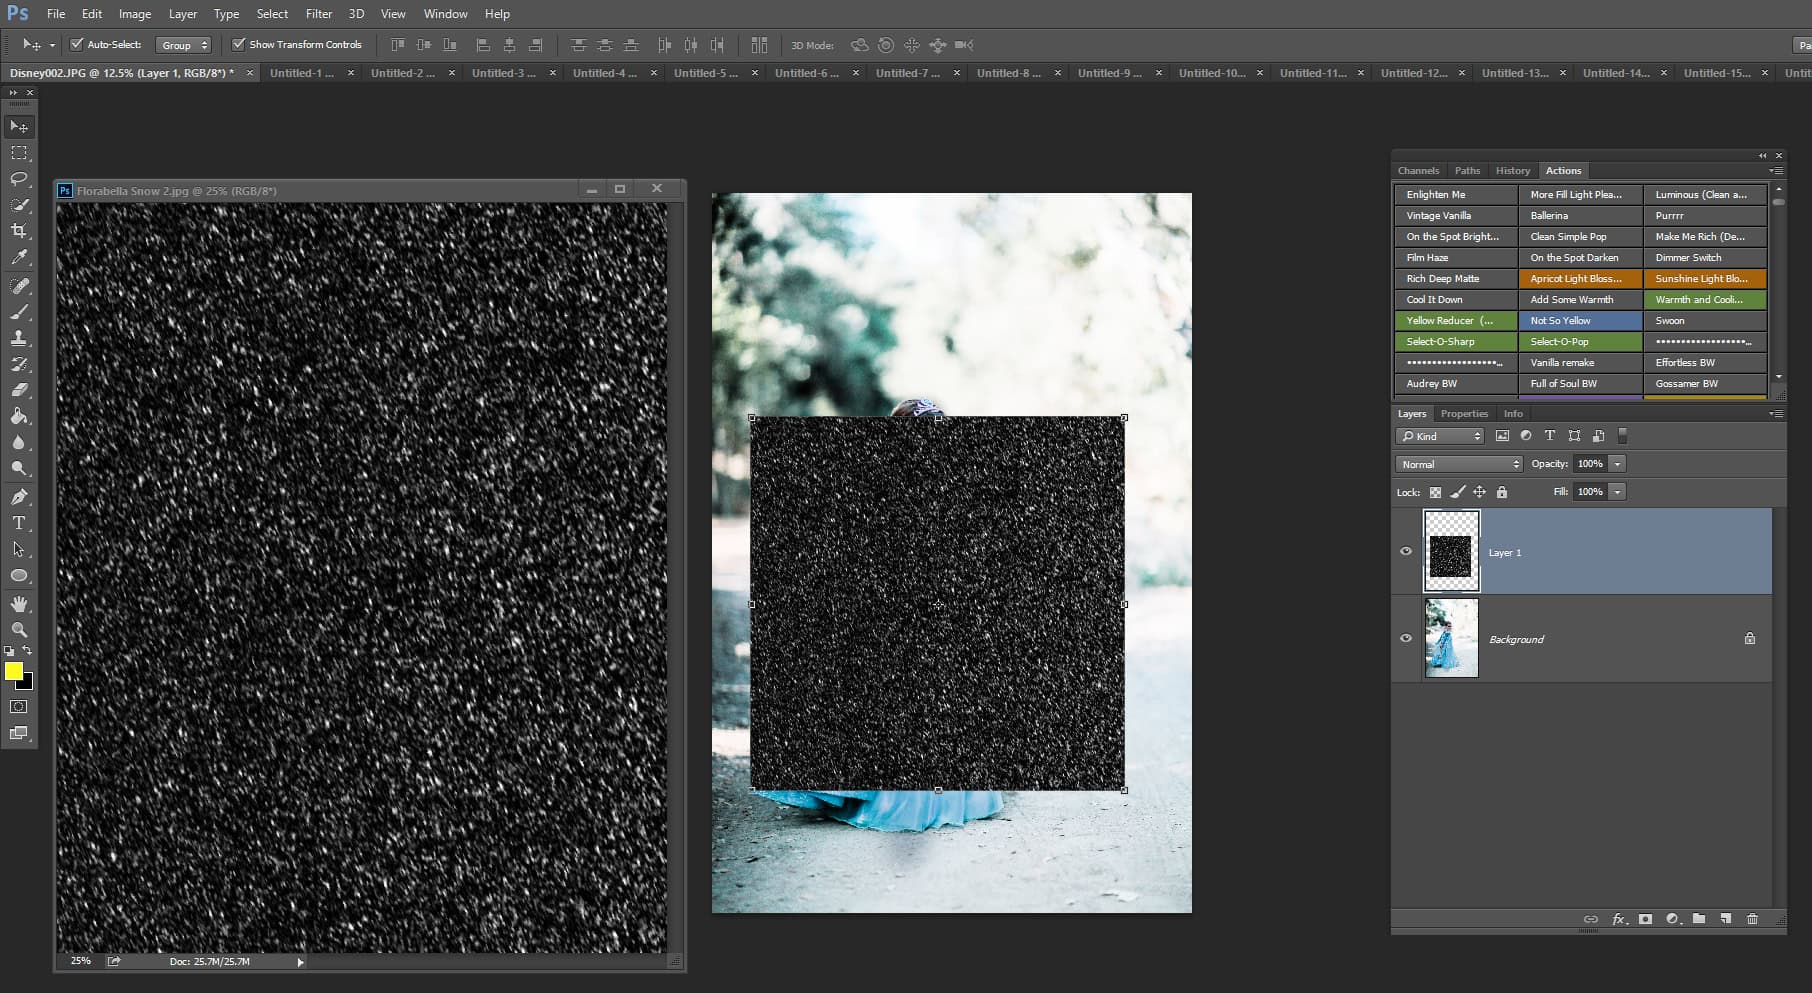
Step 14:
- Open the snow texture.
- Move it on top of the the winter photo.
- Click Control T to make the texture fit.
- Move it on top of the the winter photo.
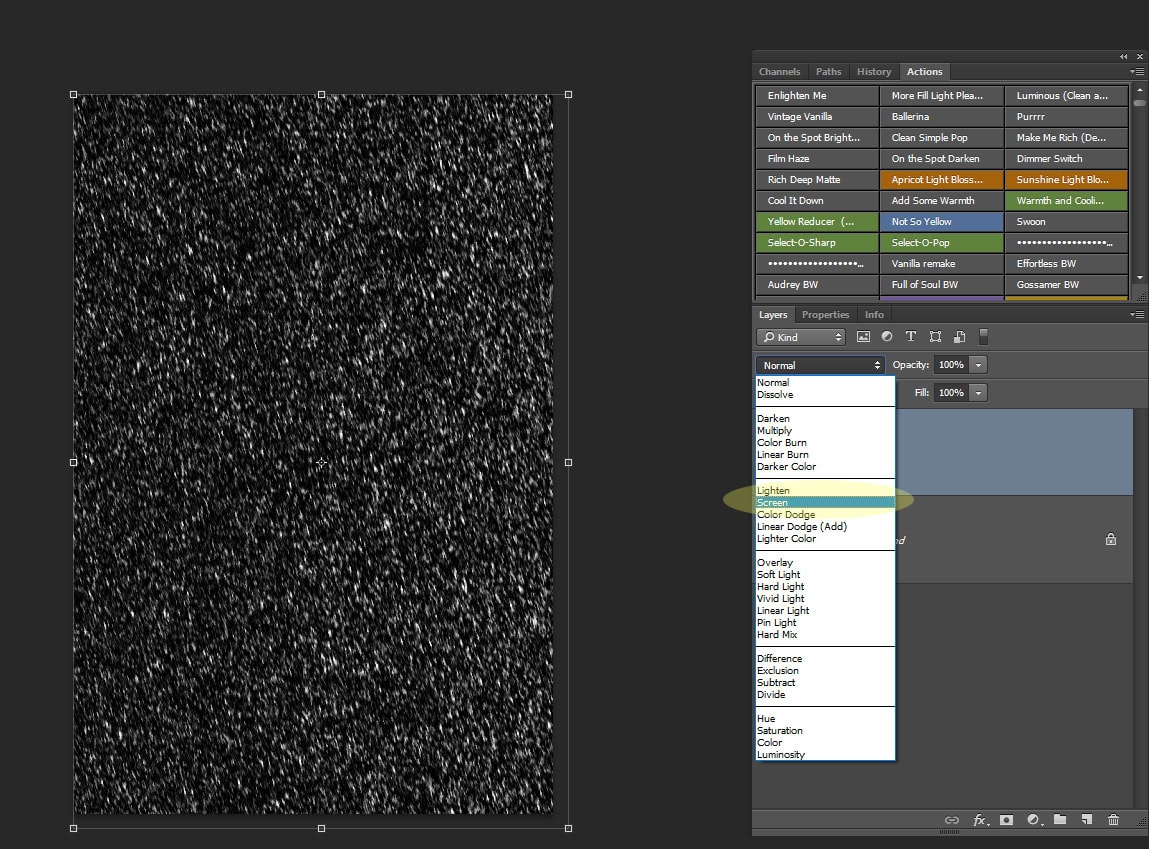
Step 15:
- Change Normal to Screen
Step 16:
- Add a Layers Mask (icon that look like a camera). This will add a white box next to the snow layer.
- Select a black brush
- Pull the Opacity down to about 50-70%
- Paint over sections of the subjects skin and small areas on the clothing.
- Do NOT paint off to much from the subject or it will look fake.