
Part 1: Picking the Images
Step 1
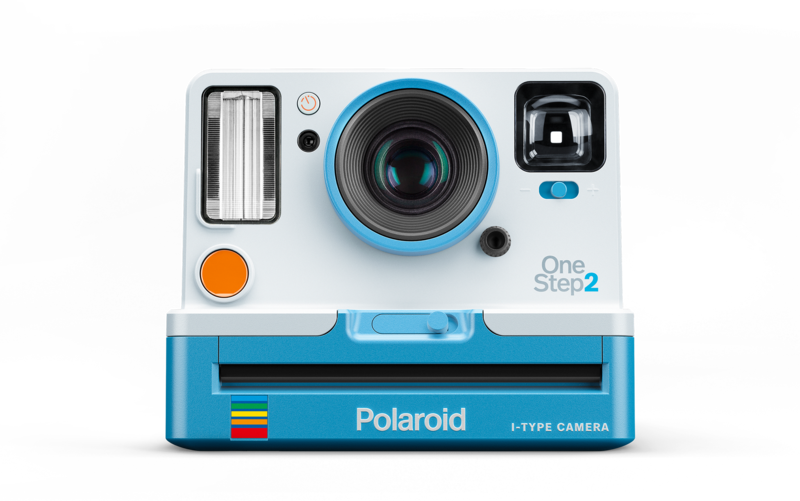
- Pick a main topic (object, person, shoe, instrument, animal, etc)
- Google to find the image and make sure is at least 1000 pixels or larger
Step 2
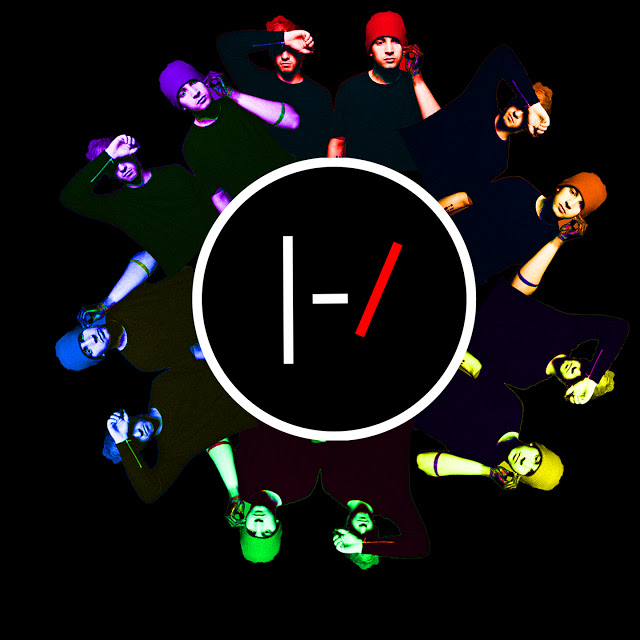
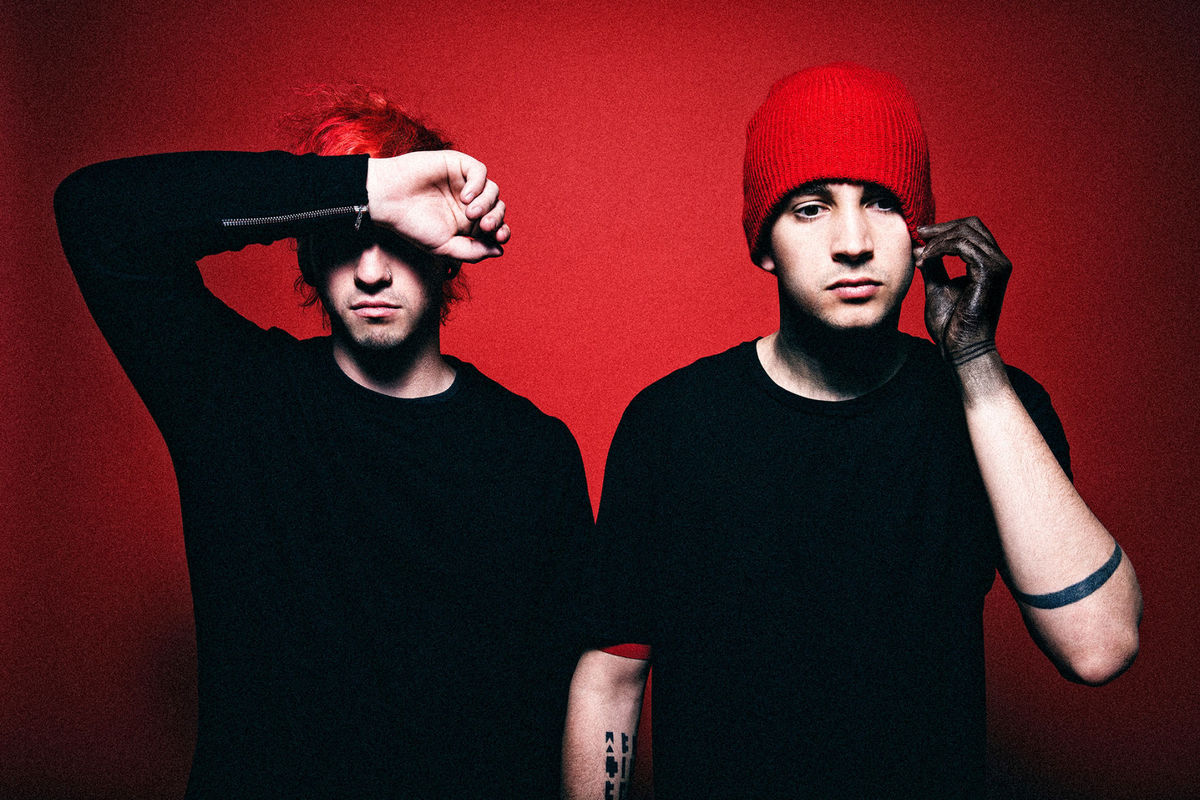
- Pick and save another image that relates to your main image.
- It does NOT need to be a circle image or a logo
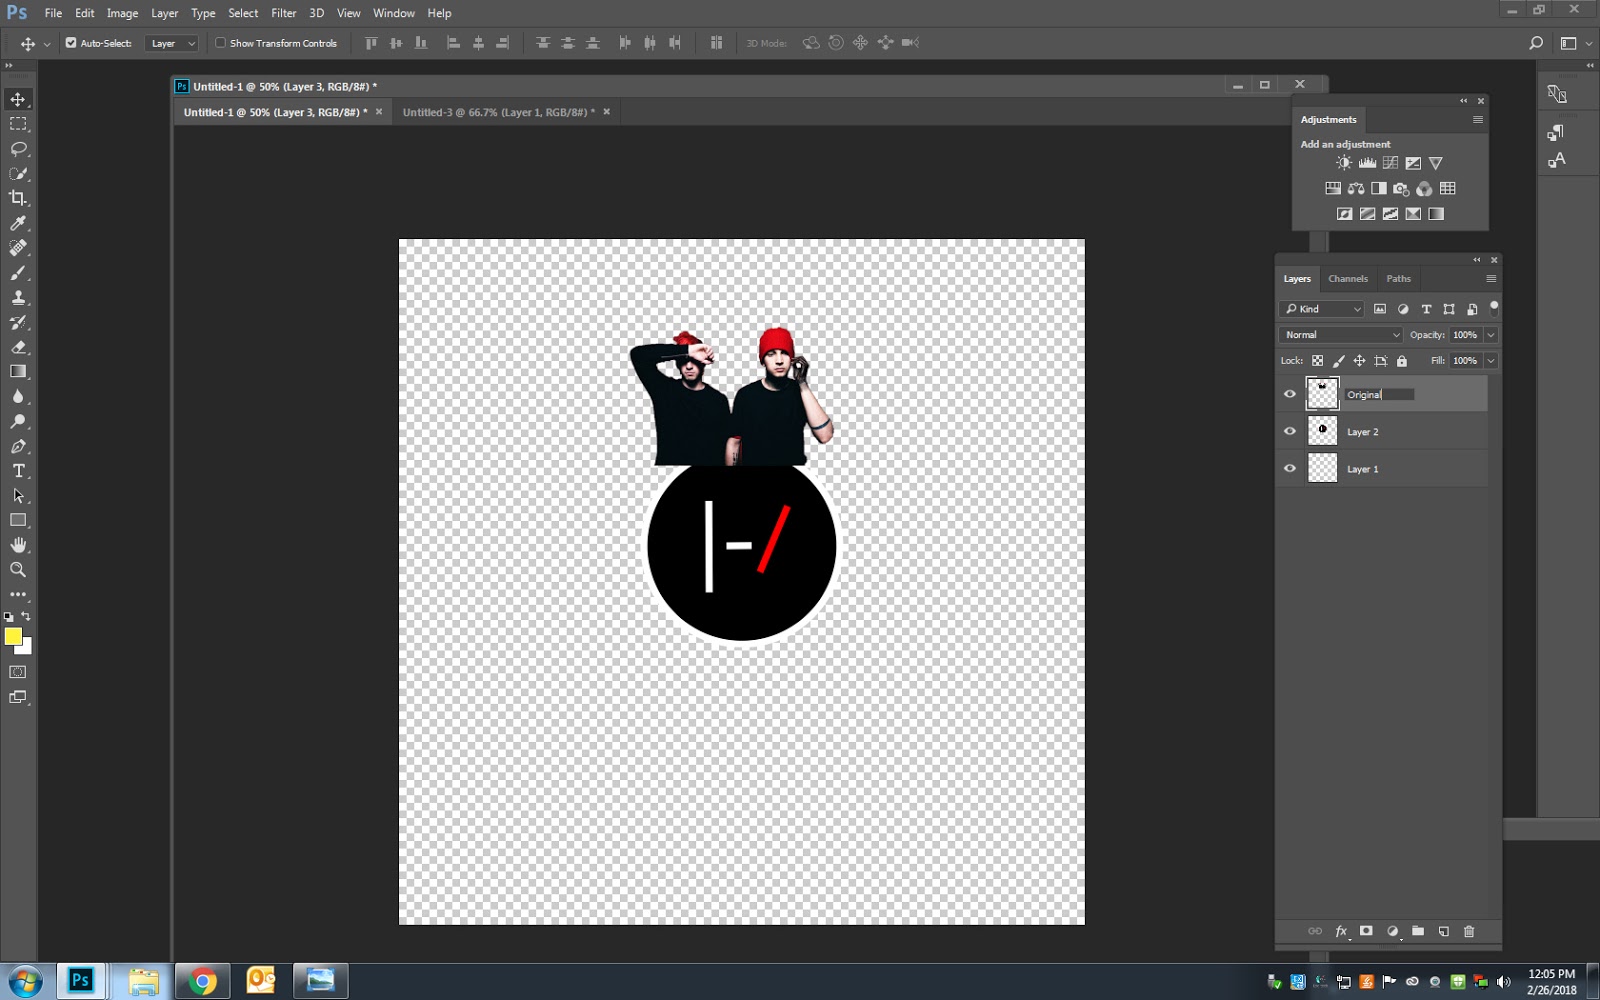
- I used the Twenty One Pilots Logo with the band members
Part 2: Creating the Circle
Step 3
- Go to File
- New File
- 15 x 15 Inches
- 72 Resolution
- White Background
- New File
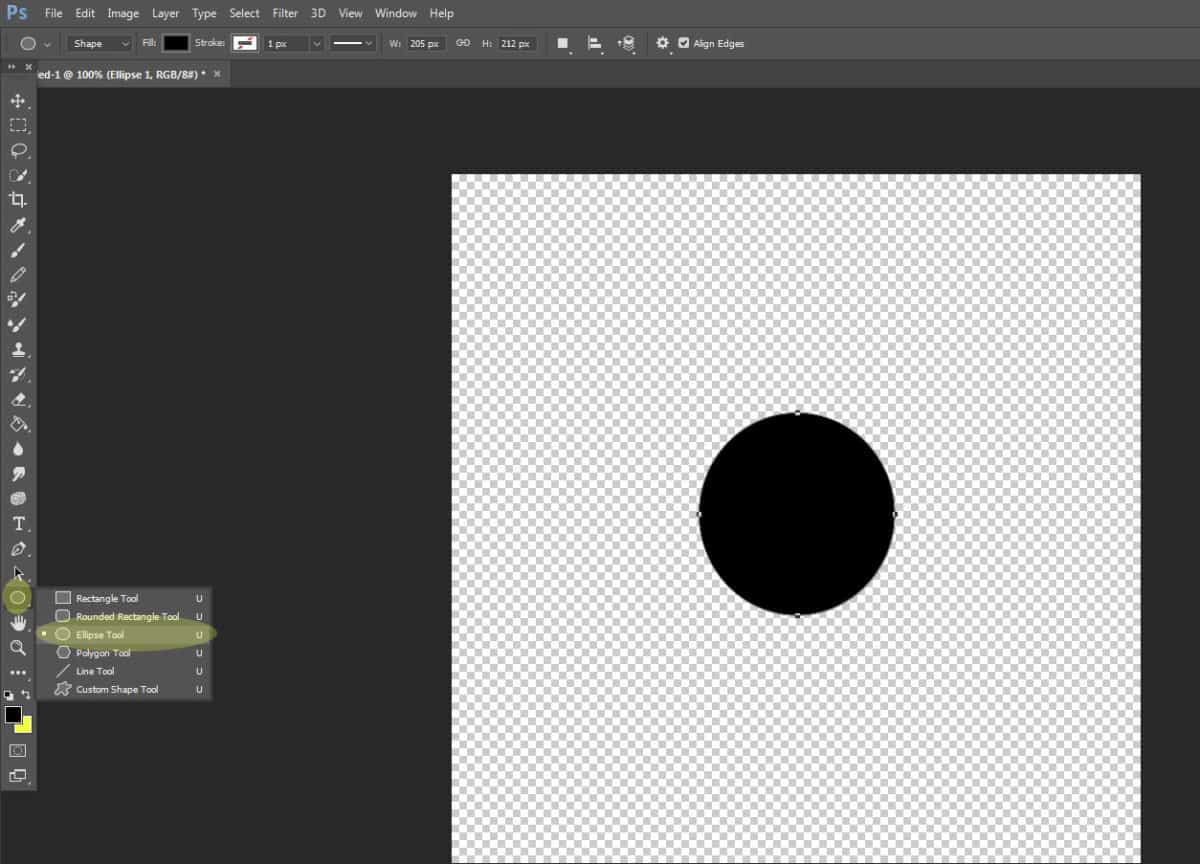
Step 4a
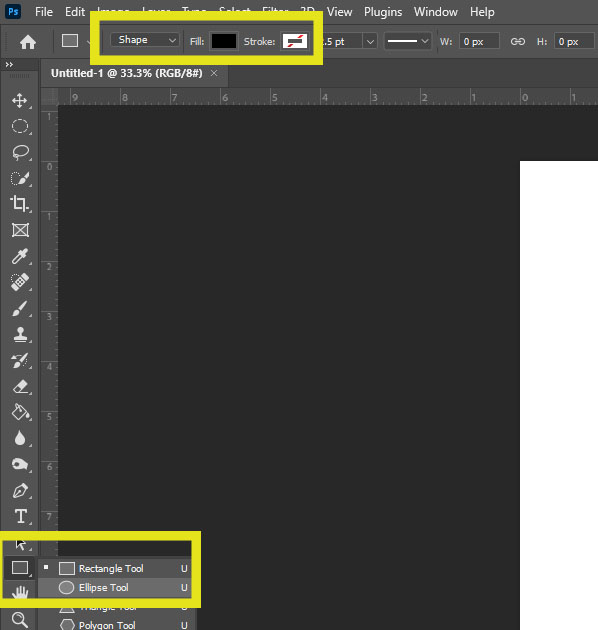
- Pick the Ellipse Tool Shape (if you can’t find it right click on any of the shape tool)
- Fill Black
- Stroke white with red line through it
Step 4b
- Draw a black circle in the middle of your canvas. To see how big to make the circle, look at the above examples
Step 5
- Open your image for your circle
- Move your image on top of the black circle

Step 6
- On the layers pallet
- Right click on your image
- Create Clipping Mask
- Right click on your image
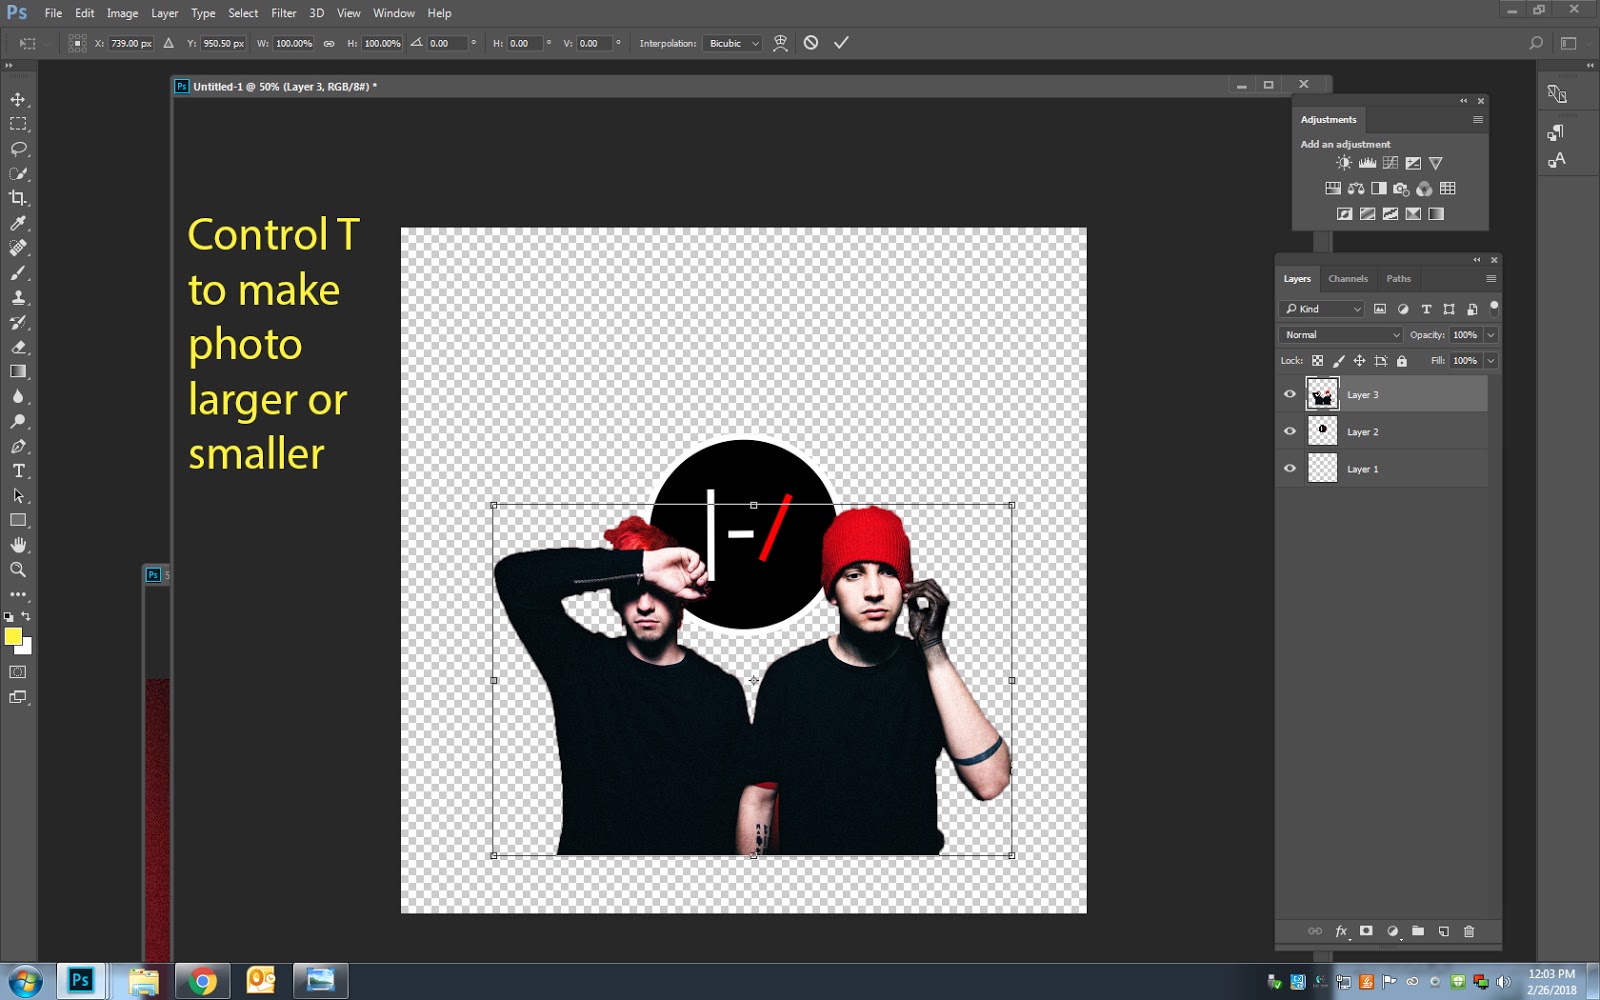
- The photo will now be in the circle.
- Use Control- T to make the image bigger or smaller.
- Move it around as needed.

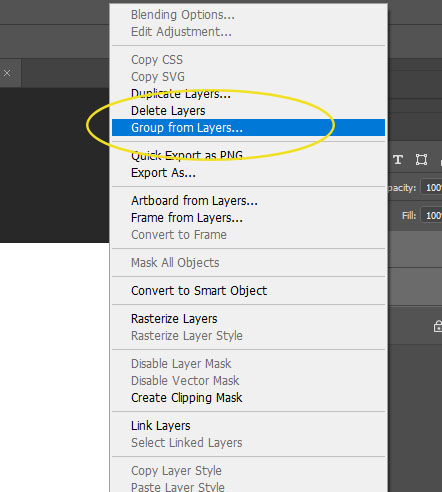
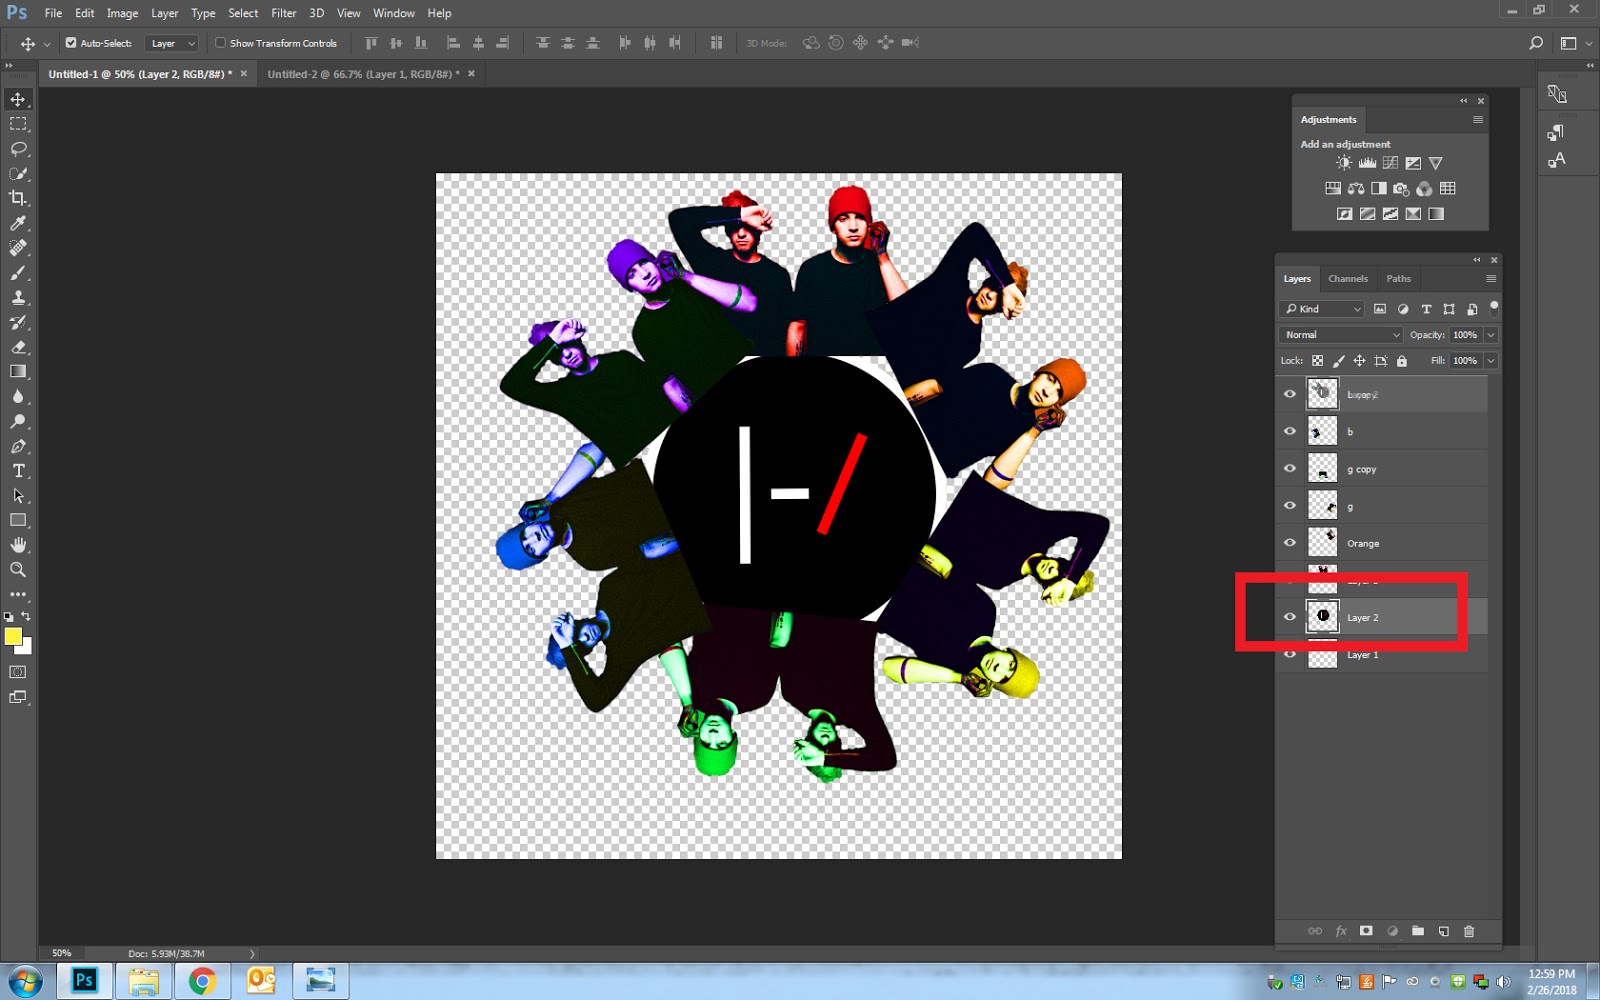
Step 7
- Highlight Layer 1 and Ellipse 1
- Right Click
- Choose Group from Layers
- Right Click
- Make sure that you have 2 layers at this time.
- Background and Group 1

Part 3: The Color Wheel Objects
Step 8a
- Open the main image you selected
- Quick Select Tool to cut out the image
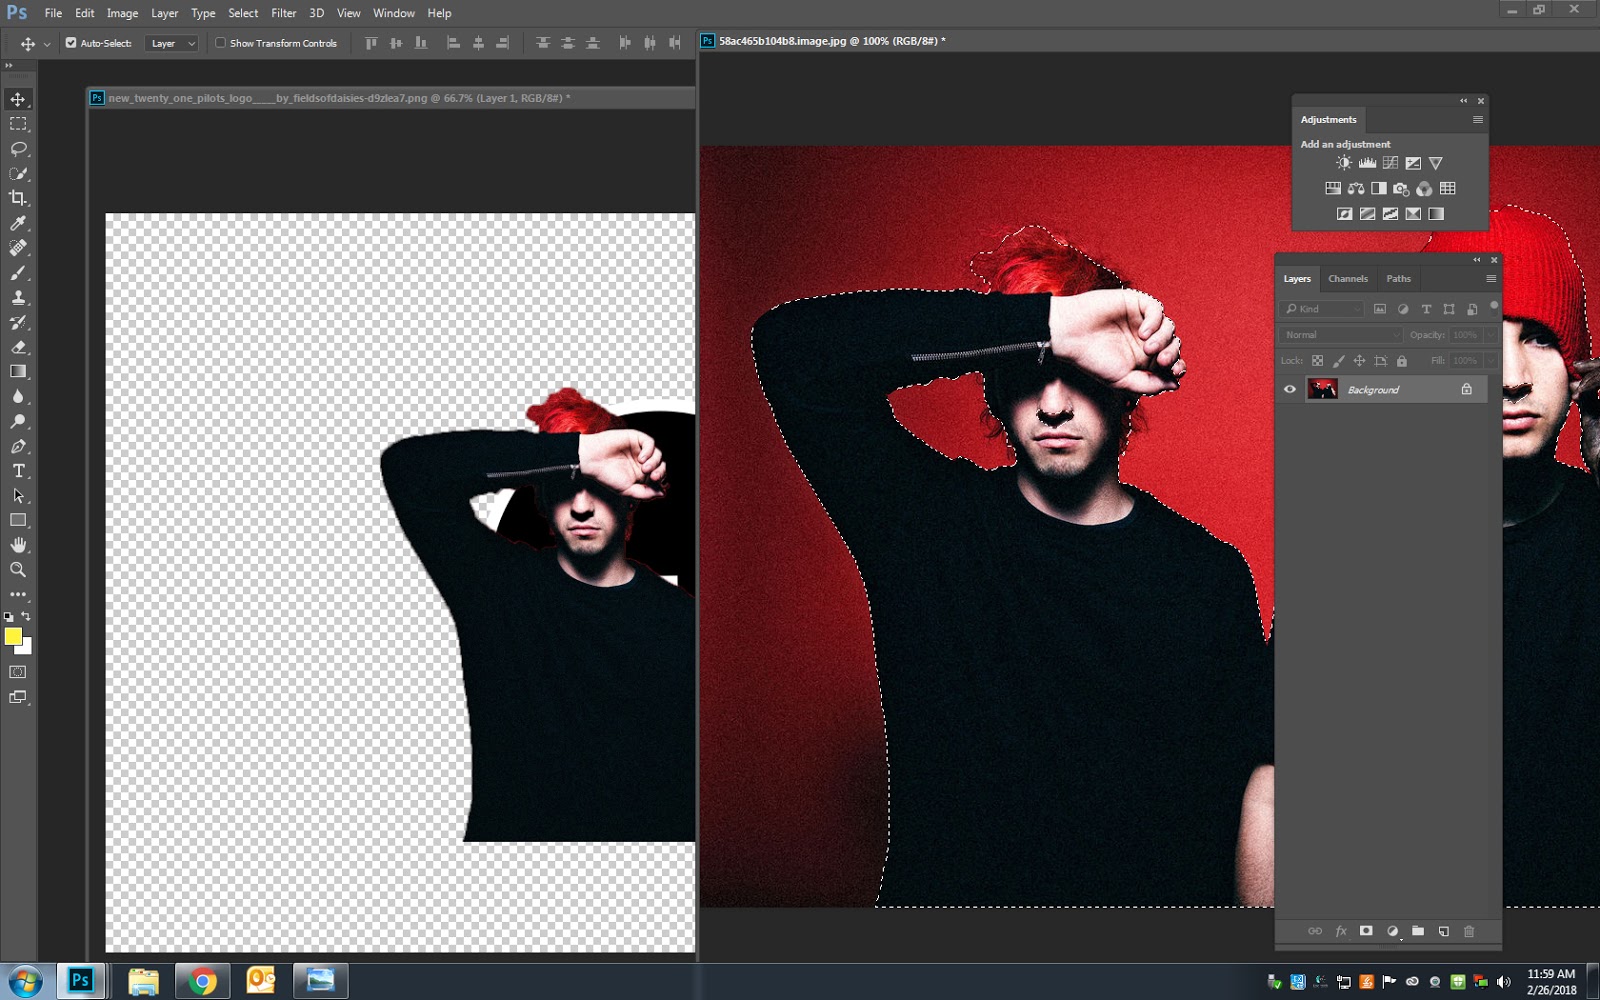
Step 8b
- Move the image onto the canvas with the circle
- Click Control T to make your image smaller
- You should have 3 layers at this time
- Click Control T to make your image smaller
Stop
****************************
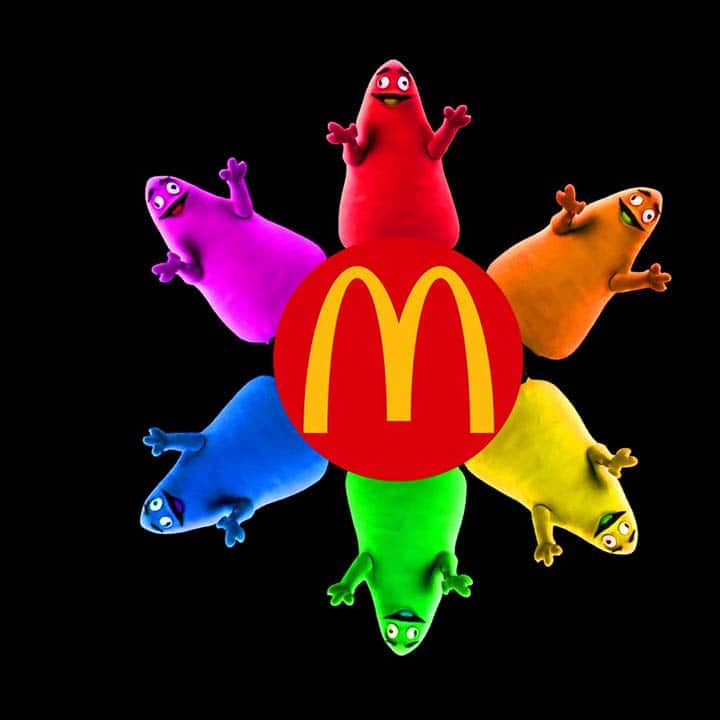
For the next steps you need to plan ahead for the objects around the circle.
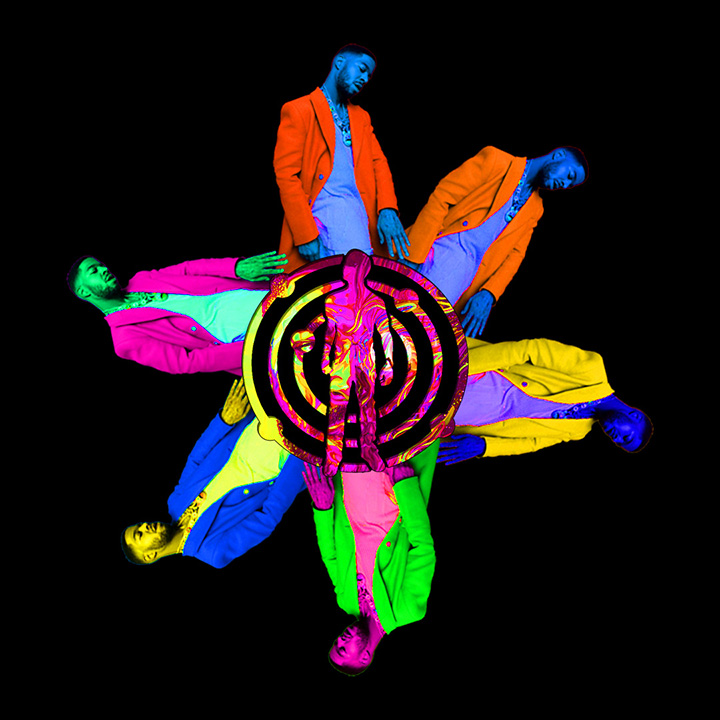
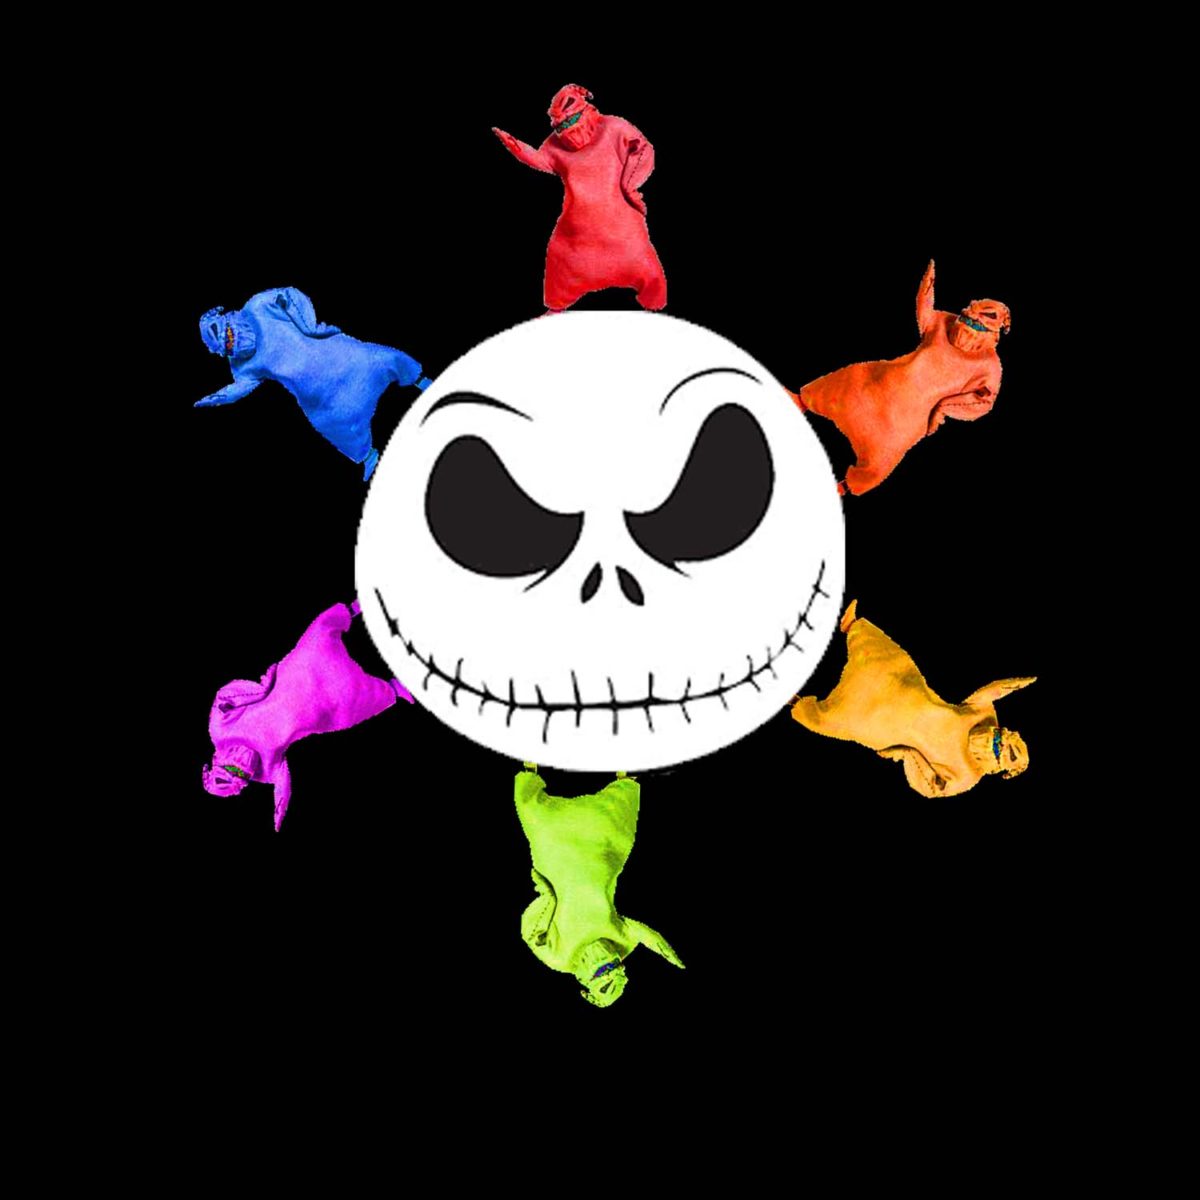
You will need to have 6 objects going around the circle.
The Colors MUST be in the following order.
You will not get full points if they are not in order
- Red
- Orange
- Yellow
- Green
- Blue
- Purple
*************************************
Step 9
- Move your photo to the TOP of the Circle
- Have it overlap your circle slightly
- If the image is still to big or small, click Control T to change the size
- Have it overlap your circle slightly
Step 10
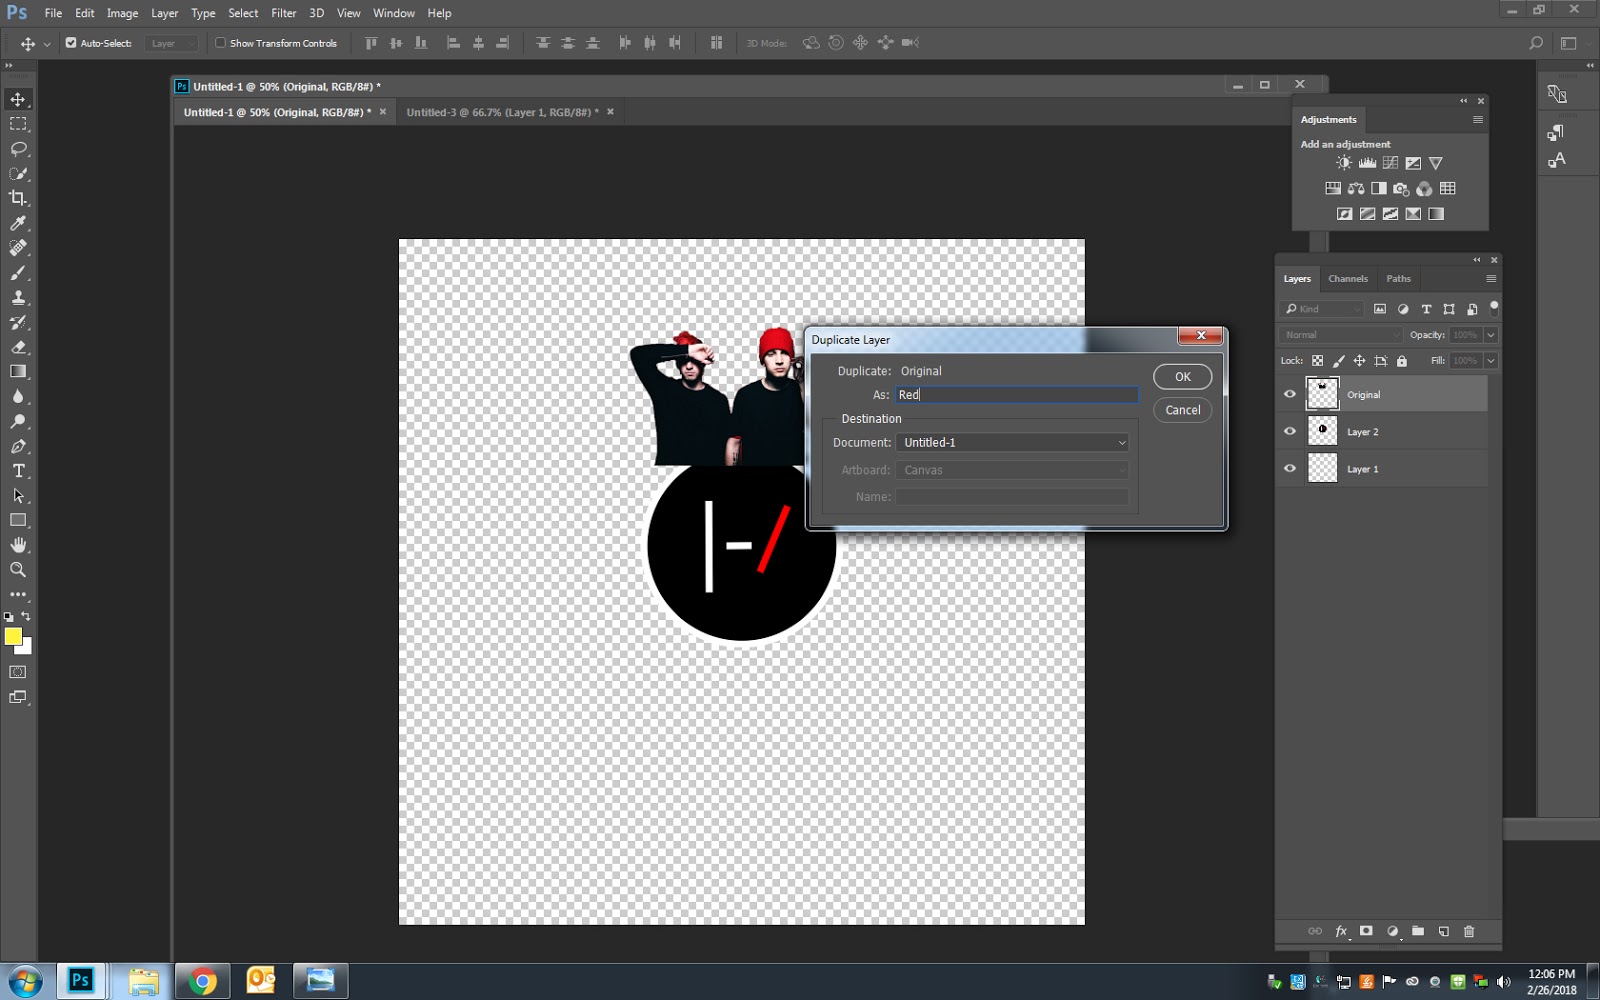
- Click on the top layer
- Double Click click on the name
- Rename the layer to Red
Step 11
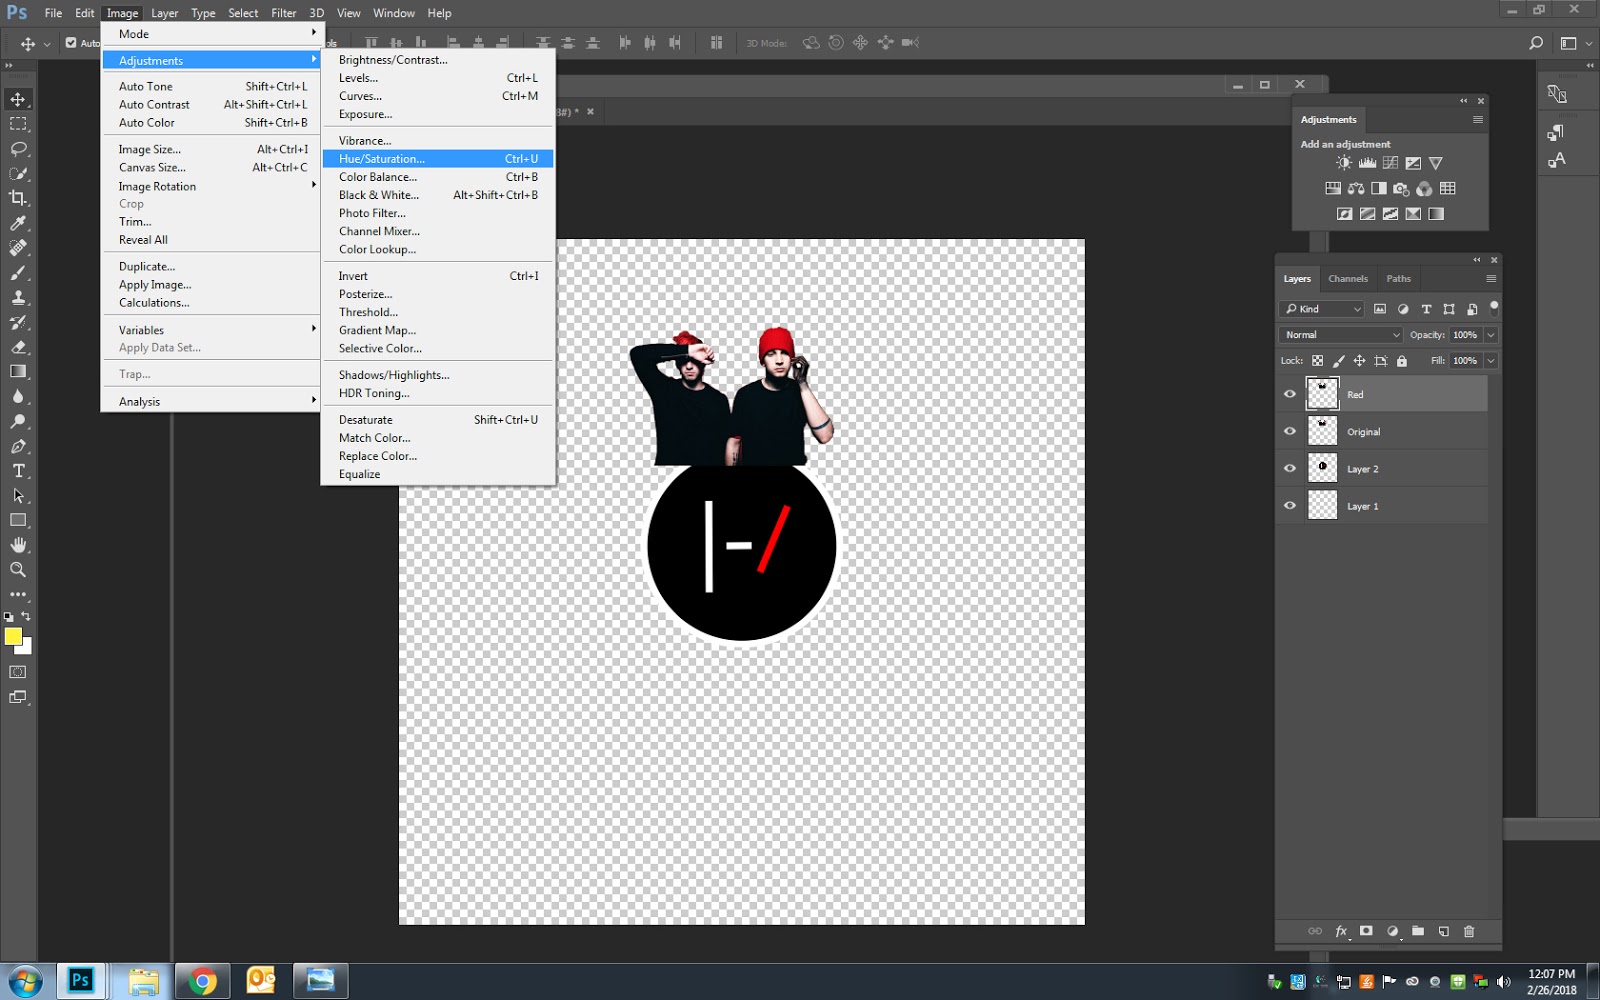
- Go to
- Image
- Adjustment
- Hue/Saturation
- Adjustment
- Image
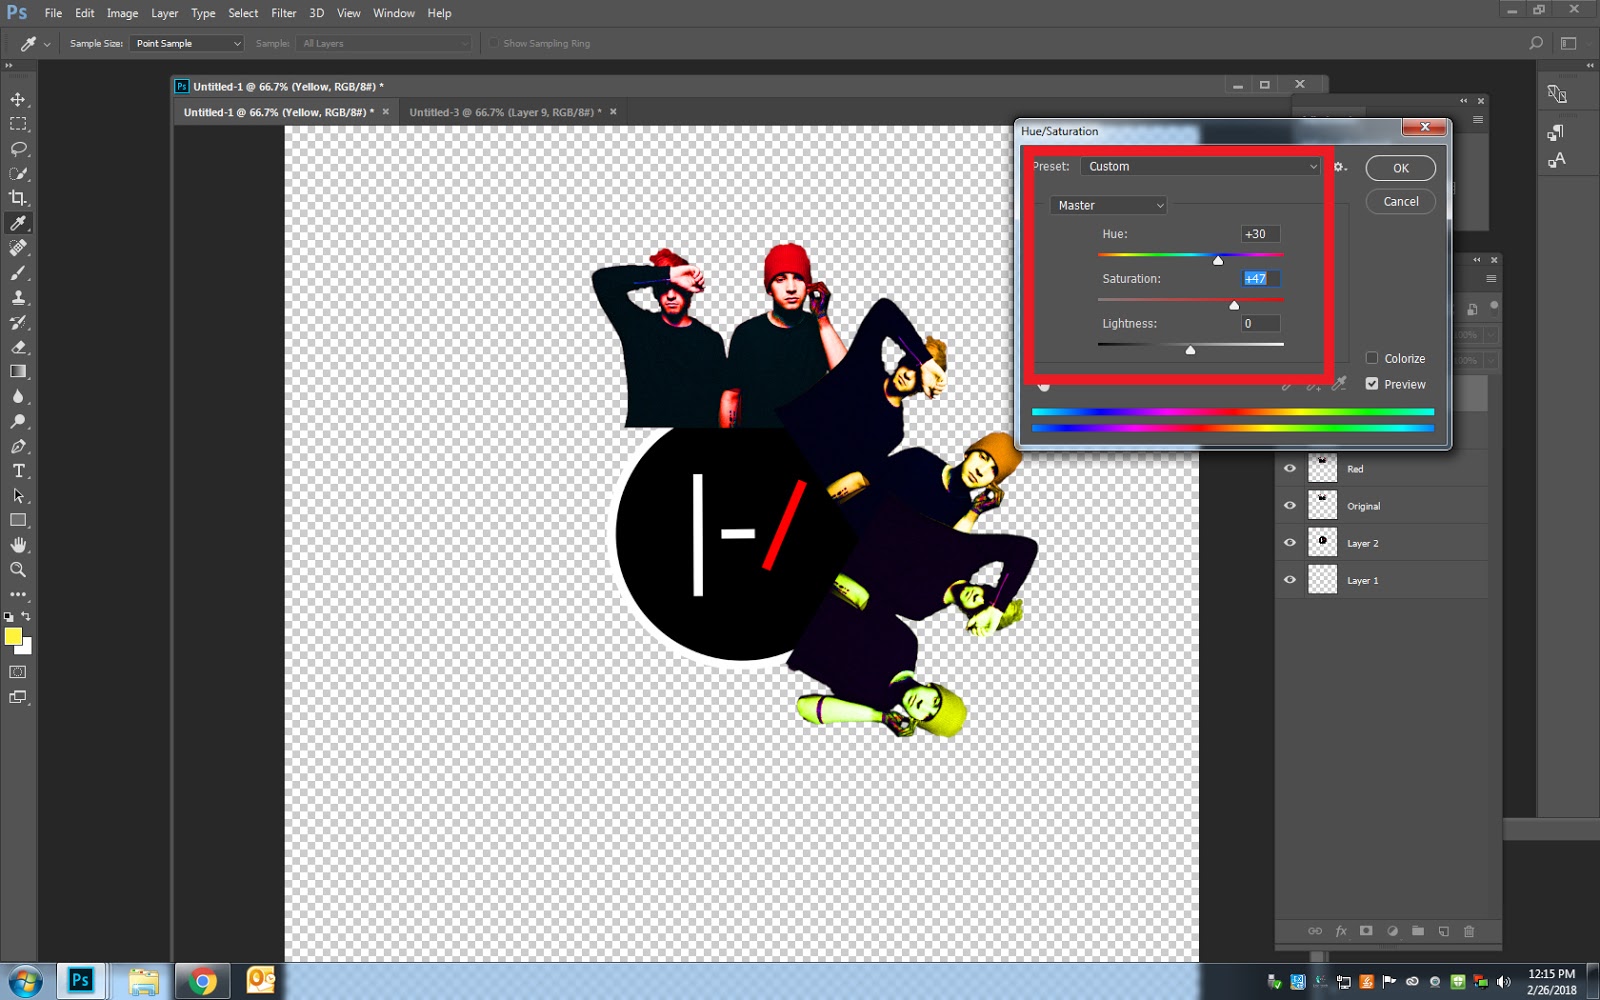
Step 12
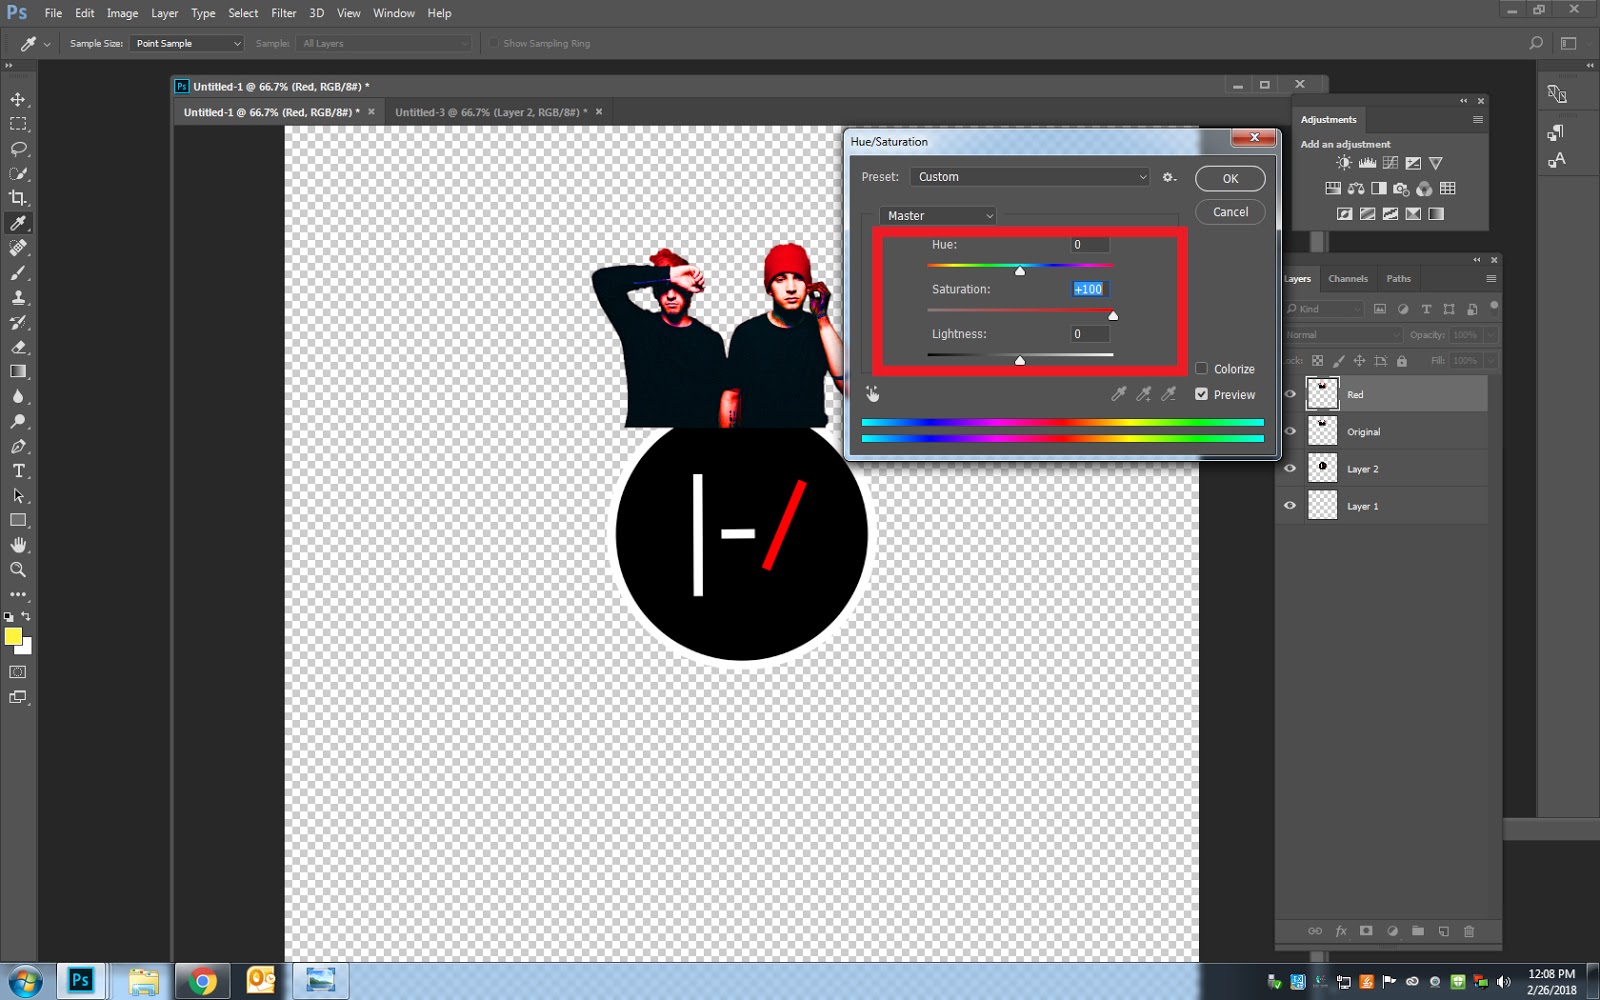
- Move the Hue slider until the object turns red
- Move the Saturation Slider to the right so that the color becomes stronger
- You can adjust the saturation slider the other way if it’s to bright
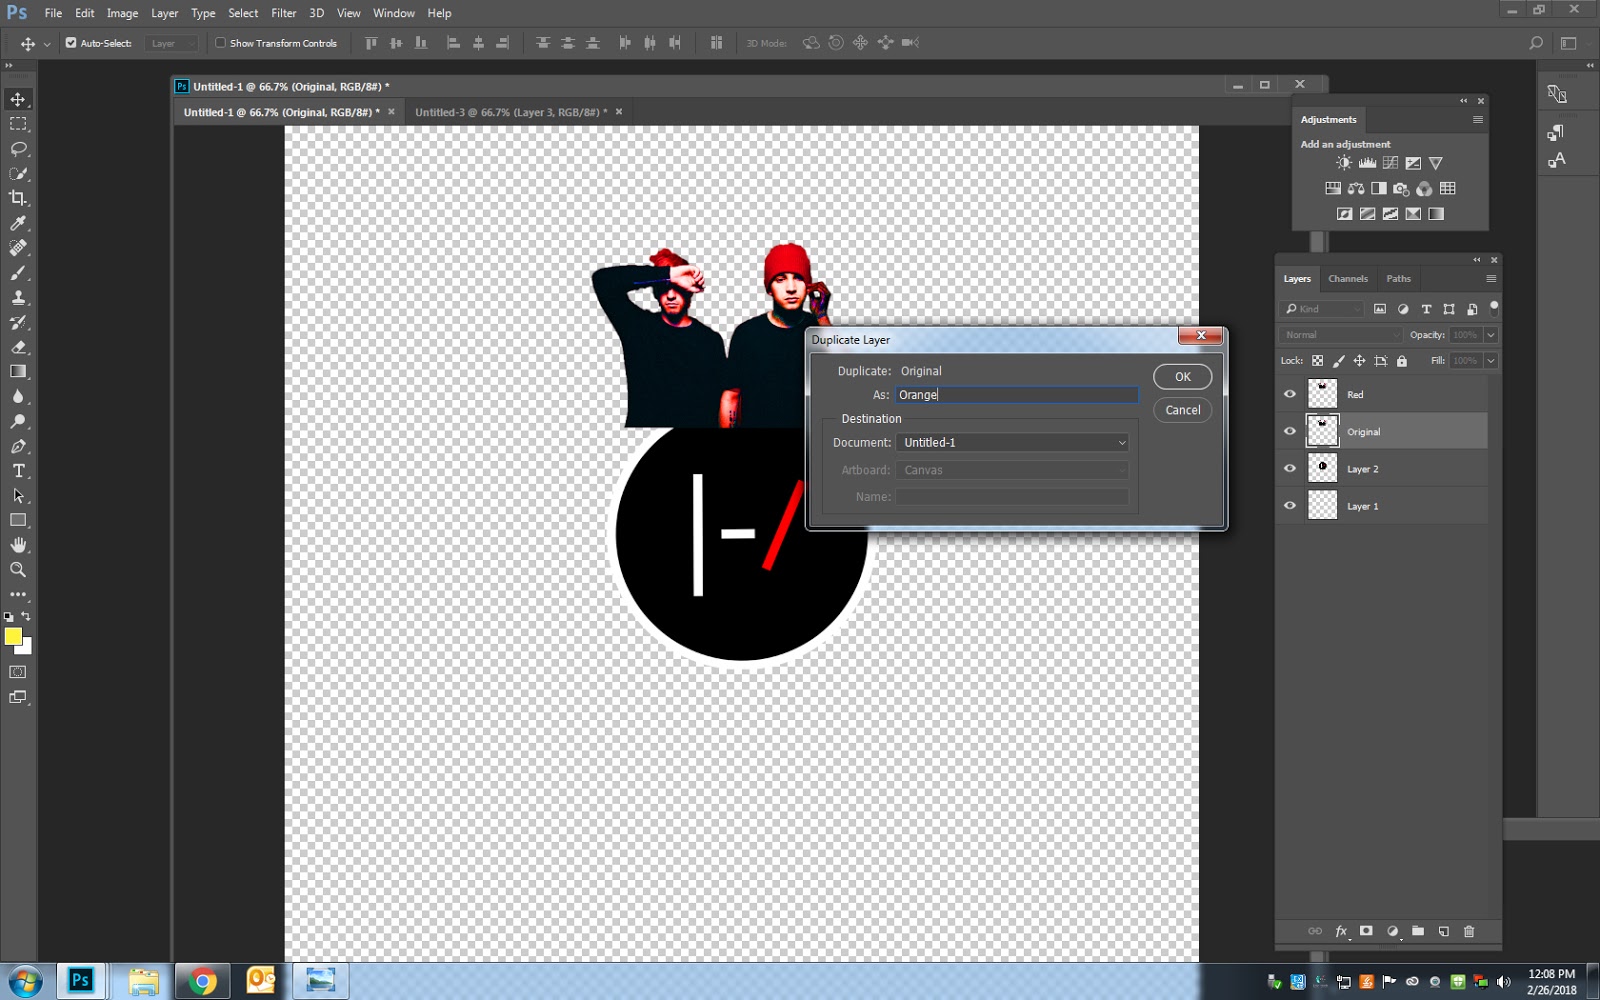
Step 13
- Right click on the Red Layer
- Click Control J to duplicate the layer
- Double click on the name Red
- Change the name to Orange
- Double click on the name Red
- Click Control J to duplicate the layer
Step 14
- Click on the Move Tool
- Make sure you are on the Orange Layer
- Move your orange layer photo to the right of the circle
- Click Control T
- Turn the image so it fits around the circle
- Click Control T
- Move your orange layer photo to the right of the circle
- Make sure you are on the Orange Layer
- Remember you need to leave room for 4 other colors to complete the circle

Step 15
- Go to
- Image
- Adjustment
- Hue/Saturation
- Adjustment
- Image
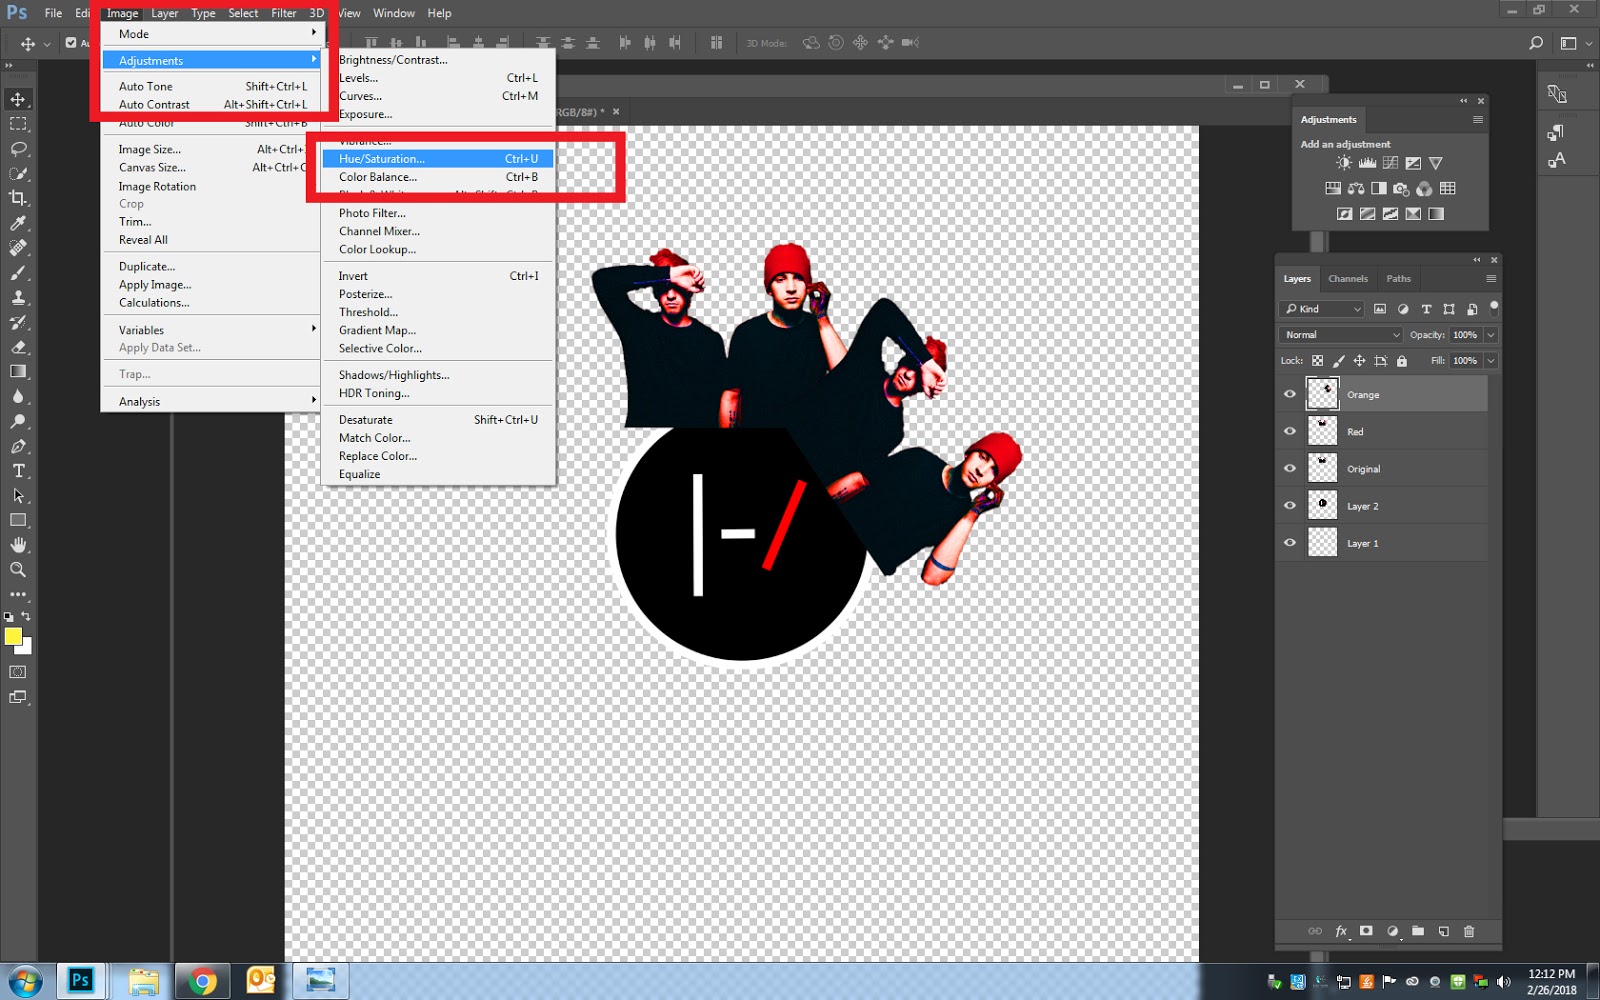
Step 16
- Move the Hue slider until the photo turns Orange
- Move the Saturation Slider to the right to make the color pop

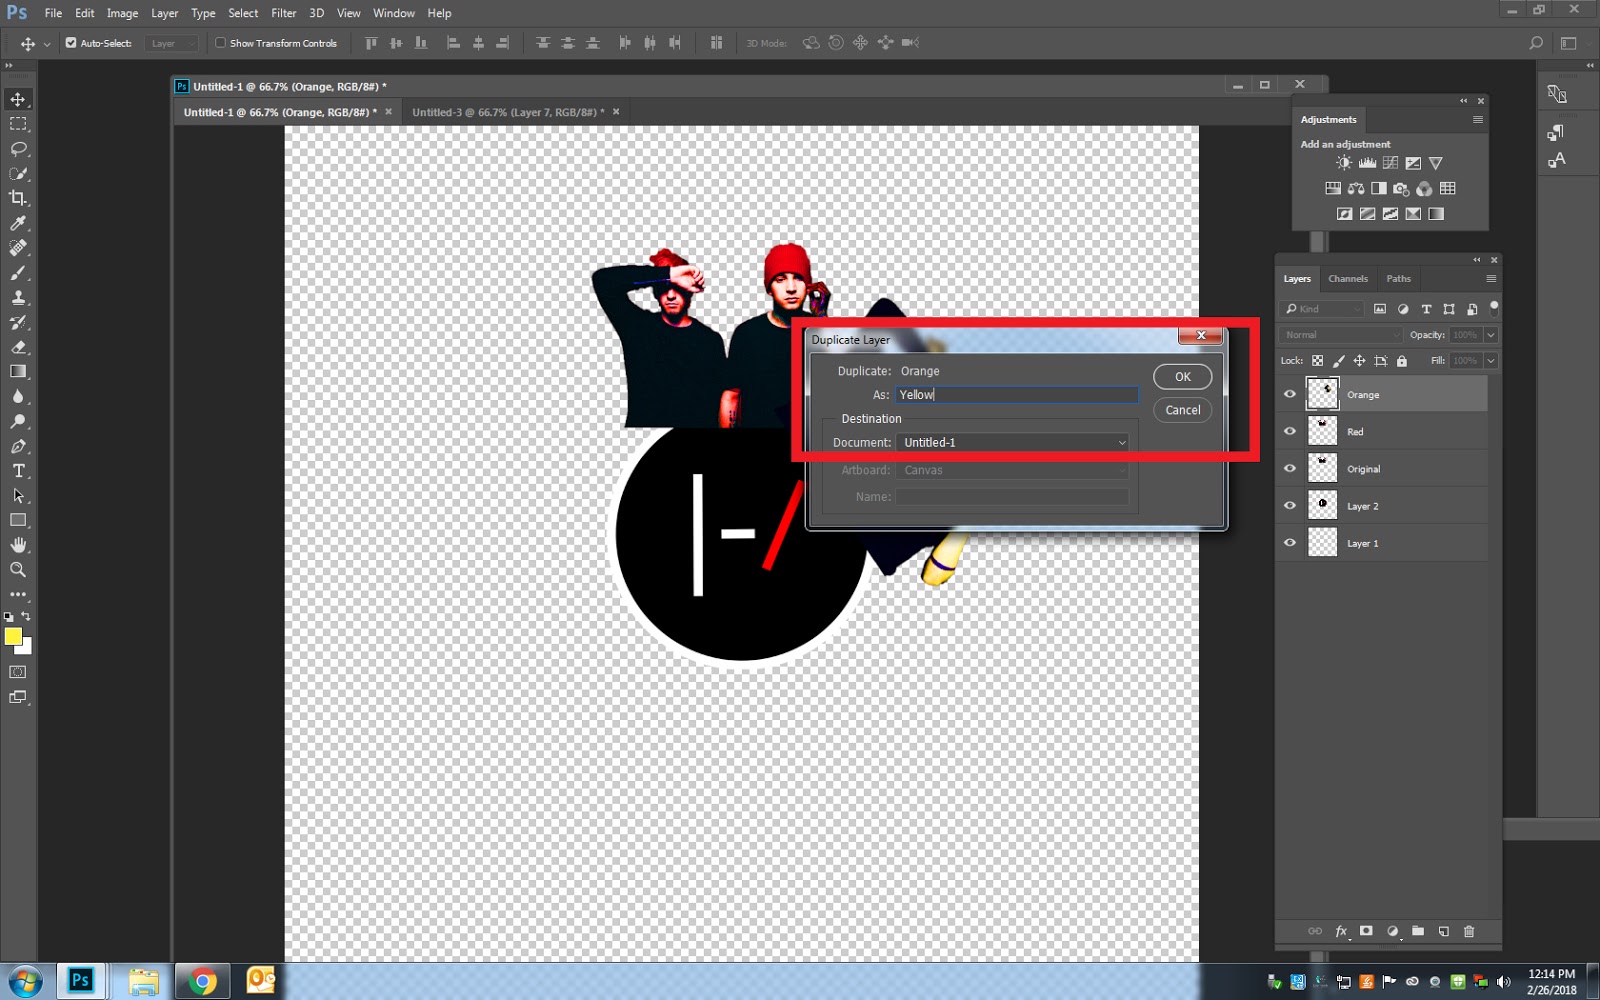
Step 17
- Right click on the Orange Layer
- Click Control J to duplicate the layer
- Double click on the name Orange
- Change the name to Yellow
- Click Control J to duplicate the layer
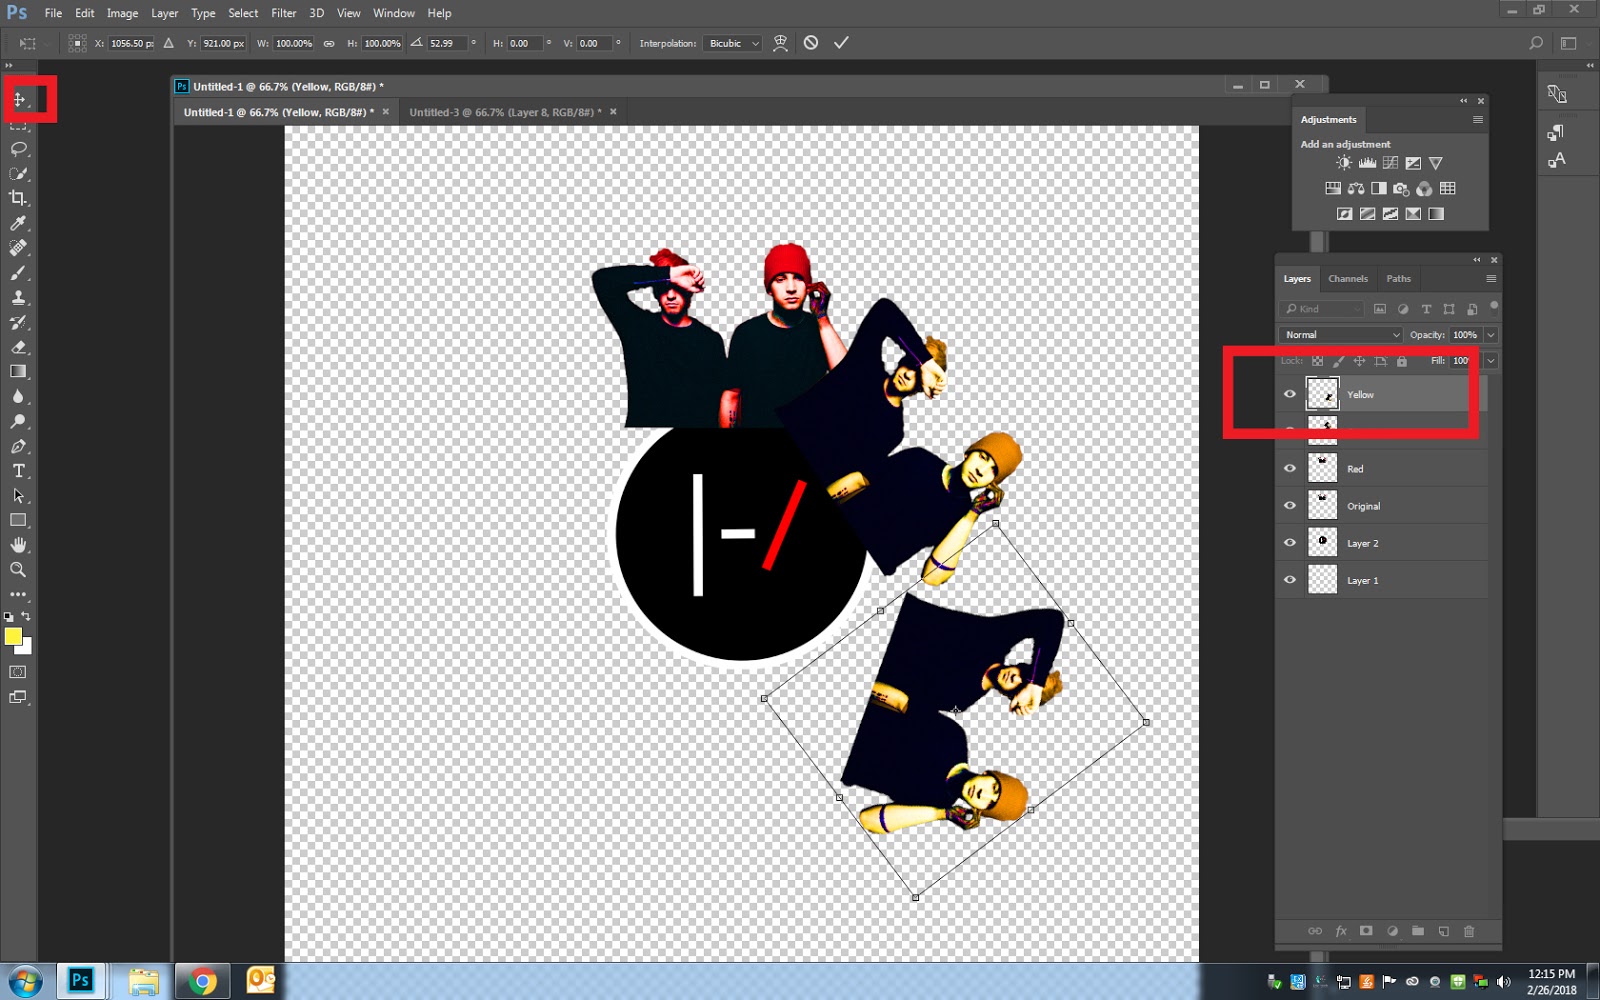
Step 18
- Make sure you are on the Yellow Layer
- Drag your photo to the right of the circle
- Turn the image so it fits around the circle
- Remember you need to leave room for 3 other colors to complete the circle
- Turn the image so it fits around the circle
- Drag your photo to the right of the circle
Step 19
- Move the Hue slider until the object turns Yellow
- Move the Saturation Slider to the right
Step 20
- Repeat Steps 13-16 for Green, Blue and Purple
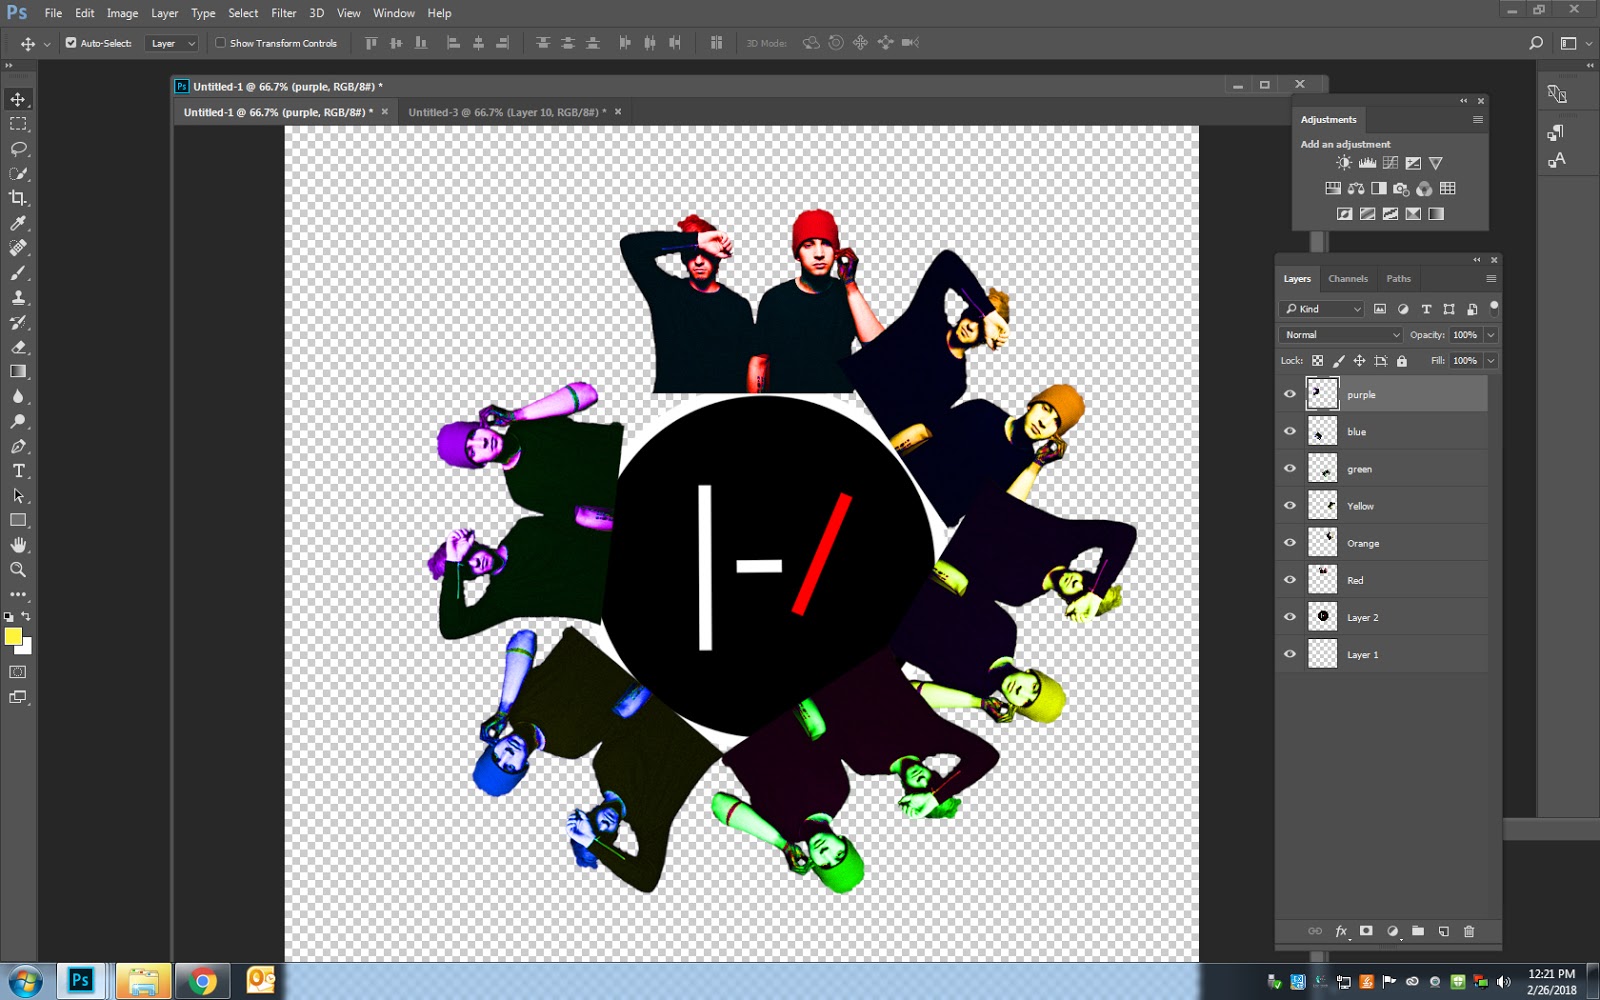
Step 21
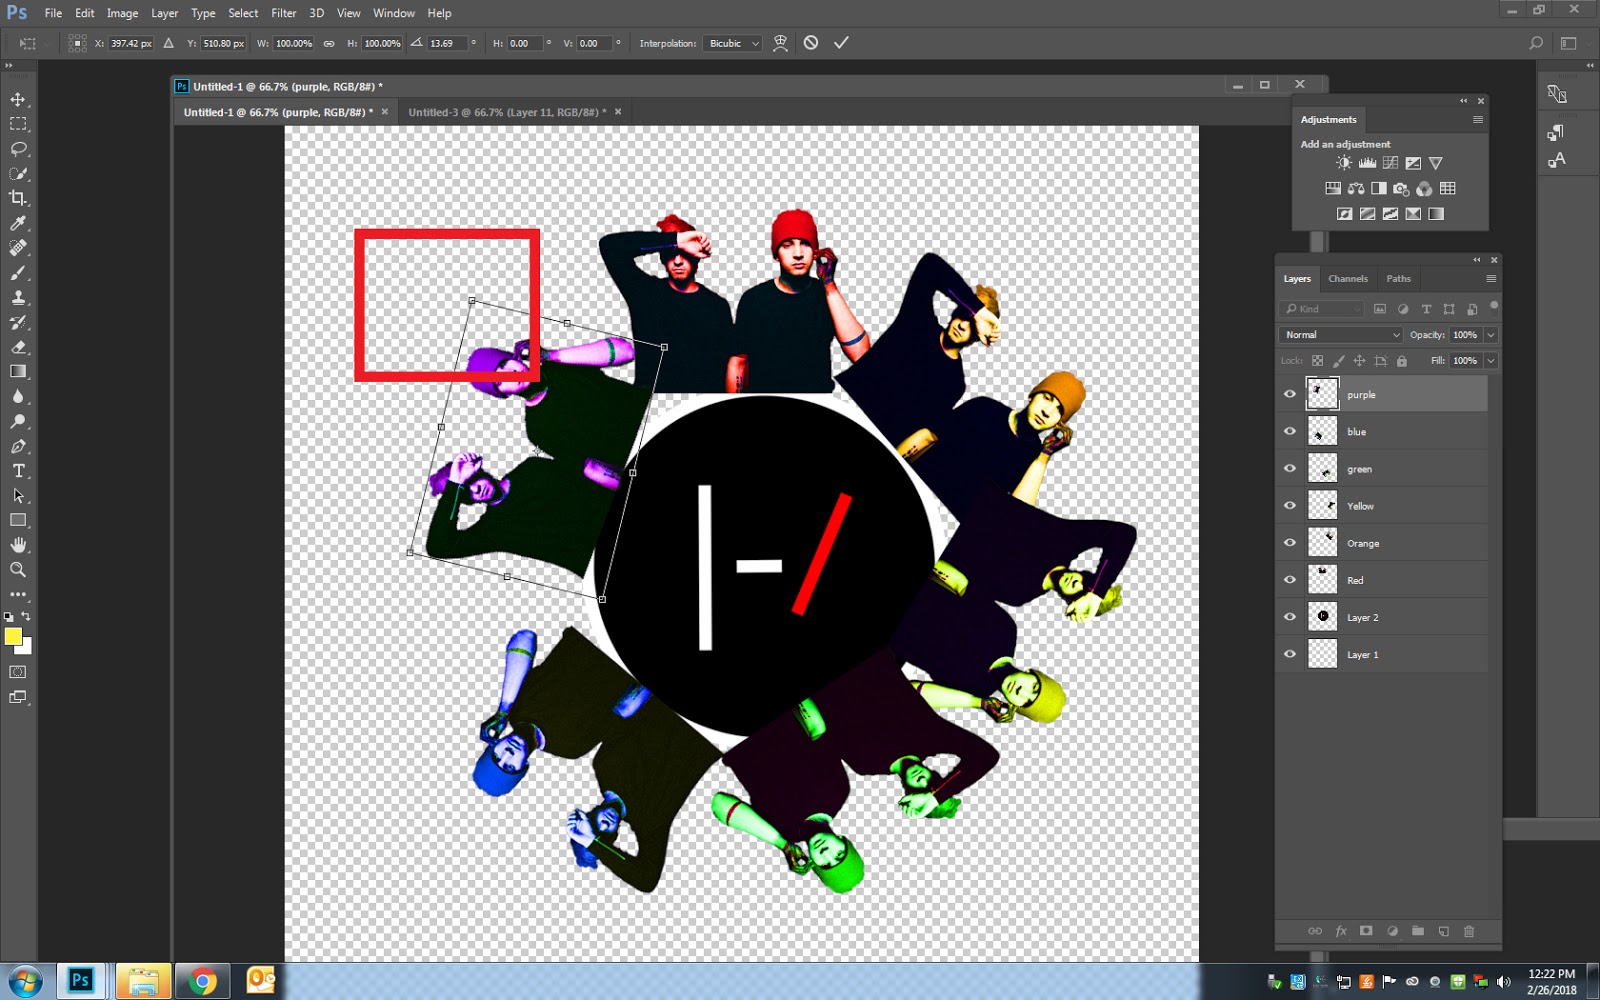
- When all the colors are complete you may have to adjust the images to be a little bigger or smaller. They need to fit around the circle evenly.
- Control T
- Hold the Shift Key so that it stays in proportion.
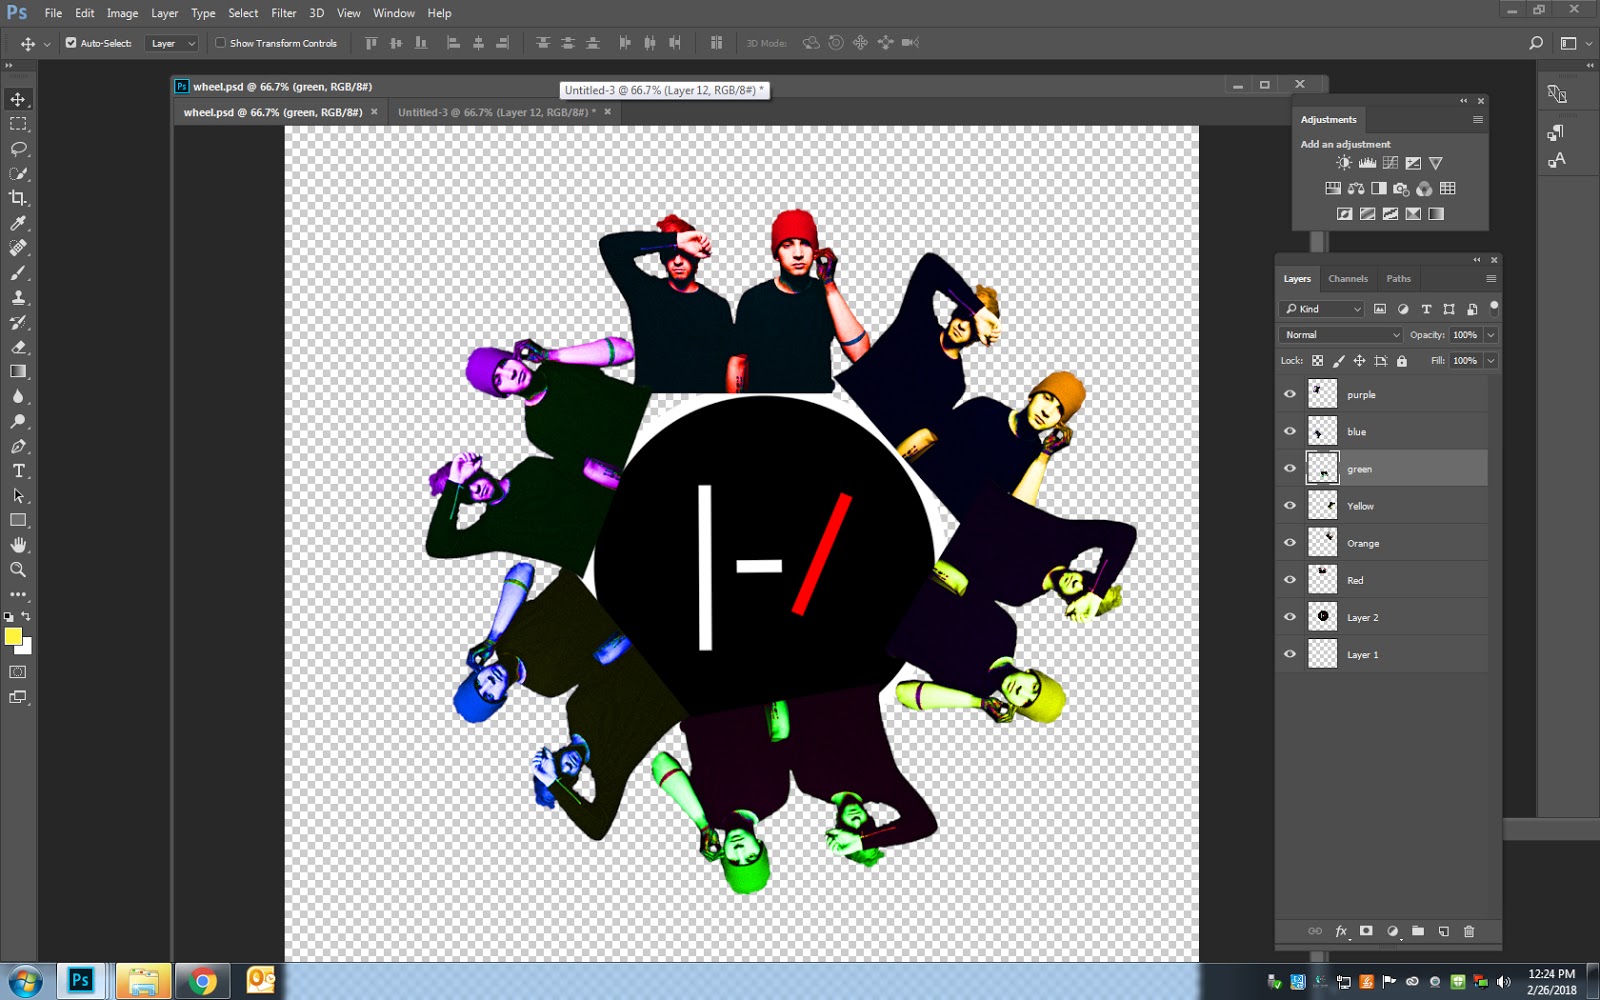
Step 22
- Because we named each color layer you can just click on the color layer you need to change.
- Ex. If you need to move the green image, click on the green layer.
Step 23
- Click on the Group 1 Layer
- Drag it up to the top of the layers pallet
- This will be above the layer named purple
- The circle will be behind all of the colored images
Step 24
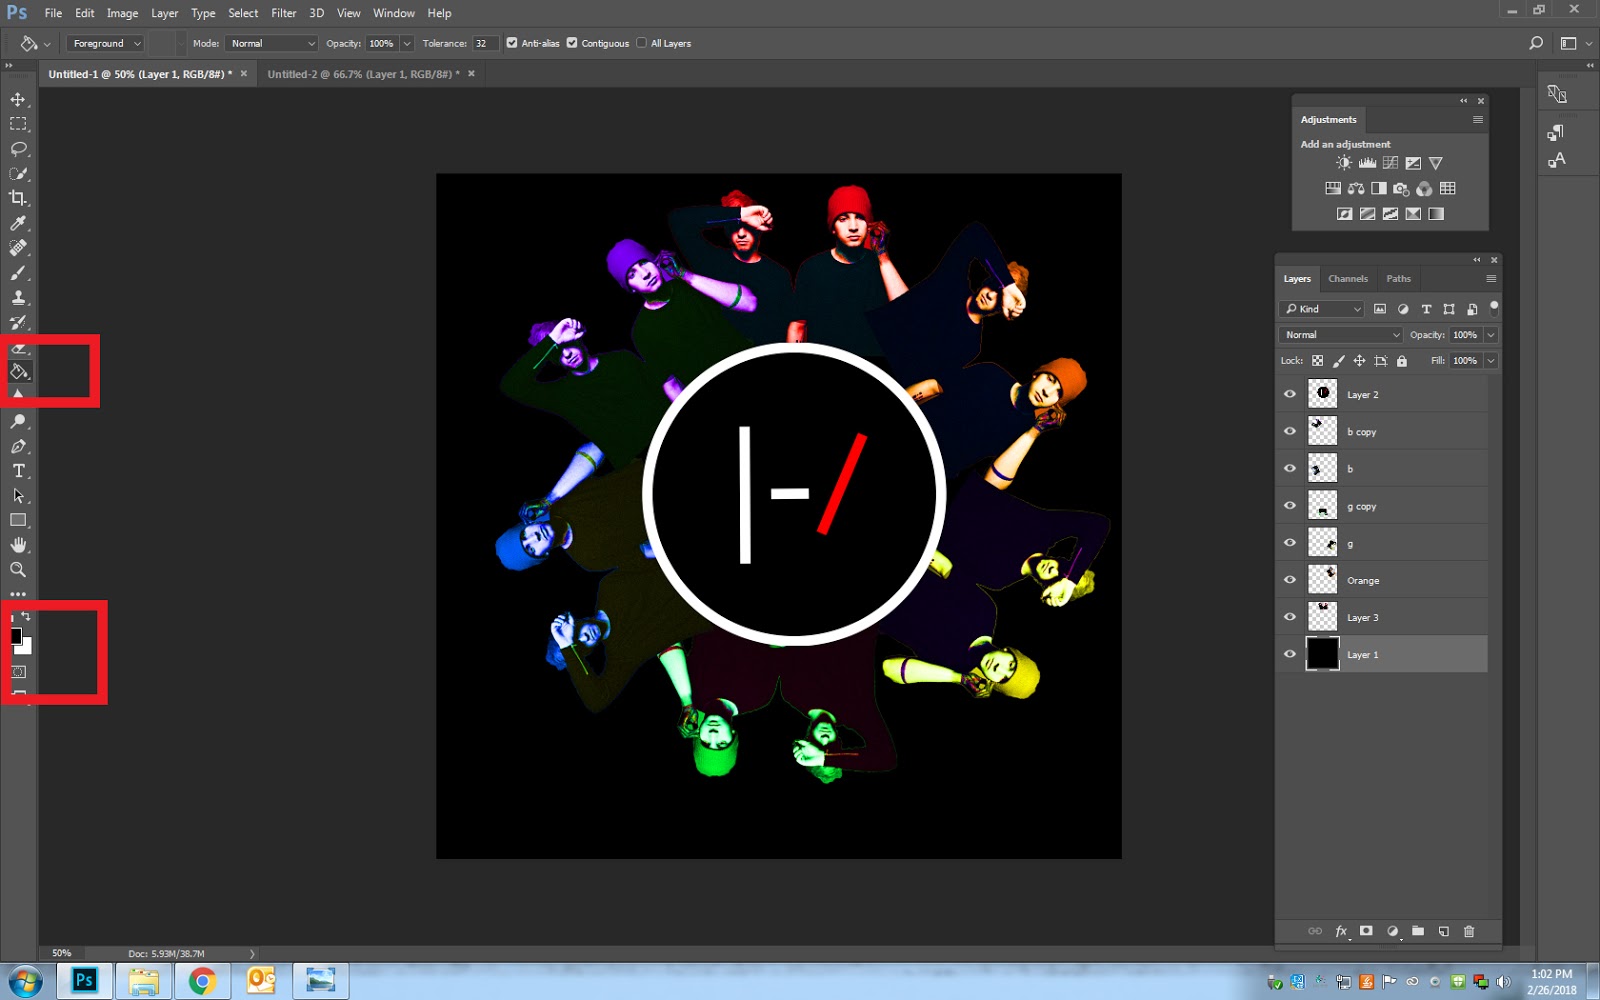
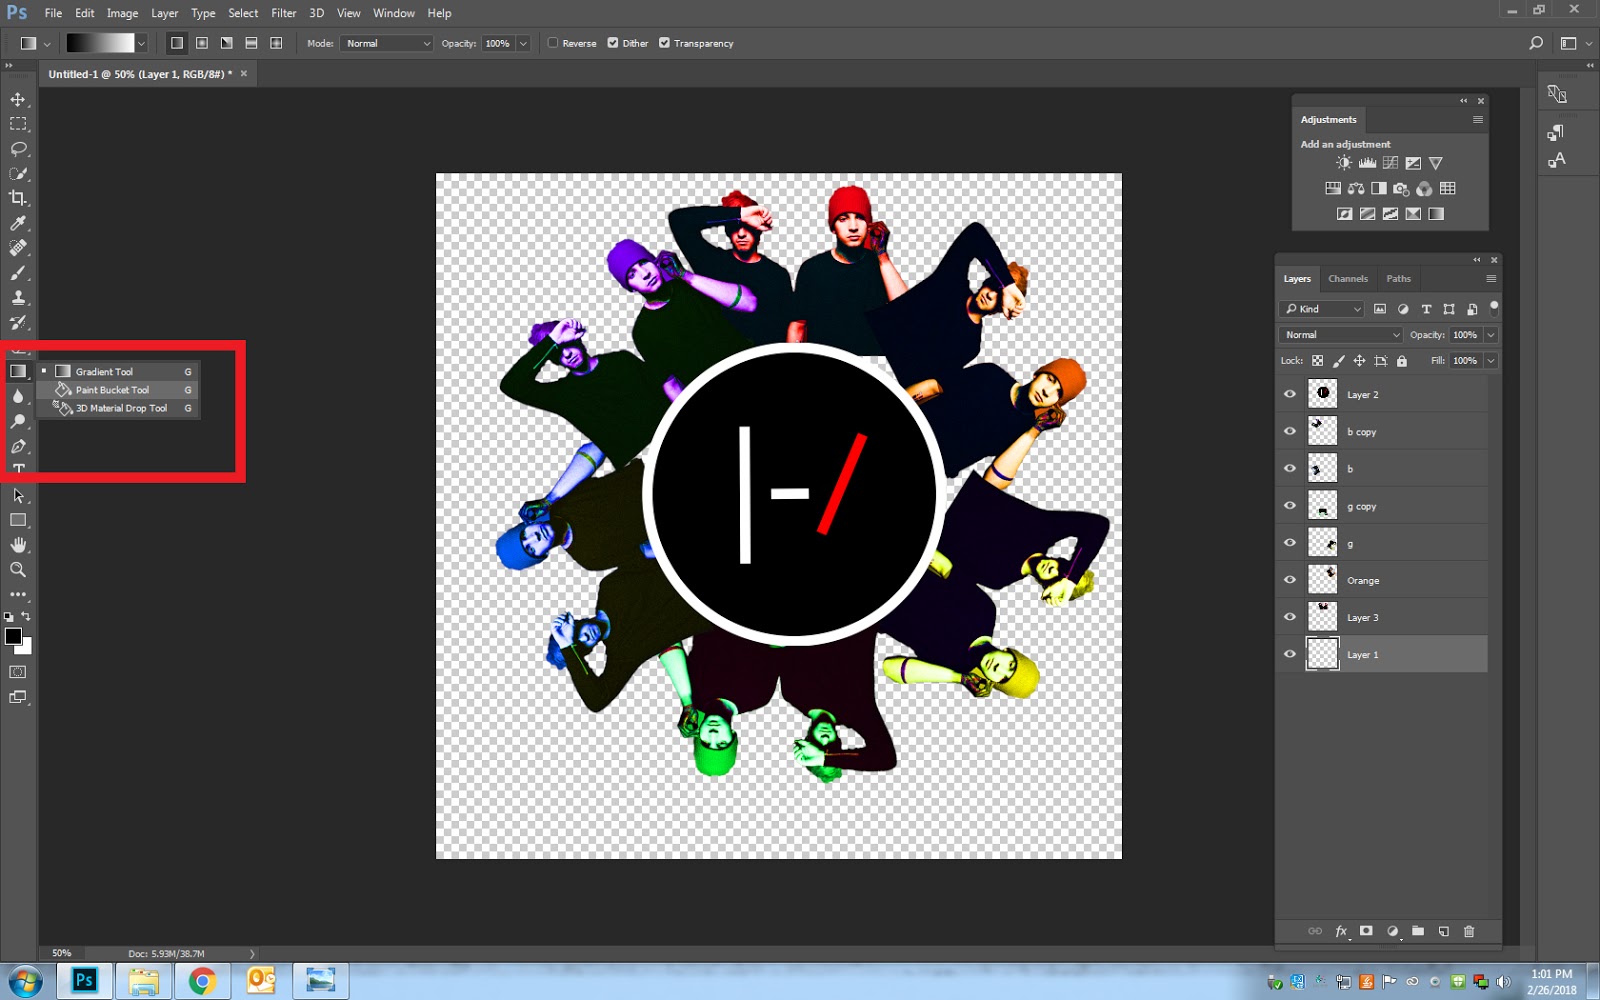
- Click on the bottom layer (this should be the first layer)
- Click on the paint bucket tool
- This may be under the Gradial tool.
- Right click to show the paint bucket.
- This may be under the Gradial tool.
Step 25
- You may keep your background White
- If you want the background black
- Choose Black Color
- Click anywhere in background area of the image
- The back ground will now be black
- Click anywhere in background area of the image
- Flatten your Image when you are done